

How to Add a WhatsApp Chat Widget for Website for Free


Pull up your contact form submissions from last month. How many of those turned into a paying customer?
Most business owners can’t answer that, and it isn’t because the interest wasn’t real. A form asks for a name, an email, a subject line, and then patience.
The same person would rather message a business on WhatsApp about a product within ten seconds of finding it. That difference isn’t interest. It’s effort.
I’ve seen plenty of businesses drop their WhatsApp number at the top or bottom of a page to solve this. It rarely works.
A WhatsApp chat widget for website owners closes that gap, and you can do it for free. Today I’ll show you how. Whether your site runs on WordPress, Shopify, or custom HTML, your WhatsApp widget will be live within five minutes.
Let’s get started.
TL;DR:
- A WhatsApp chat widget is a floating button that opens a WhatsApp conversation with your business when a visitor taps it.
- You can add one in two ways: write the HTML and CSS yourself, or use a WordPress plugin that needs no code.
- WP Social Ninja adds a free WhatsApp chat widget for website pages, with your own branding, colours, and display rules.
- Setup takes four steps: install the plugin, add your number with its country code, style the chat box, then pick where it appears.
- WP Social Ninja Pro adds prefilled messages, product details pulled into the chat, availability scheduling, and online status.
- HTML sites and Shopify stores use a short WhatsApp link inside a styled button instead.
- If the widget doesn’t show up, check the number format, your cache, and your display rules before anything else.
What is a WhatsApp Chat Widget?
A WhatsApp chat widget is a clickable button on your website that opens a WhatsApp conversation with your business. It appears as a floating bubble in a corner of the screen, on every page or only the ones you pick.
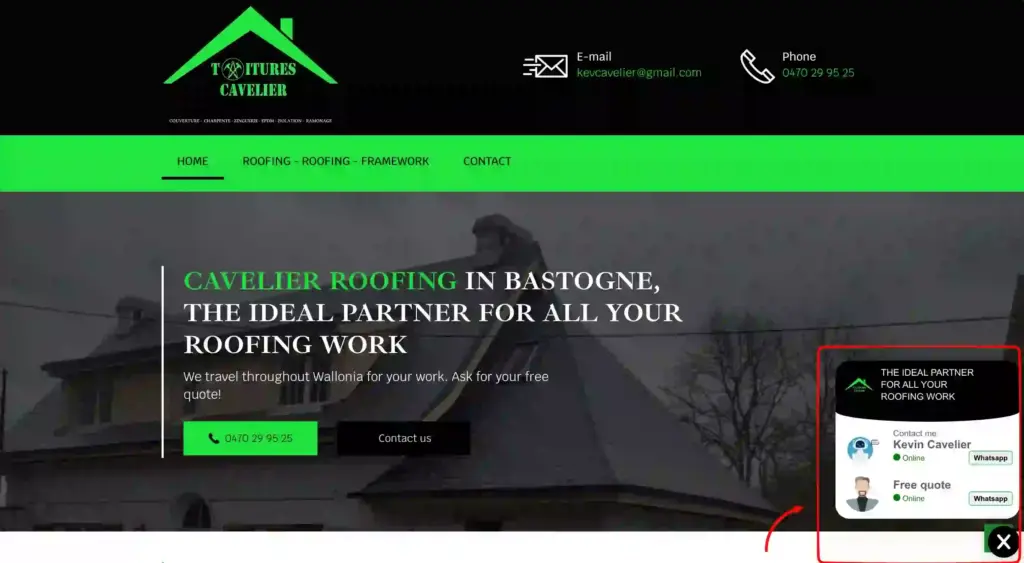
When a visitor taps it, WhatsApp opens on their phone or in their browser with your number ready. They never have to save your contact first. The chat itself happens inside WhatsApp. Your website simply hands the visitor over, which is why the conversation carries on long after they’ve closed the page.
Why should you add a WhatsApp chat widget to your site
A WhatsApp chat widget turns a browsing visitor into a conversation while their question is still fresh. It removes every step between wanting to ask and asking.
What changes once it’s live:
- Pre-sale questions get answered in minutes instead of days
- Mobile visitors reach you through an app already installed on their phone
- No phone system, no paid live chat seat, no extra inbox to watch
- Your number stays private until the visitor starts the chat
- The conversation continues after they leave your site
It fits any business where one question decides the sale. Restaurants taking bookings, clinics confirming appointments, agencies fielding scope questions, and WooCommerce stores answering sizing queries all get more from it than a static contact page.
Bonus Tips: Explore WhatsApp Business API for more advanced automation features and provide customer support at scale.
How to add a WhatsApp chat widget on your website for free
You can add a WhatsApp chat widget for website visitors in two ways. The first is manual: you tweak a bit of HTML and CSS in your site to build the button yourself. The second is a plugin, which suits WordPress users the best because it needs no coding and still gives you advanced styling and better control.
Difference between adding a WhatsApp chat widget manually vs. with a plugin:
| Method | Manual Embed | Using a WordPress Plugin |
| Coding needed | Yes, HTML and CSS | None |
| Setup time | Longer, and depends on your coding skill | About 5 minutes |
| Design control | Only what you can code yourself | Ready-made templates |
| Show on selected pages | Add the code to every page you want it on | Pick pages from a list |
| Hide on mobile or desktop | Needs extra code | A single toggle |
| Set availability hours | Needs a developer | Built in |
| Changing your number later | Update the code everywhere you added it | Change one field |
| Adding Messenger or Telegram | Repeat the whole process for each one | Add it to the same widget |
| Theme or builder updates | Can erase the code you added | Nothing breaks |
For one button on one landing page, write it yourself. For a business site, a plugin saves you from maintaining code you’ll forget you wrote.
How to add a WhatsApp chat widget to a WordPress website
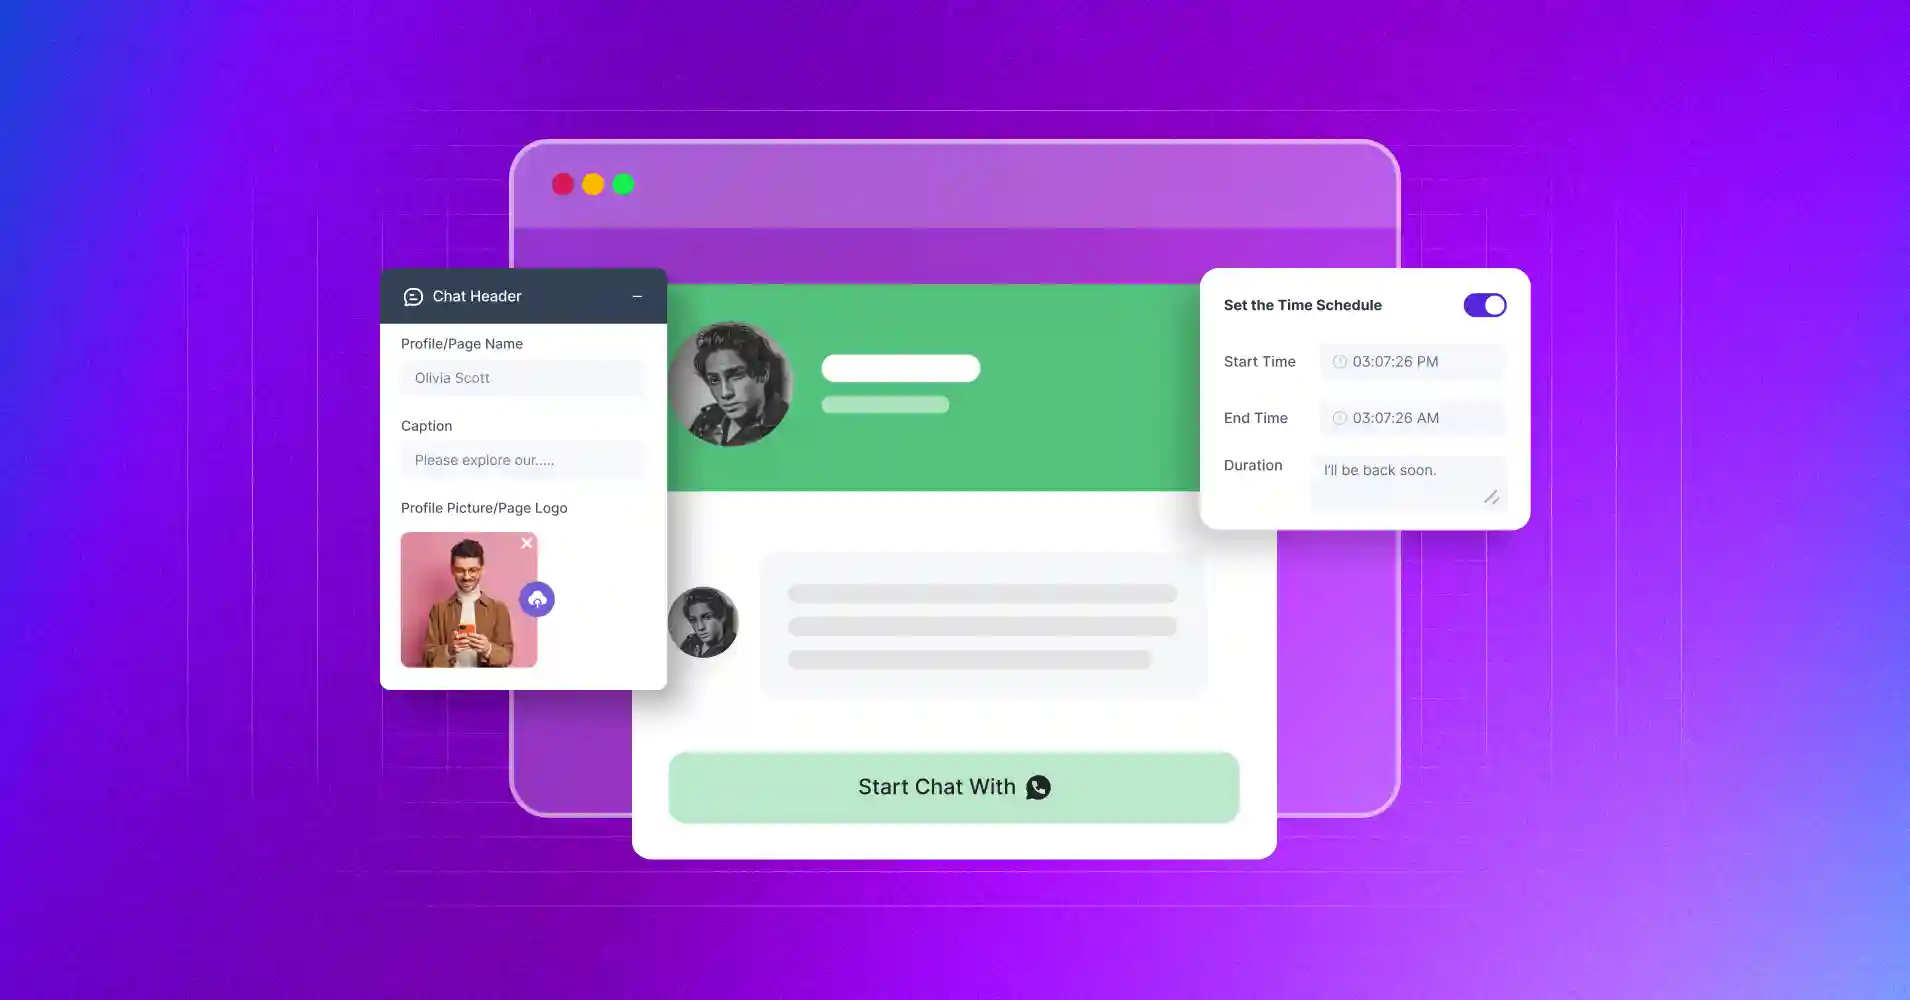
WP Social Ninja is the WhatsApp chat plugin I recommend for WordPress. It links your number to a floating chat button and gives you one settings screen to control how that button looks, what it says, and where it shows up.
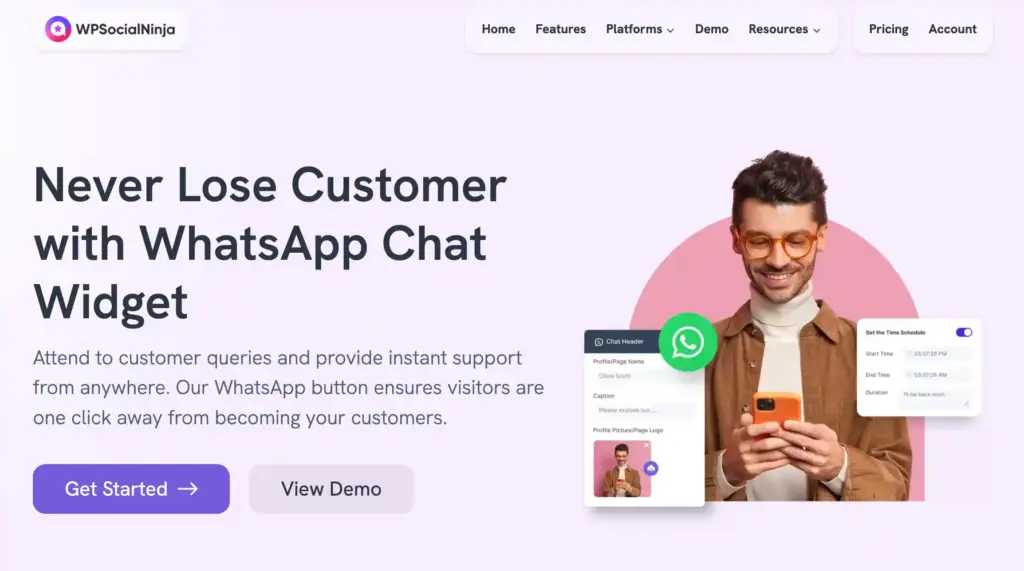
The free version is enough to build a free WhatsApp chat widget for website pages, with your own branding, colours, and display rules.
What the free version of WP Social Ninja gives you for your WhatsApp chat widget:
- WhatsApp chat widget with unlimited widgets across your site
- Chat header with your business name, caption, and logo
- Custom welcome message and chat button text
- Bubble position in any of the four corners
- Show or hide on specific pages, posts, and custom post types
- Separate visibility for desktop and mobile
- Colour controls for the header, title, caption, and bubble
- Drag-and-drop ordering when you run several channels
- Works with Gutenberg, Elementor, Oxygen, and Beaver Builder
WP Social Ninja is good enough for new businesses and for basic chat support. But if you want more, the Pro version offers more advanced features.
Here’s what WP Social Ninja’s Pro version offers extra for the WhatsApp widget:
- 14 more chat platforms, for 17 in total
- Prefilled message so the chat opens with text already written
- WhatsApp message context that passes the page title and link, or WooCommerce and FluentCart product details, into that message
- Custom message formats built from placeholders for product title, price, SKU, stock, and URL
- Availability scheduling with start and end times
- Online and offline status display
- Offline caption text so visitors know when you’re back
- Bubble text beside the button, such as “Need help?”
- Custom bubble icon upload
- Five chat bubble templates instead of one
- Custom CSS styling
Setting up the WhatsApp chat widget with WP Social Ninja takes about five minutes and no code. You’ll need WordPress 6.2 or higher, PHP 7.4 or higher, and a phone number already registered on WhatsApp or WhatsApp Business. Both number types work the same way.
Win your customers’ hearts with exceptional features
Discover how WP Social Ninja can assist you in designing outstanding customer experiences.
You can do it without writing any code. Here’s the guide you need to follow to get started:
Step 1: Install & Activate WP Social Ninja
- Go to your WordPress Dashboard
- Navigate to Plugins > Add New
- Search for “WP Social Ninja”
- Click Install Now, then Activate
Step 2: Connect WhatsApp Chat
- From the WP Social Ninja dashboard, go to Chat Widgets
- Click Add New Widget
- Select WhatsApp from the Add Channel option
- Add your WhatsApp number (with country code)
- Click on Save
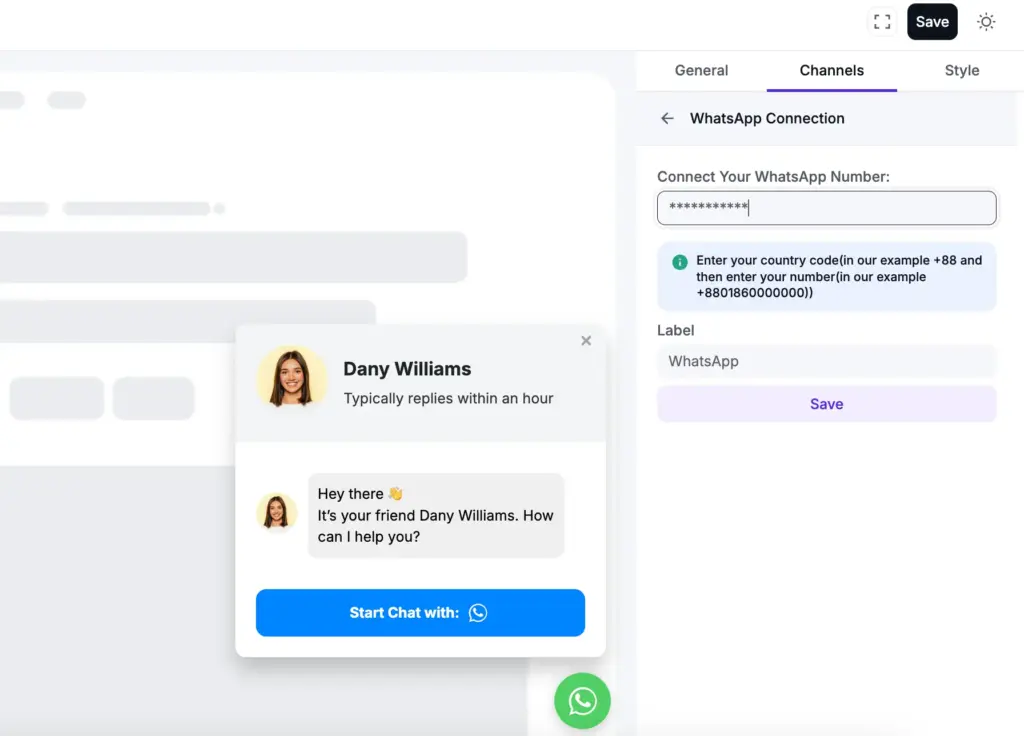
Step 3: Customize your chat box
WP Social Ninja gives you full control over how the widget appears on your site:
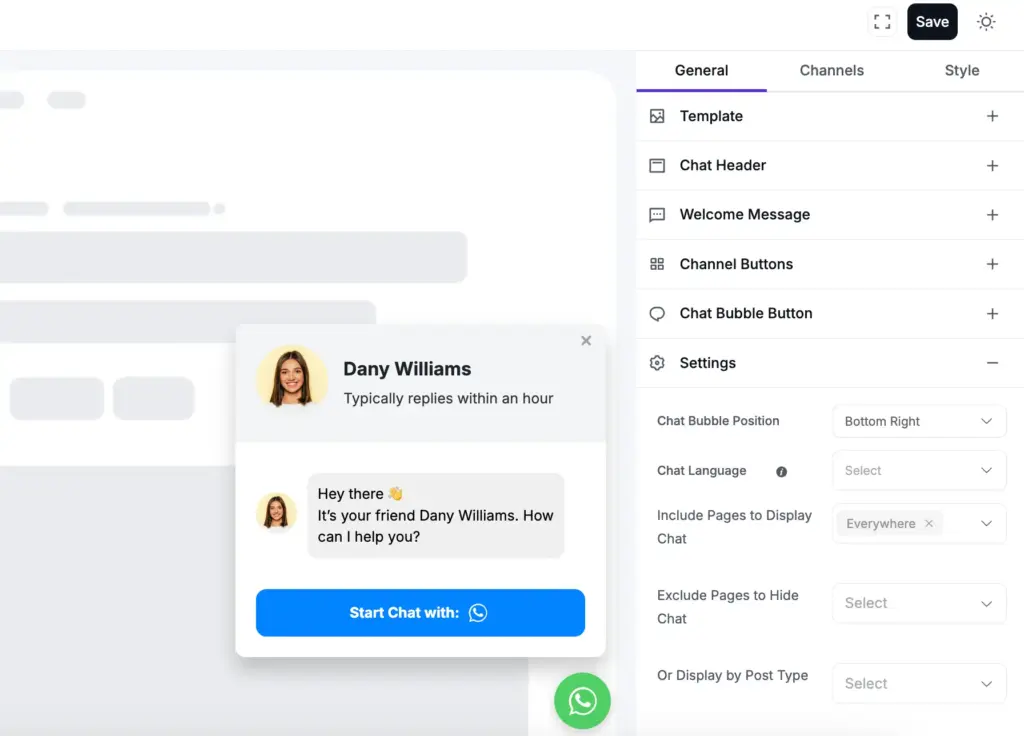
- Pick a chat template that fits your brand style
- Add a profile name, image, and catchy caption in the header
- Greet your audience with your personalized welcome message
- Show or hide the chat icon, update the button text, and prefill the input field
- Use the default bubble button or upload your own custom icon
- Decide where to display the chat box and include/exclude specific pages
- Choose to show the chat box on desktop, mobile, or both
- Set available hours with a time schedule for better communication
- Customize the color of the header background, title, bubble button, channel color, and others with the style option
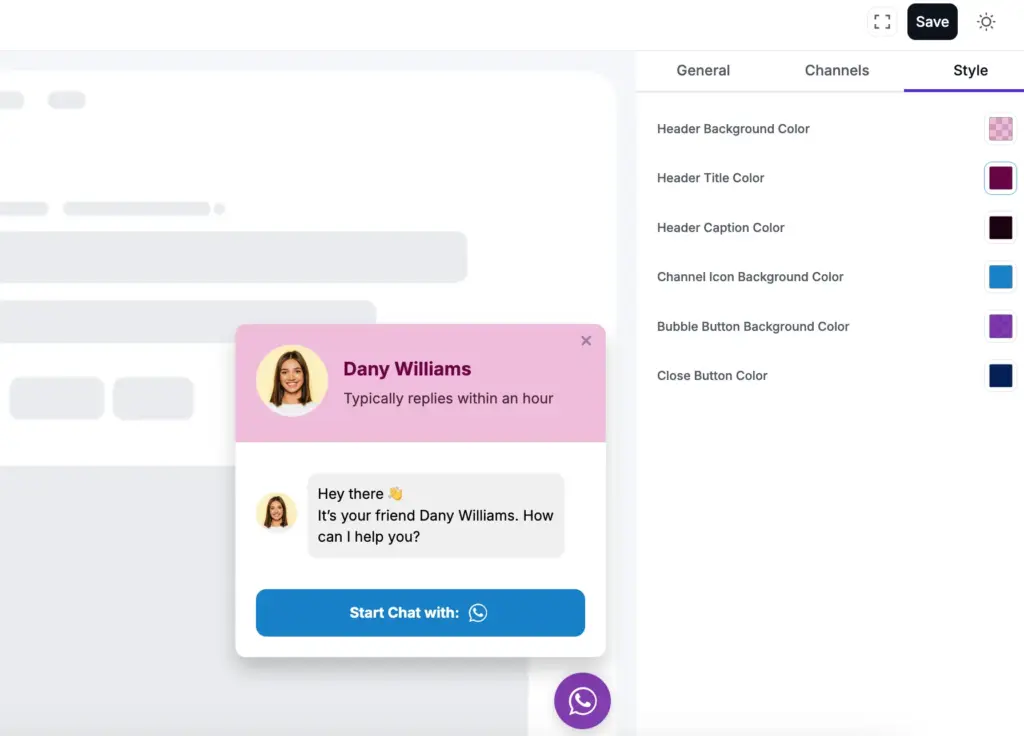
Step 4: Save settings
Once you’re happy with your setup, just save the Template. The WhatsApp chat box will now appear on your website and be ready for visitors to use!
How to add WhatsApp chat to an HTML site or Shopify store
Sites that don’t run WordPress use a WhatsApp link inside a styled button. Write your number in full international format with no plus sign or separators, so +44 20 7946 0000 becomes 442079460000.
For an HTML site, paste this before the closing </body> tag:
<a href="https://wa.me/442079460000?text=Hi,%20I%20have%20a%20question"
   class="wa-float" target="_blank" rel="noopener" aria-label="Chat on WhatsApp">
  Chat on WhatsApp
</a>
Use basic customization with this CSS snippet:
.wa-float {
  position: fixed; bottom: 24px; right: 24px;
  background: #25D366; color: #fff;
  padding: 12px 18px; border-radius: 32px;
  font-family: sans-serif; text-decoration: none;
  box-shadow: 0 2px 10px rgba(0,0,0,.2); z-index: 9999;
}
The text= part pre-fills a message so your visitor doesn’t start from a blank box. Spaces are written as %20.
Shopify works the same way. Go to Online Store > Themes > Edit Code, open theme.liquid, paste the block before </body>, then save and preview. The Shopify App Store also carries WhatsApp chat apps if you’d rather not touch theme files.

Get exclusive social media marketing tips and tutorials in your inbox!
WhatsApp chat widget not showing? Five things to check
When a WhatsApp chat widget doesn’t appear, a setting is usually responsible rather than a bug. Work through these before reinstalling anything.
- Number format. Drop the plus sign, spaces, dashes, and brackets. Country code first, no leading zero.
- Cache. Clear your caching plugin and your CDN, then reload in a private browser window.
- Display rules. Check whether the page you’re testing falls inside an exclusion rule you set earlier.
- Device visibility. Confirm the widget isn’t hidden on the device you’re viewing it on.
- Availability schedule. On Pro, a schedule set outside the current time hides the widget by design.
If the button shows but WhatsApp returns an error, the number isn’t registered on WhatsApp. Send yourself a test message from another phone to confirm.
Start connecting with your audience now
It is not only cool to have a WhatsApp chat widget on your website, but it is also about making things easier and faster between you and your visitors. When individuals can get an instant reply, it shows reliability, welcomes inquiries, and even seals the deal or solves the issue right there.
For WordPress users, WP Social Ninja makes the process smooth and stress-free. You don’t need to deal with a complicated setup or code. From choosing the look of your chat window to deciding when it should appear, everything is in your control.
Win your customers’ hearts with exceptional features
Discover how WP Social Ninja can assist you in designing outstanding customer experiences.
If you wish to build a more meaningful, interactive experience for your guests, the time to begin is now. Let your website speak for you, even in your absence!
FAQs
Does the chat widget work on both mobile and desktop?
Yes. It opens the WhatsApp app on mobile and WhatsApp Web on desktop, so the same button works whichever device your visitor is on.
Should I use my personal number or a business one?
Use a business number. Any WhatsApp widget puts the number in your page code, so a separate line keeps your personal one private.
Can my team answer from the same number?
Yes. Up to four devices can link to one account, which covers most small teams. Beyond that, the WhatsApp Business API adds proper chat assignment.
How do I make sure my number is entered correctly?
Country code first, no plus sign, no spaces, no leading zero. Test the live button on your own phone and check the number at the top of the chat.
Can I change my number later without rebuilding the widget?
Yes. Update one field in WP Social Ninja and every widget on your site routes to the new number. Your old chat history stays in the previous WhatsApp account, so export anything you need first.
Can I run different widgets on different pages?
Yes. Create as many widgets as you like, then use display rules to put a sales number on product pages and a support number everywhere else.

Subscribe To Get
Weekly Email Newsletter
Connect, Customize, and Display Social Feeds, Reviews, and Chat widgets

Trending Posts
-
-
 Mashfik Upal Aumy
 -





Leave a Reply