
How to Add Chat Widgets to Your Website (Step by step)


Are you looking for an easy way to add chat widgets to your WordPress website?
Integrating social chat widgets on your WordPress website works as a supporting tool. It improves your relationship with customers and creates a personal bond.
A chat widget for a website offers a quick response to existing and potential users. Moreover, you can assist in solving problems and uplifting website communication! So chances are high to convert site visitors into customers and provide real-time support.
Keeping your users happy and updated is one of the primary conditions that every website should ensure. Chat widgets are unlike support tickets and emails that take a while to respond to, so your site visitor gets a fast service and all the answers they were looking for! Let’s see how to add chat to a website. Shall we?
Why use chat widgets on your WordPress website?
Fast and interactive customer service is an integral part of any business. Typically, small business owners manage independently, while large companies hire support agents.
However, integrating the chatbox widget for WordPress has become a great way of communicating with website visitors. It is cost-effective and saves a lot of time. But is it worth investing in social chat? Let’s count down-
1. Answer your users’ questions
Regardless of your business type or size, your website needs uninterrupted customer support to answer all questions. Moreover, you need to overcome all the unsolved issues, suggestions, and criticisms they make.
Well, your social chat widget does that for you! When you have the power to control your website visitors and guide them in the right direction, you automatically reduce management overhead.
2. Improves user experience
Having a top-notch website with mediocre service doesn’t help your business. Your website is not just a promotional forum; it guides your users and provides them with what they need.
Moreover, integrating chat widgets for websites can save you valuable time. You can solve their issues right on the website without redirecting them to the assigned support agent. These improve your user experience, and happy customers can be transformed into brand advocates.
3. Increases conversion rate
Do you know chat widgets can boost customer satisfaction rate by 83.1%? Well, we all expect a quick response from the brand when we shoot for marketing or service-related queries. However, if you fail to meet the need, chances are high you could miss the opportunity to win over your customers.
Social chat is a great way to create a bridge between brands and customers. Studies show that 2.8% of users are more likely to end up buying the product if they engage with a chat agent. Moreover, 38% of consumers say they feel positive about buying a product after having a good conversation with the chat agent. (Source: Campaign Monitor)
How to add chat widgets to your WordPress website?
Only analyzing and knowing the benefits doesn’t help your business. There are plenty of chat widget plugins available. Some of them are free, and some are paid. So you need to find out the best chat software for business to build strong relationships with the users.
In this part, we’ll show you a step-by-step guide on how to integrate WordPress chat widgets into your site. Don’t worry, because we’ll use the best WordPress chat plugin, and for that, you don’t even need any coding skills.
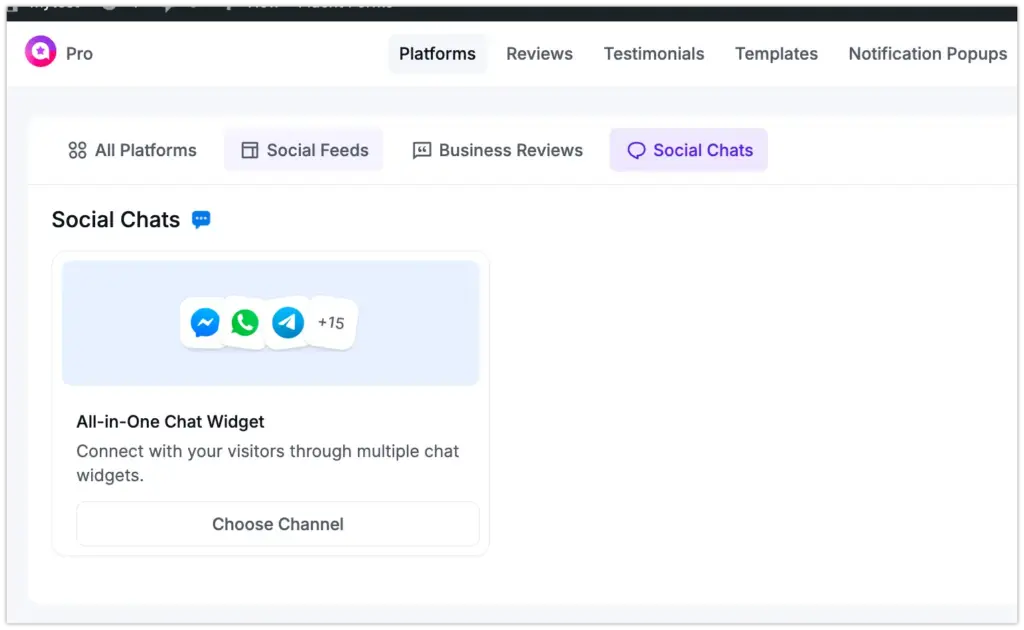
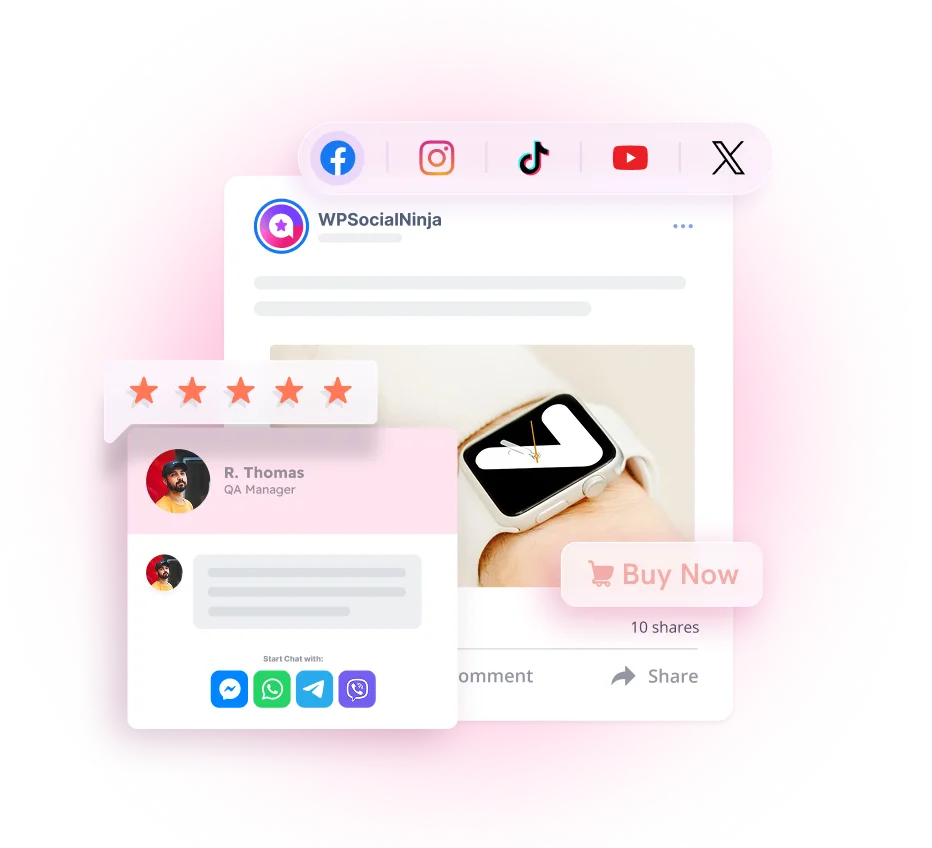
For demonstration purposes, we are using the all-in-one social media tool- WP Social Ninja. This social tool has 15+ chat widgets for websites, and you need the least effort to integrate this. into your website. For details, read our user guidelines.
Let’s do it!
Messenger configuration
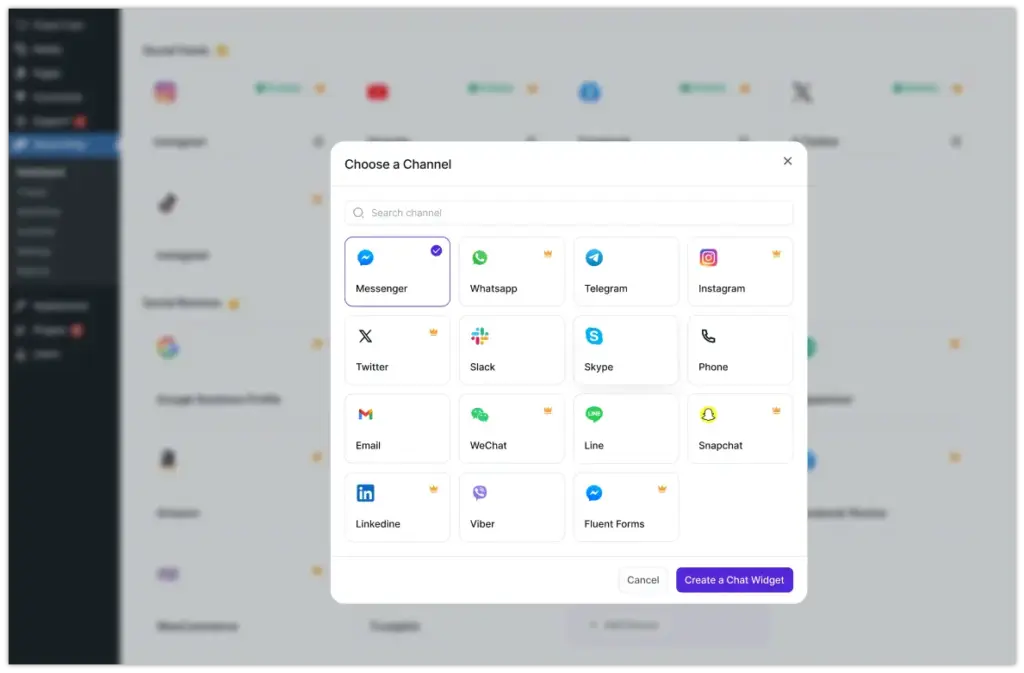
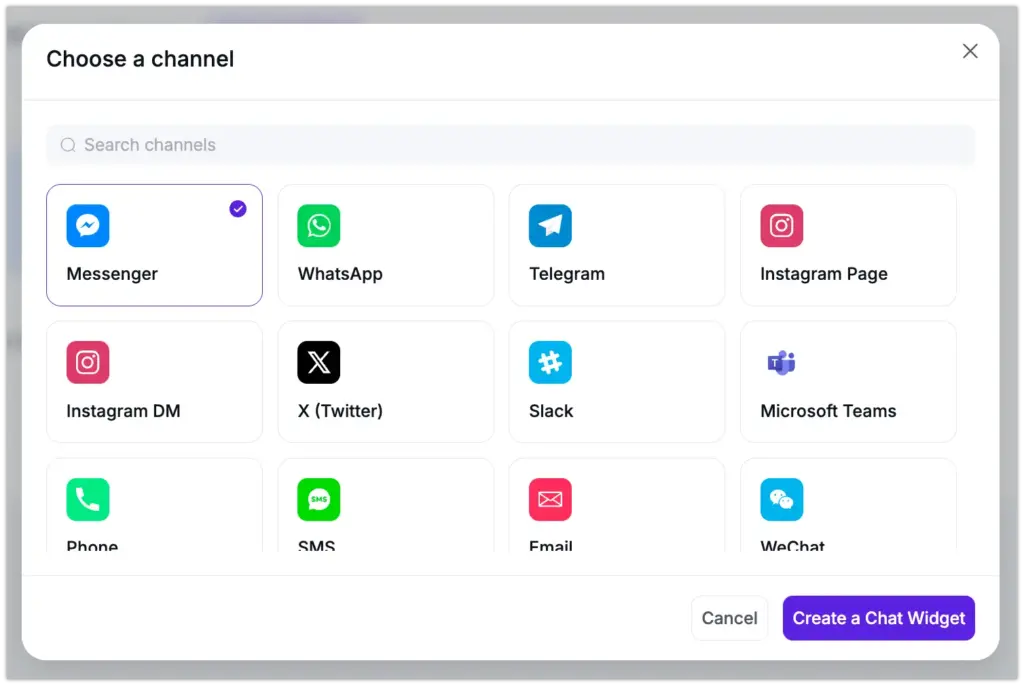
The Messenger chat widget comes with the WP Social Ninja free version. Click on the Create New Widget button to add a new chat widget.
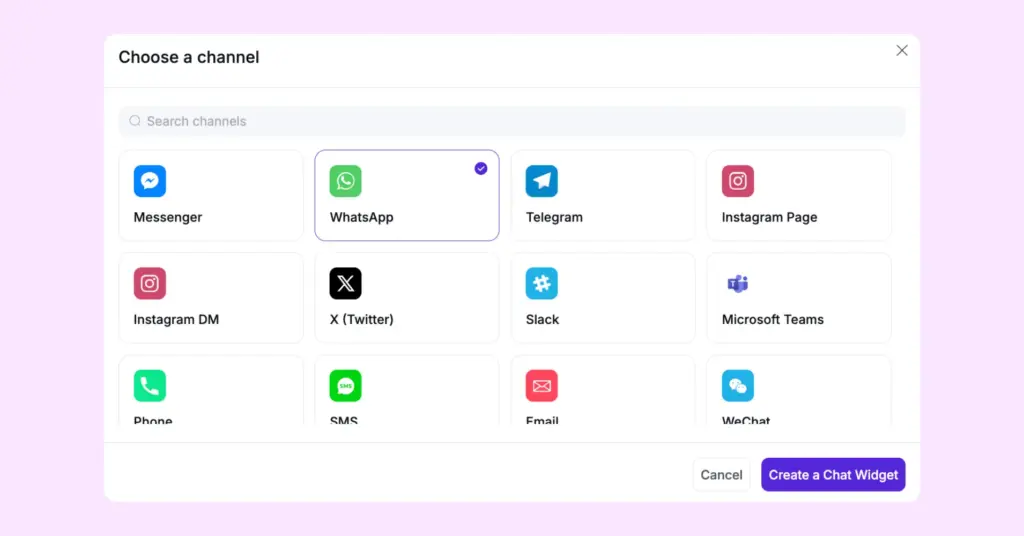
Then click the Add Channel button to connect to the chat widget and select the Messenger icon.
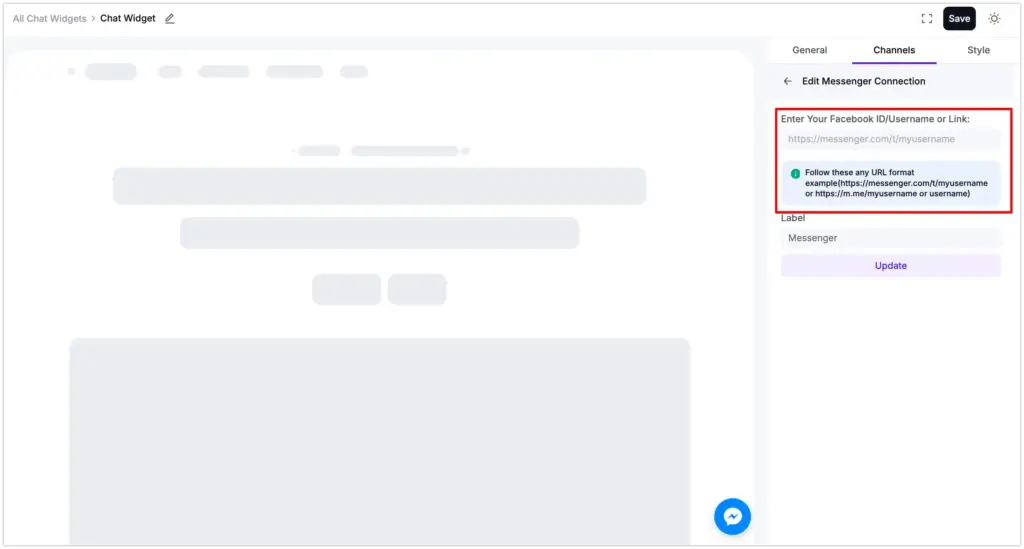
Next, you need a Facebook ID/Username or Link to insert in the box.
Log in to your Facebook account. Suppose you need a User ID. The first thing you need to do is click on the profile & Go straight to the URL.
User ID
Here, you can see the URL, facebook.com/gutend3v. To obtain the user’s id, copy after the slash and paste it on the Messenger Configuration. For instance, gutend3v.
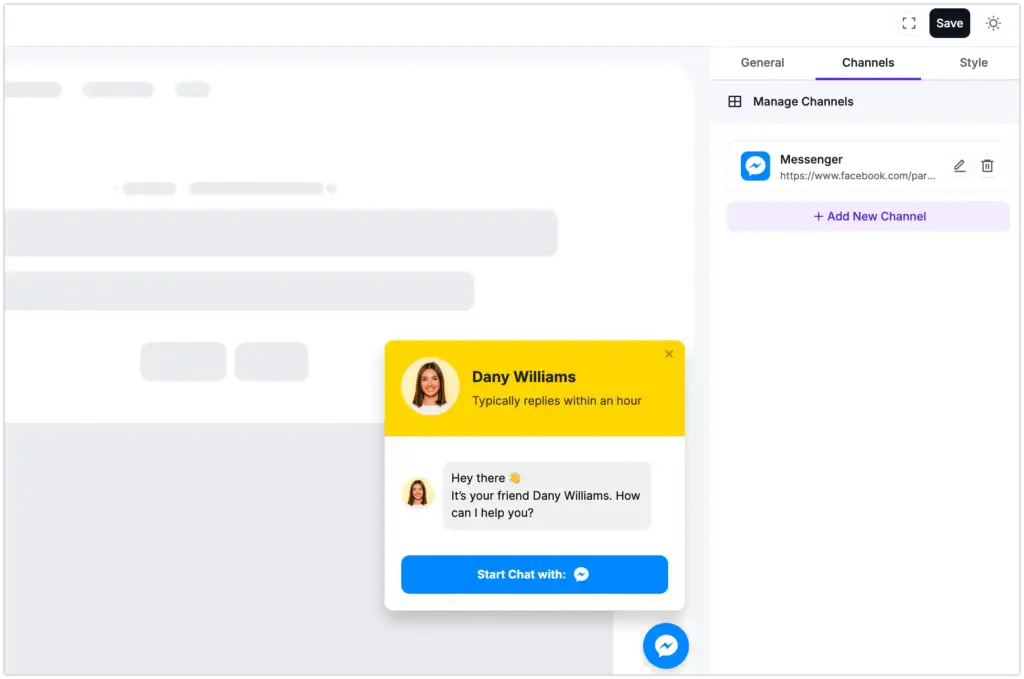
Now, click on the Save button, and you will get a Success notification. You can even click on the Edit icon to edit the link or the Delete icon to remove it.
Page ID
Similarly, you need Page ID or Group ID to configure. However, some IDs may vary, but the process is just the same.
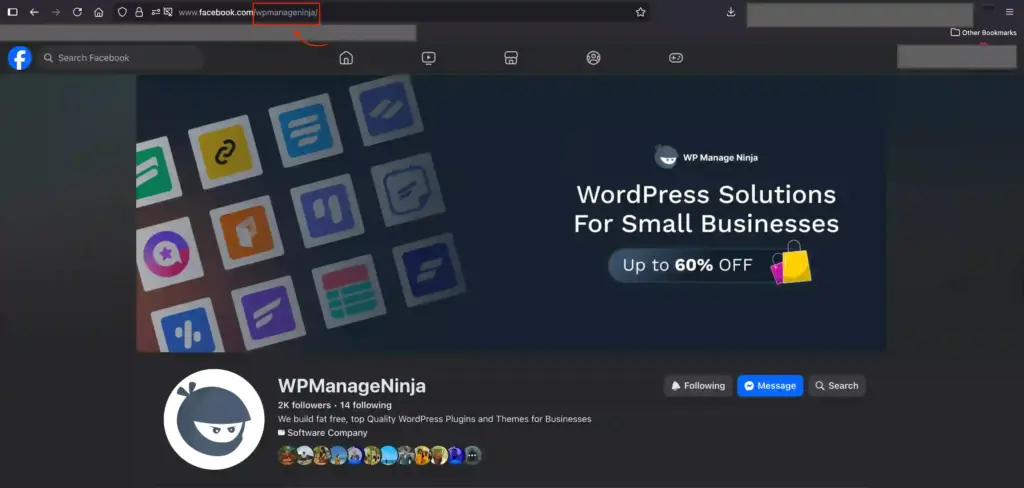
Similar to User ID, you can click on the URL and, after the last slash, copy the ID. Now, paste it into the Messenger Configuration and click on the Save button.
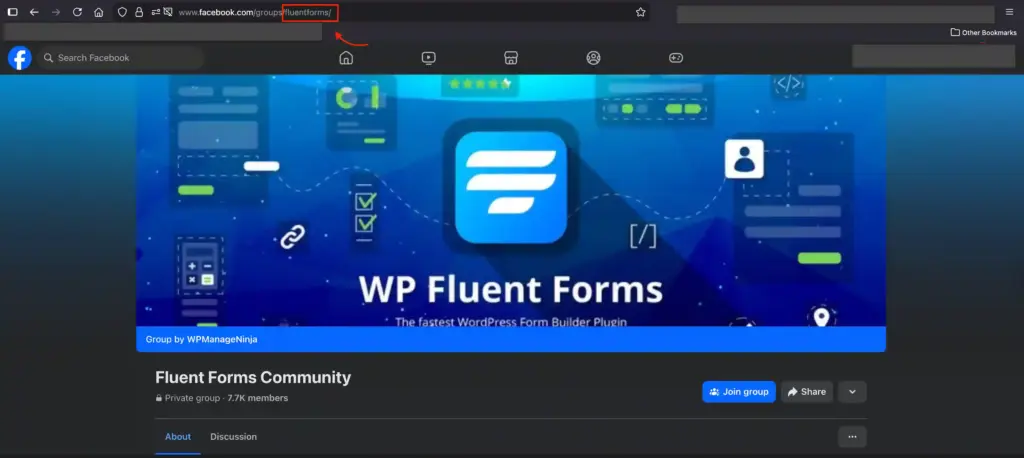
Group ID
To collect Group ID, copy and paste it to configure it on Messenger.

Click on Save, and you’ve successfully connected Messenger for communication!
WhatsApp configuration
Studies show WhatsApp has approximately 2 billion active users worldwide. If your website has a WhatsApp chat widget, you gain significant advantages over competitors. Let’s take a look at how you can attach WhatsApp to your Page.
First, click on the Add Channel button and tap the WhatsApp icon.
Here, you need to provide your country & phone number, then click Save to connect to the WhatsApp chat widget.

Next, click the WhatsApp icon to start a conversation.

Telegram configuration
WP Social Ninja has a Telegram chat as well. To connect your Telegram ID to your WordPress website, follow the steps below.
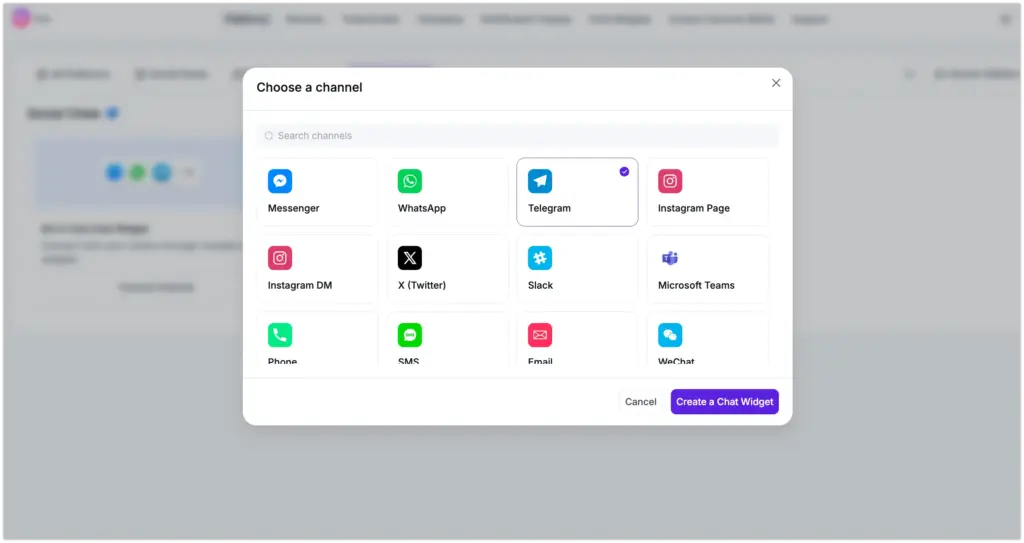
Firstly, click on the Add Channel button and tap the Telegram icon.
Here, you need to provide your User ID/link and click on the Save button.
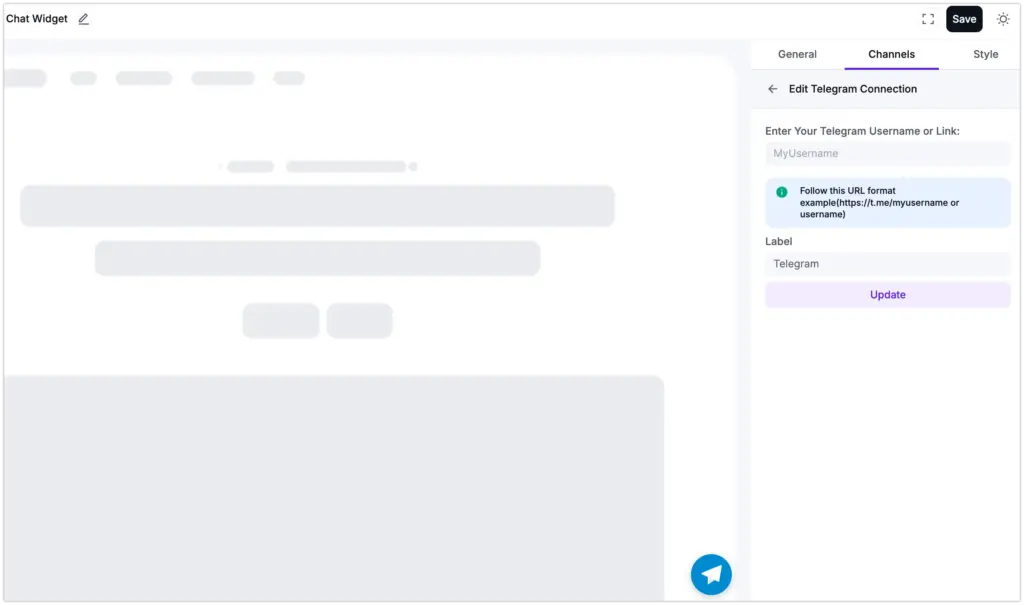
Once you have successfully saved the Telegram User ID, click on the Telegram icon to take you to the Telegram window.
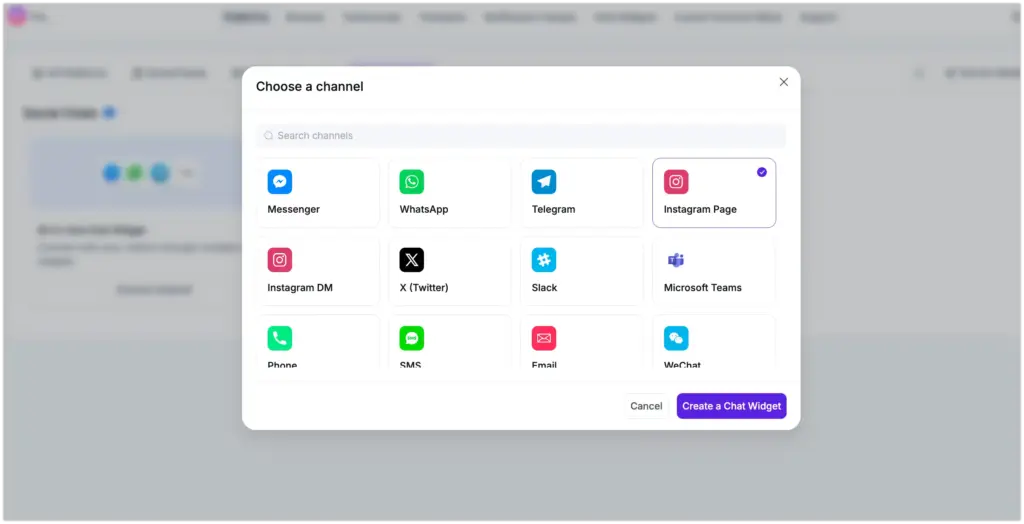
Instagram configuration
WP Social Ninja lets you add an Instagram Page or DM to your website and create an Instagram widget. To do so, you need to select the platform first.
Then you need to provide your Instagram username/link, and then click the Save button.
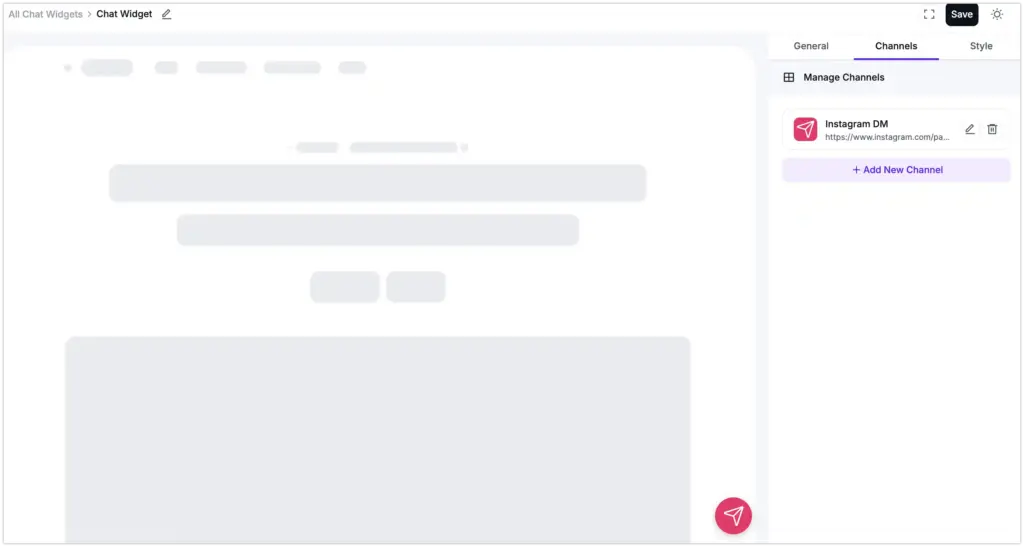
And your Instagram chat widget will be connected!
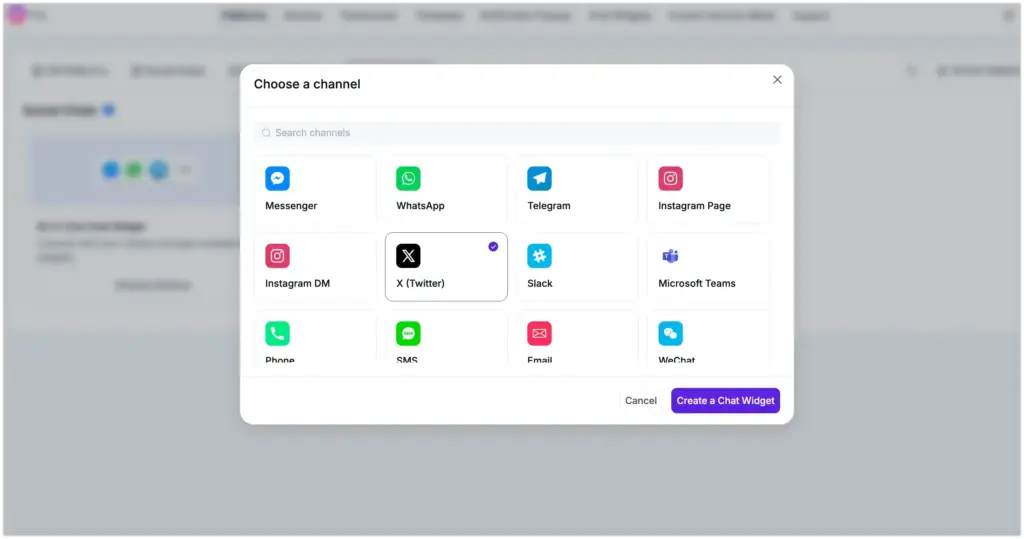
X (Twitter) configuration
How to create a X (Twitter) widget? WP Social Ninja made it super easy. From the dashboard, click the Add Channel button to connect to the X (Twitter) chat widget.
Provide your X (Twitter) username/link and click on the Save button.
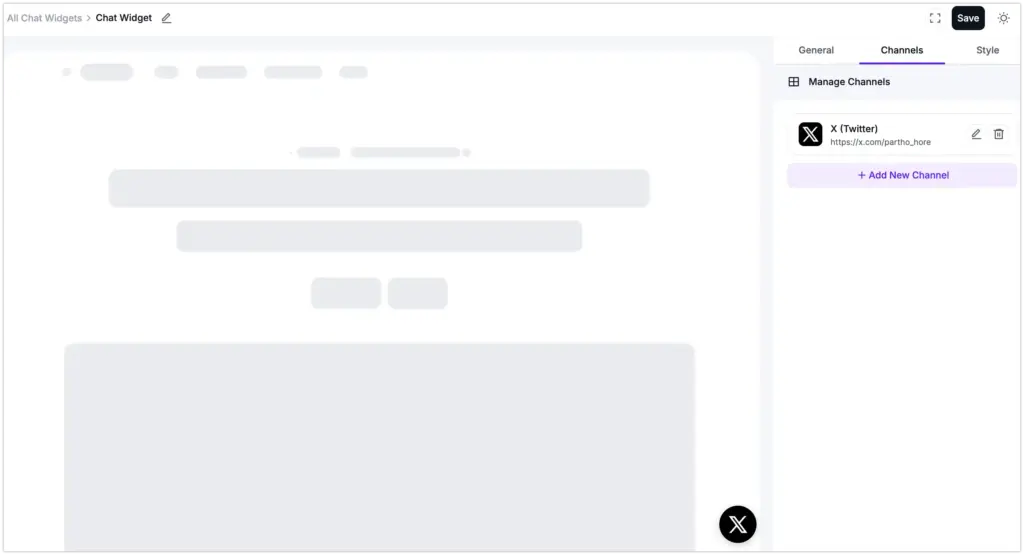
Now, click on the Twitter icon on the chat bubble and interact with your users instantly.
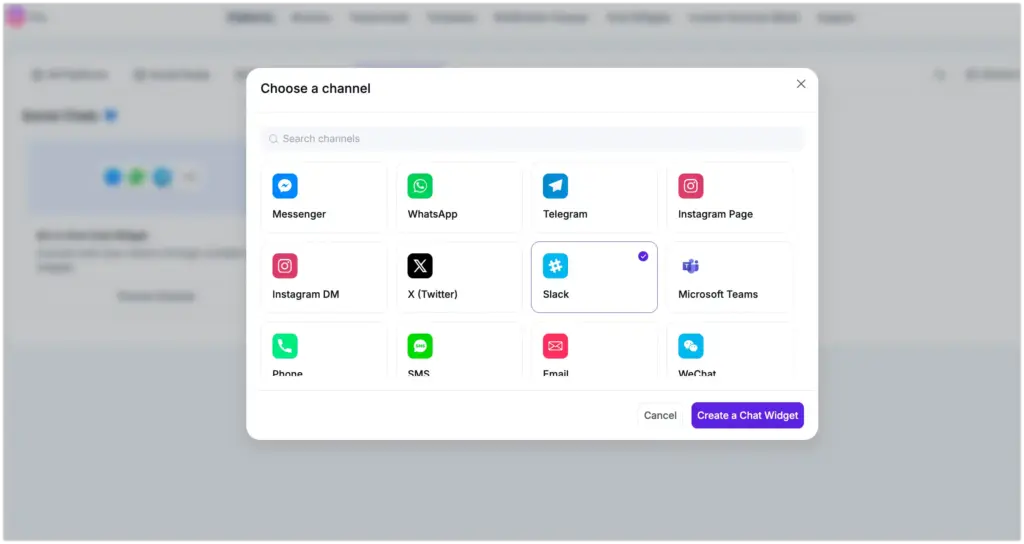
Slack configuration
To configure Slack on your WordPress website, click Add Channel and pick the platform icon.
Once you insert your Slack username/link, click on the Save button.
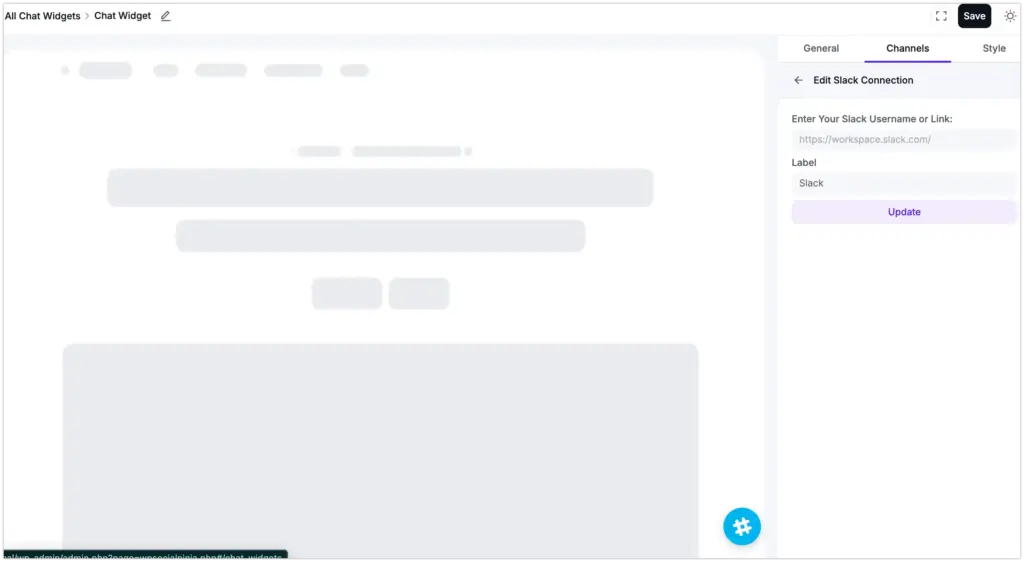
Next, simply click on the Slack icon and take your communication to another level.
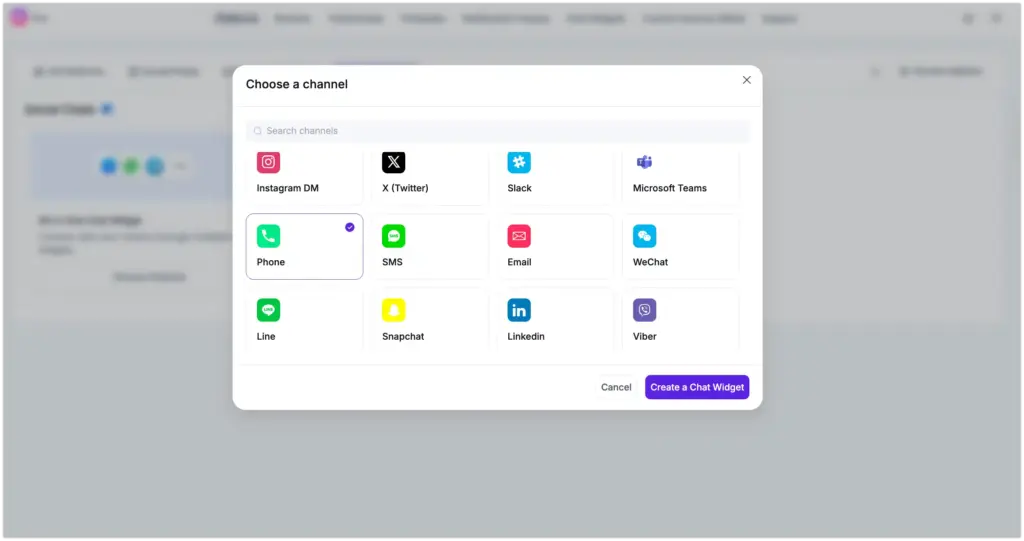
Phone configuration
At first, click the Add Channel button to connect to the chat widget & select the Phone icon.
Give your Phone number and click on the Save button.
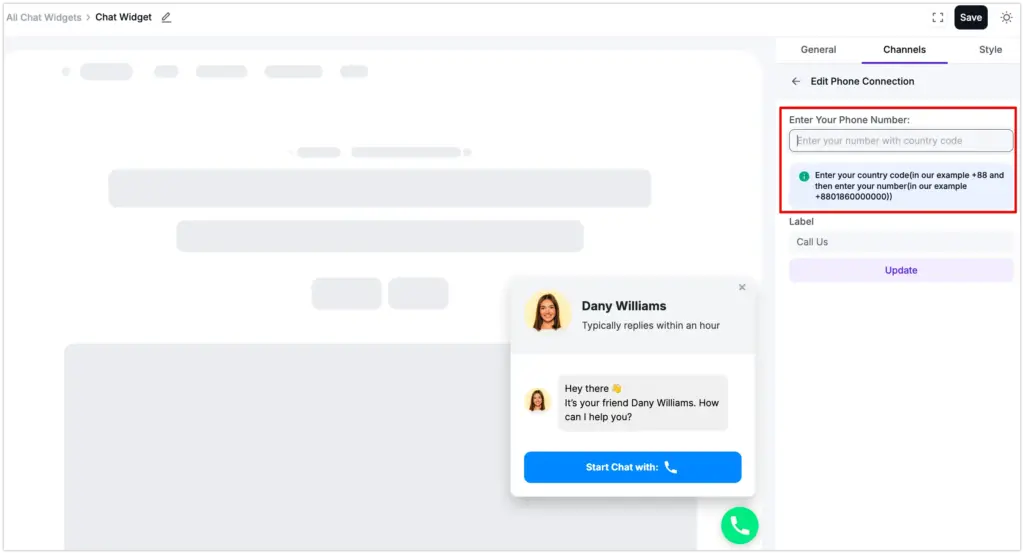
To start communicating, click on the Start Chat with button and speed up your interactions.
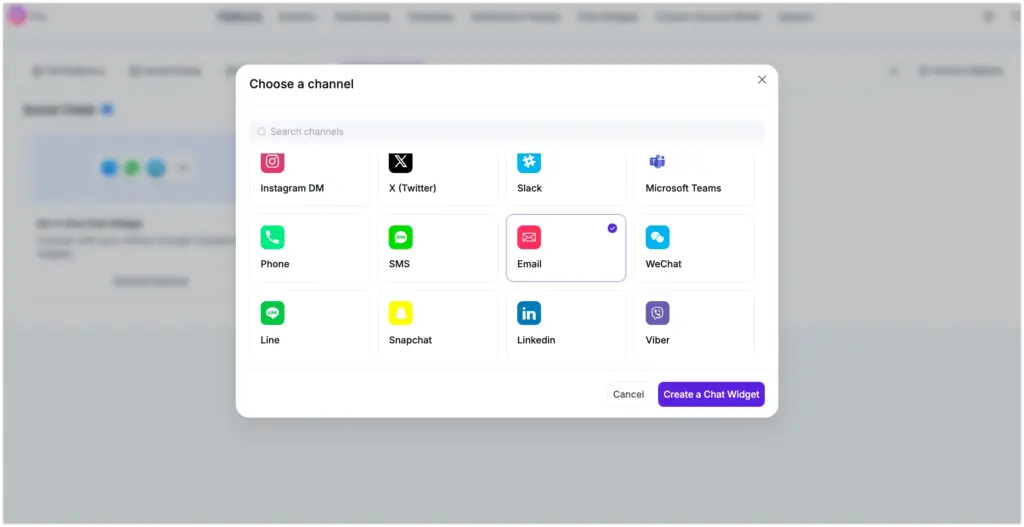
Email configuration
With WP Social Ninja, you can also configure the Email chat widget. To do that, click the Add Channel button and select the Email icon.
Here, you need to provide your Email Address and Click on the Save button.
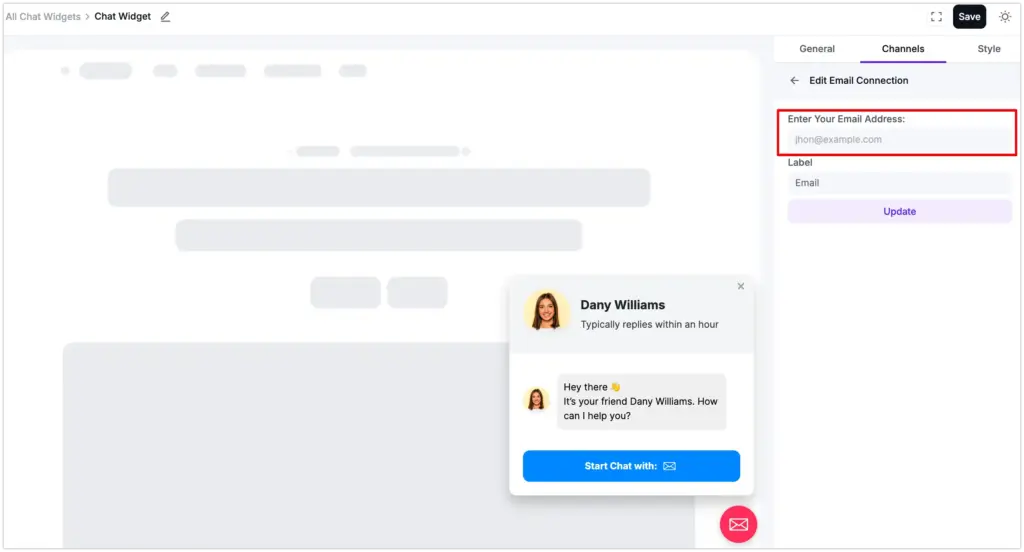
Now, click on the Email icon, and you are all set to start.
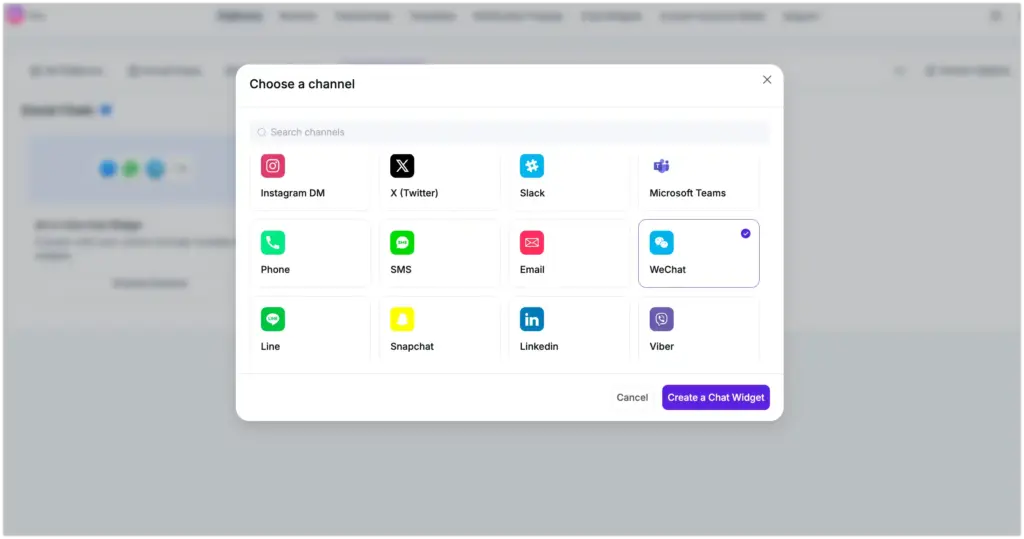
WeChat configuration
WeChat is the most popular messaging app in China. And the all-in-one social tool WP Social Ninja has the WeChat configuration to grab global users.
Click the Add Channel button to connect to the WeChat chat widget.
Here, you need to provide your WeChat User ID and Click on the Save button.
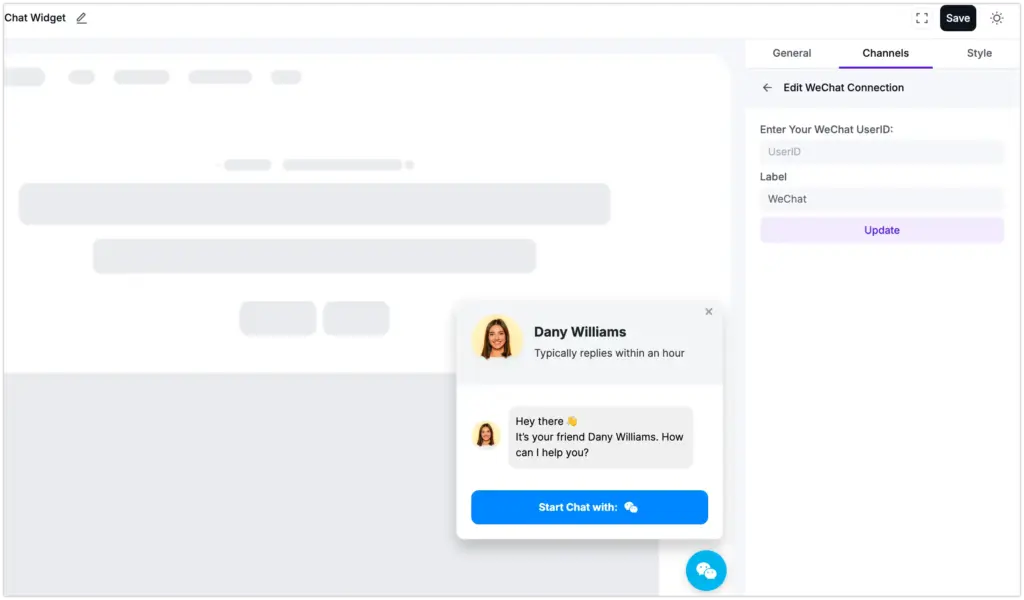
To begin chatting, all you need to do is click on the WeChat icon.
Line configuration
To configure Line on your WordPress website, you need to click on the Add Channel button.
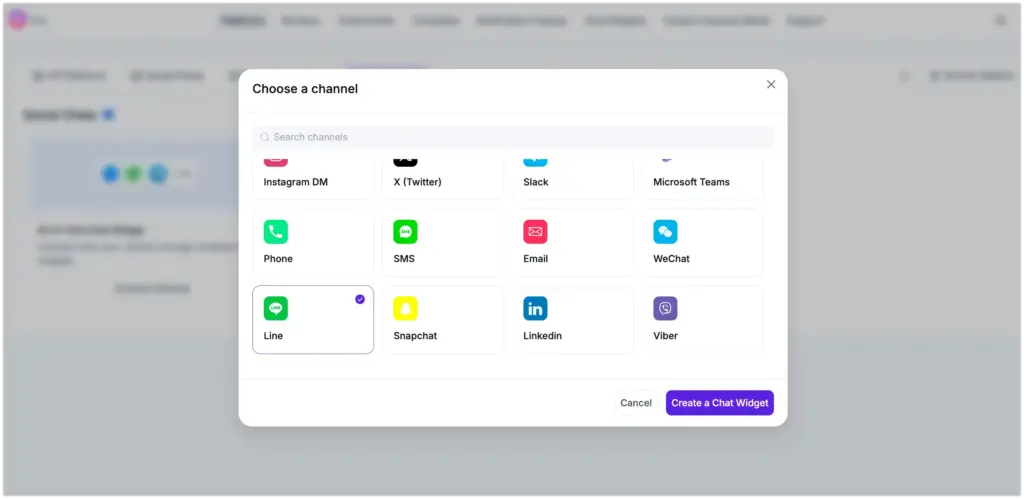
Here, you need to provide your Line ID/link and click on the Save button.
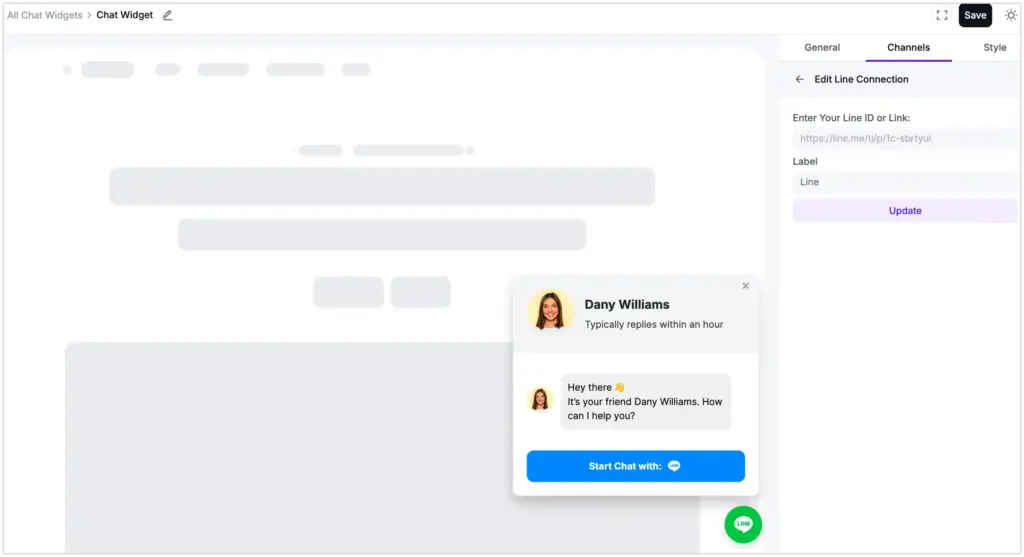
Click on the Line icon on the chat bubble.
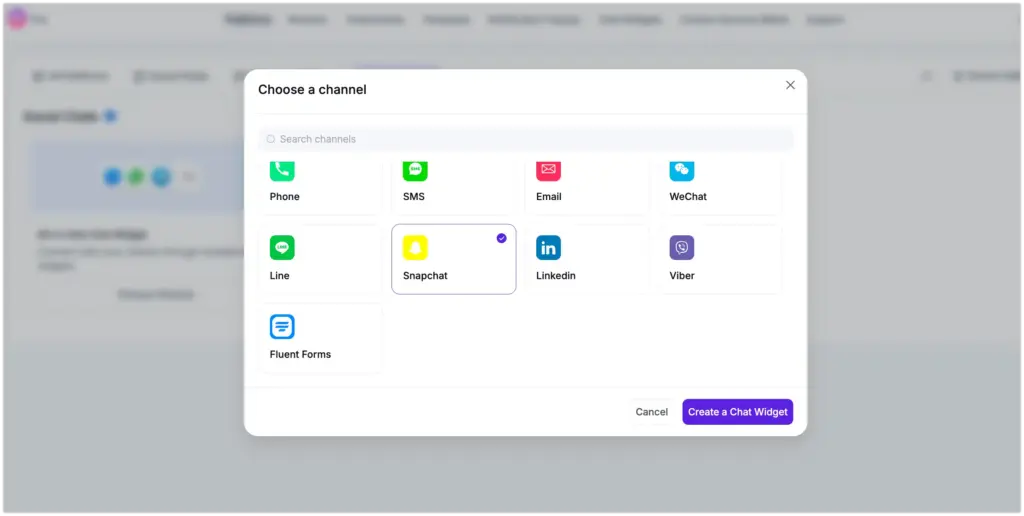
Snapchat configuration
Snapchat integration with WP Social Ninja takes a few clicks, and you can easily connect with the chat widgets. To start, click on the Add Channel button and select the Snapchat icon.
Enter your Snapchat username, then click the Save button.
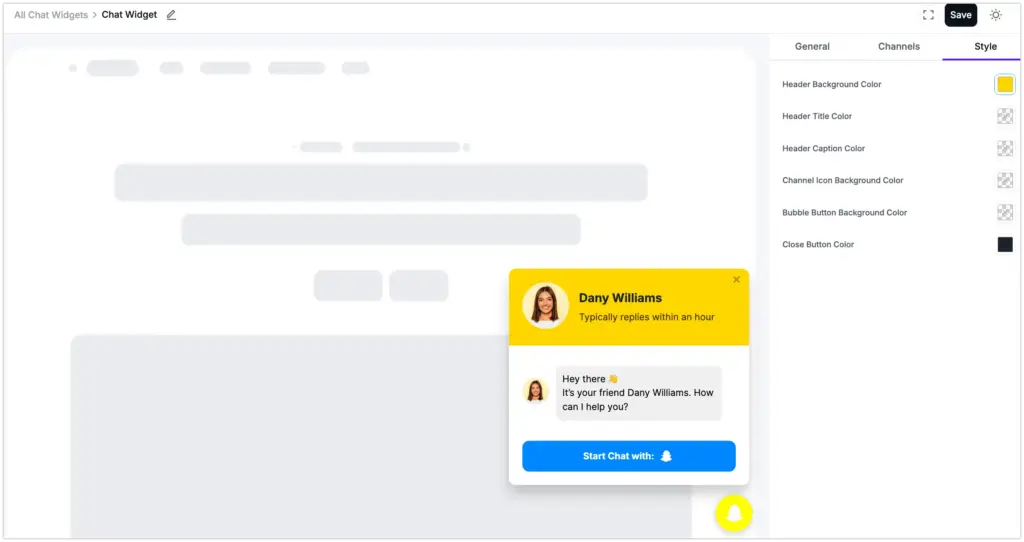
Now click on the Snapchat icon and start a conversation with your users!
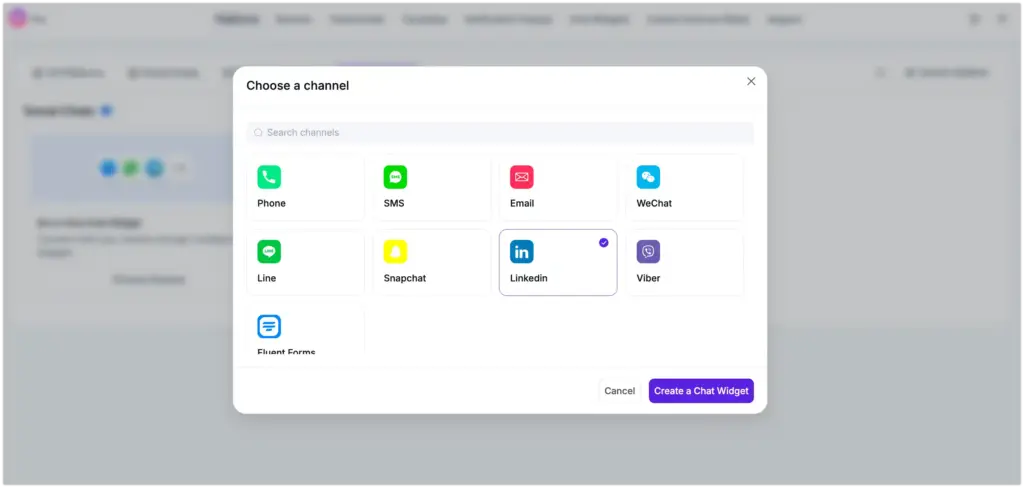
LinkedIn configuration
LinkedIn is one of the most powerful social platforms today. WP Social Ninja allows you to connect your WordPress website with the LinkedIn chat widget. To do that, click the Add Channel button to connect to the chat widget.
Here, you need to provide your LinkedIn username/link and click on the Save button.
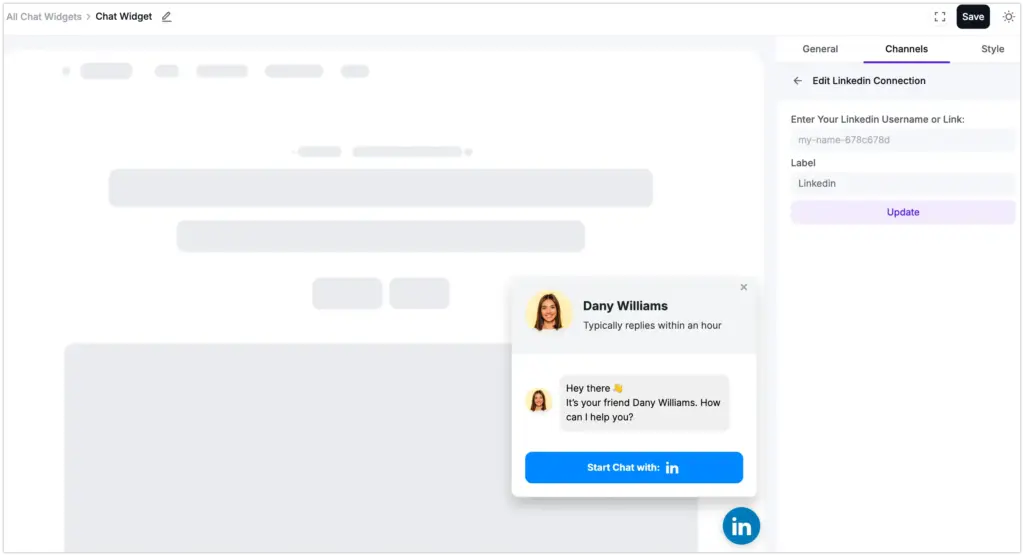
Then click on the LinkedIn icon, and your users can reach out to you instantly.
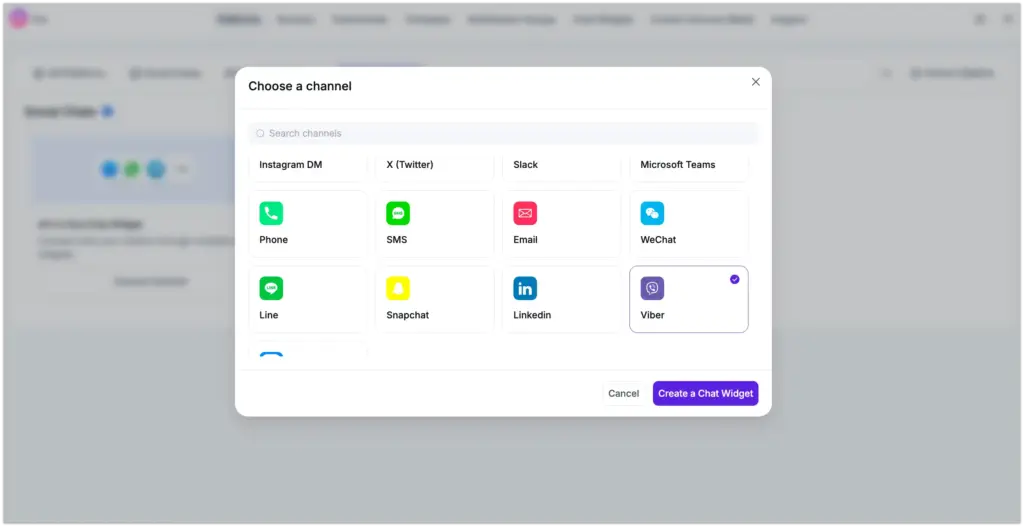
Viber configuration
Viber chat widget integration with WP Social Ninja doesn’t take much. Click the Add Channel button and select the Viber icon.
Once you insert your Viber mobile number, click on the Save button.
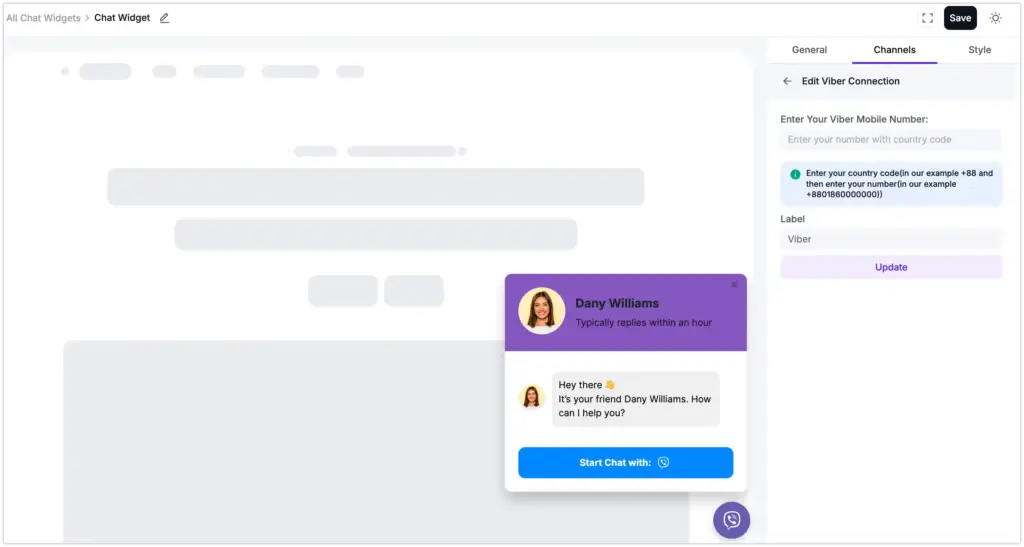
Then click on the Viber icon to initiate communication.
Fluent Forms Chat Widget
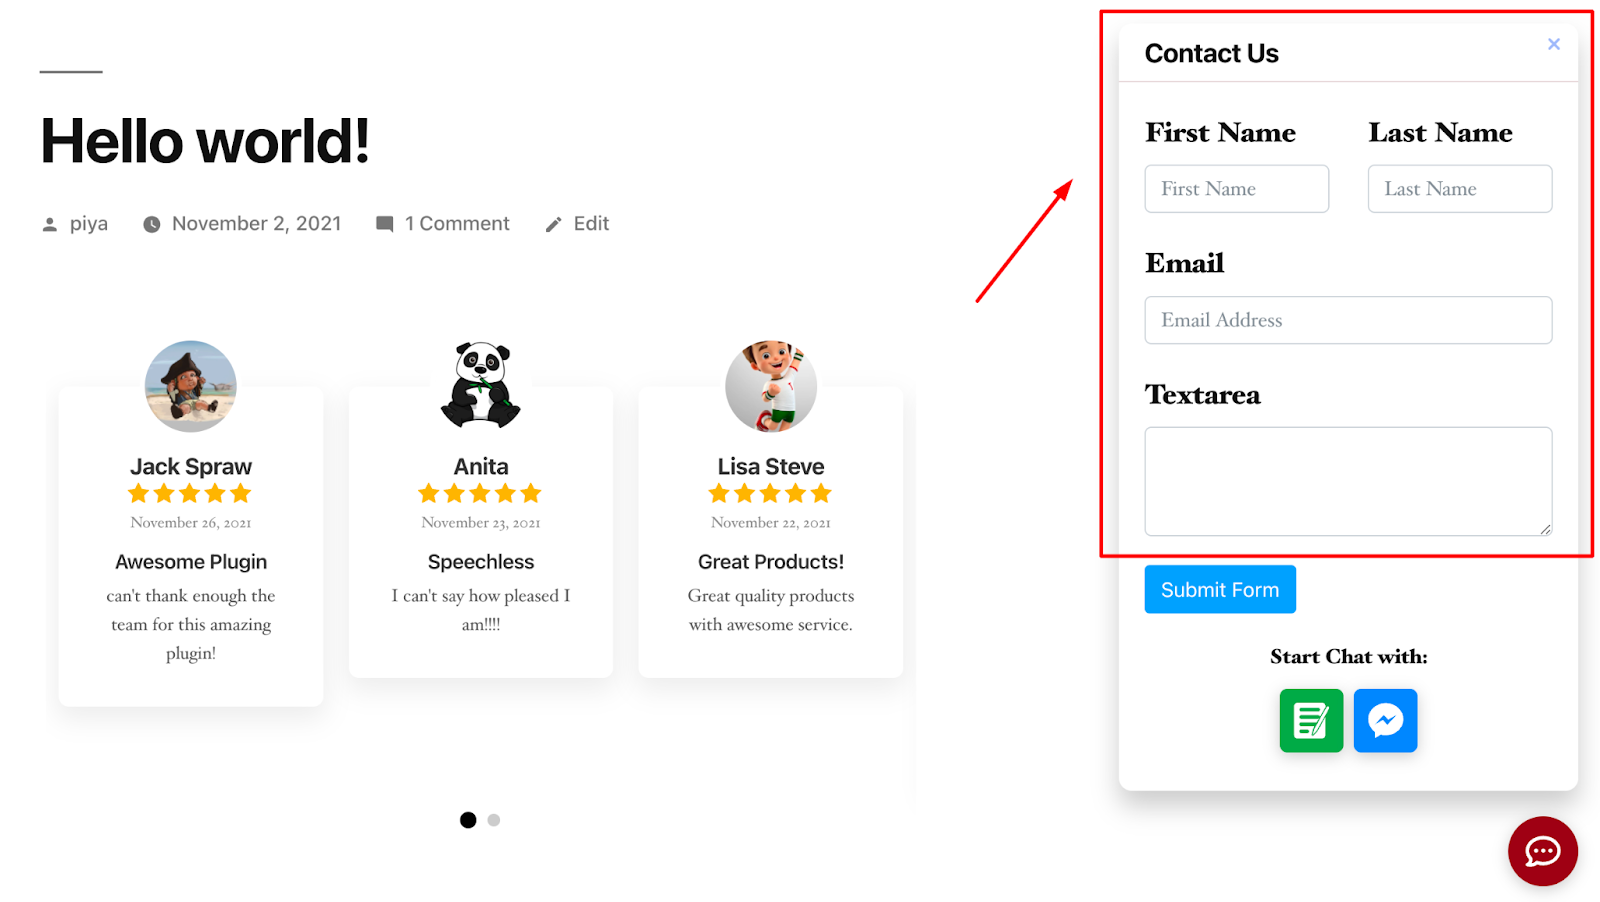
Do you know you can integrate Fluent Forms with WP Social Ninja social chat widget? Now, from your dashboard, you can collect a lead from the contact form and create a database from your users’ information.
Go to Chat Widget and click on Add New Widget.
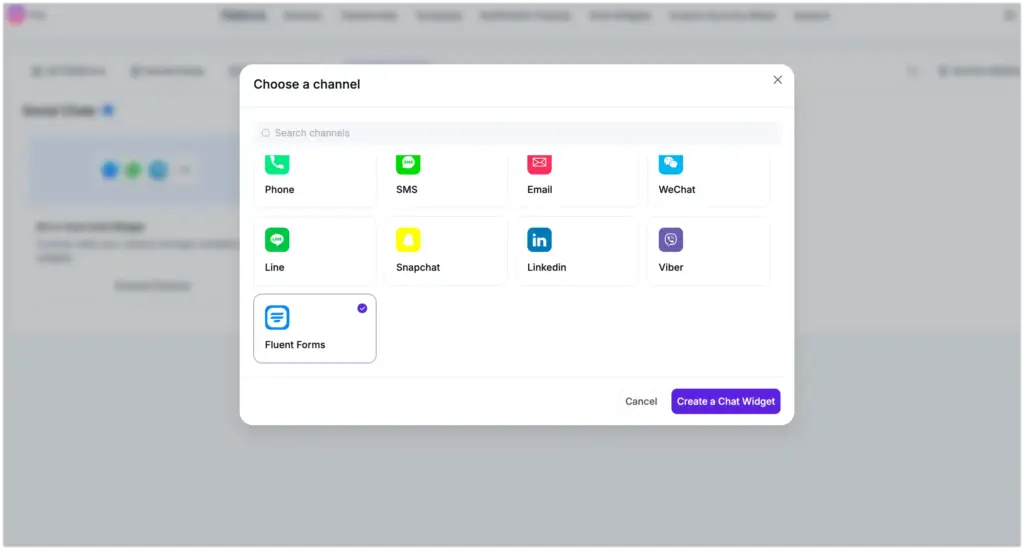
Once you are in, go to the Channels and click on Add Channel. A new box will pop out. Scroll down a little bit and choose Fluent Forms.
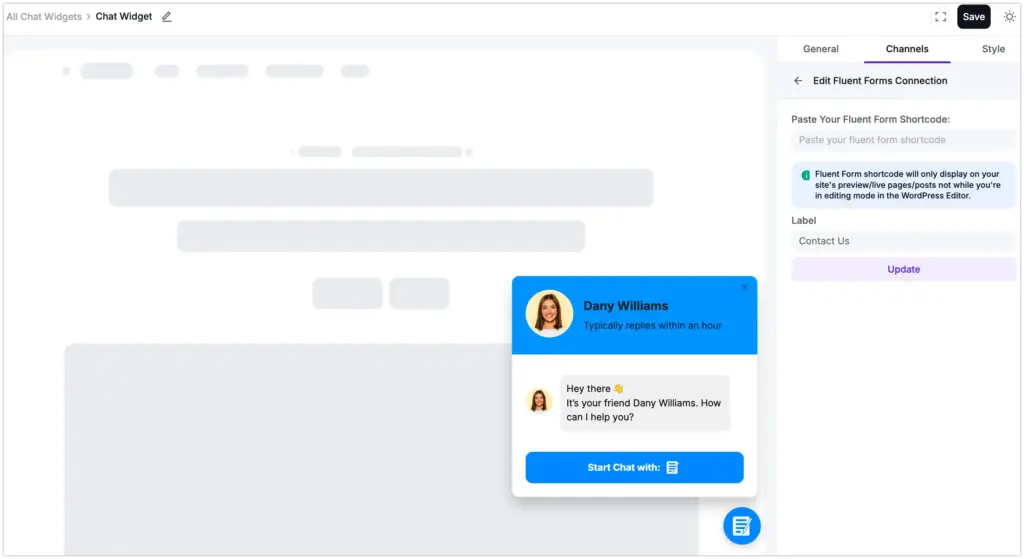
To connect Fluent Forms chat widgets, you need to paste the form Shortcode in the box. So, paste the copied Shortcode in the Paste your Fluent Form shortcode box.
Make sure to press the Save button.
Final thoughts
Communication is one of the most powerful elements that you need to cover to run your business successfully. For that, you need the best WordPress chat plugin. A WordPress chat plugin is cost-effective and opens so many doors for your business, and lets you integrate chat widgets for websites.
In this article, we tried to help you with the best WordPress social chat plugin, WP Social Ninja. And the best part is, along with the chat widget, this multipurpose tool comes with online reviews and social media feeds.
Win your customers’ hearts with exceptional features
Discover how WP Social Ninja can assist you in designing outstanding customer experiences.
If you thought this was useful, join our Facebook Group and follow us on Facebook, X (Twitter), and YouTube for more informative social media tips to help you grow your business.

Subscribe To Get
Weekly Email Newsletter
Connect, Customize, and Display Social Feeds, Reviews, and Chat widgets


Trending Posts
-
-
 Mashfik Upal Aumy
 -
 Mashfik Upal Aumy


Leave a Reply