

How to Do Google Reviews Settings on Your WordPress Website (Part 2)


Have you read our article on Google reviews settings part 1?
Embedding Google reviews on your website is a great way to improve your visitor engagement. While it is helpful, it can be complicated if you’re not a tech-savvy person.
However, with the right social media plugin, you don’t need to worry anymore! Let’s check out how to do Google reviews settings with WP Social Ninja in just a few clicks.
Google reviews settings Template Layouts
When you embed Google reviews on your WordPress website, it becomes easy for the users to understand the business. Moreover, WP Social Ninja is not just about fetching reviews for your website. It has stunning features and functionalities to give your website a unique look.

Below you’ll find out the steps for how to adjust Google reviews Template Layouts on your website.
Source
Google reviews configuration was easy, right?
Now, it’s time to change your Google reviews settings Template Layout, click on the Source button on the right side, and a drop-down menu will appear.
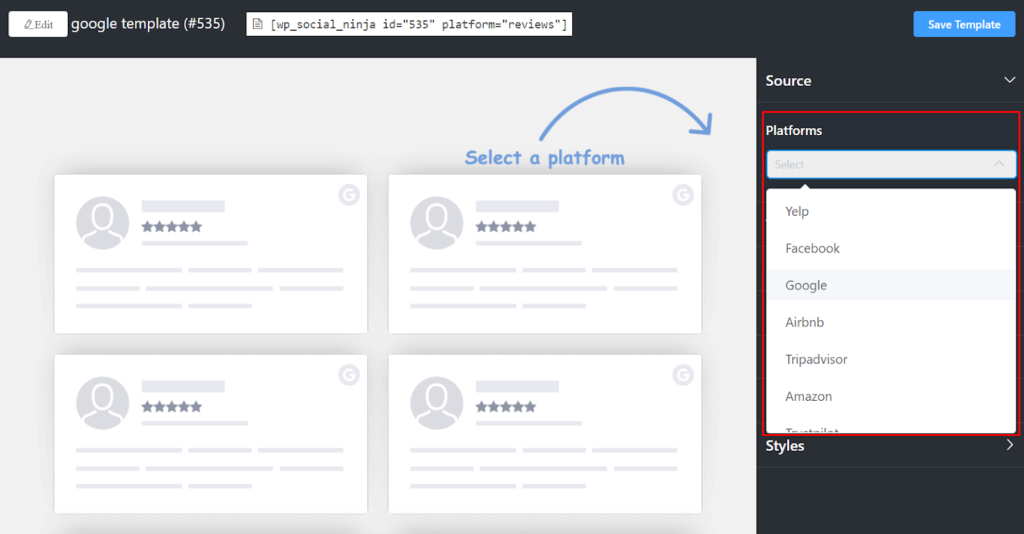
You may Select a Platform, or you can select more than one Platform.
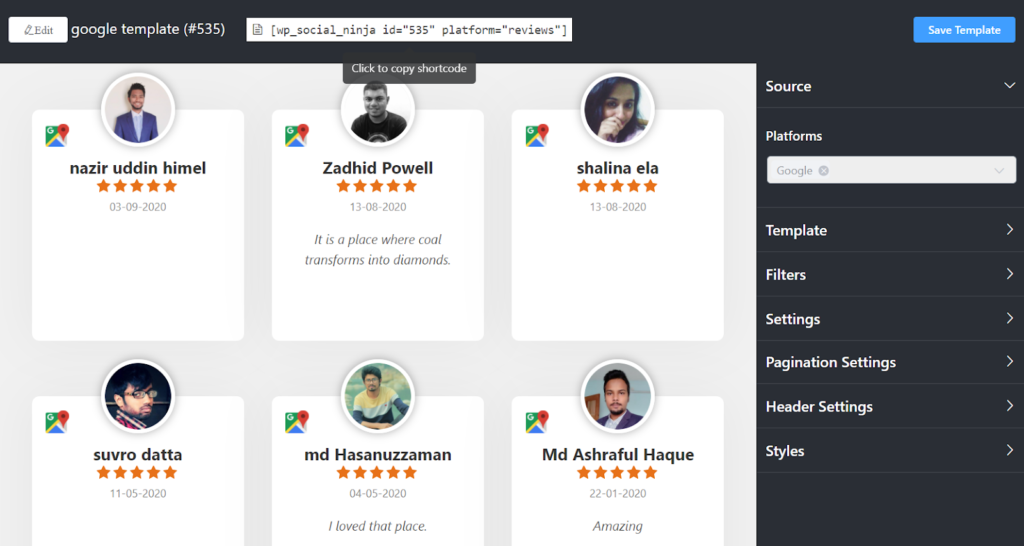
Here, for demonstration purposes, we have selected the Google Platform. And once you choose the platform, all the Reviews/Recommendations will appear automatically on your screen.
Now let’s look at how you can easily adjust your Google reviews settings Template Layouts using WP Social Ninja to decorate your website.
Template
To change your Layout Type, click on the drop-down menu from the right side of the settings panel.
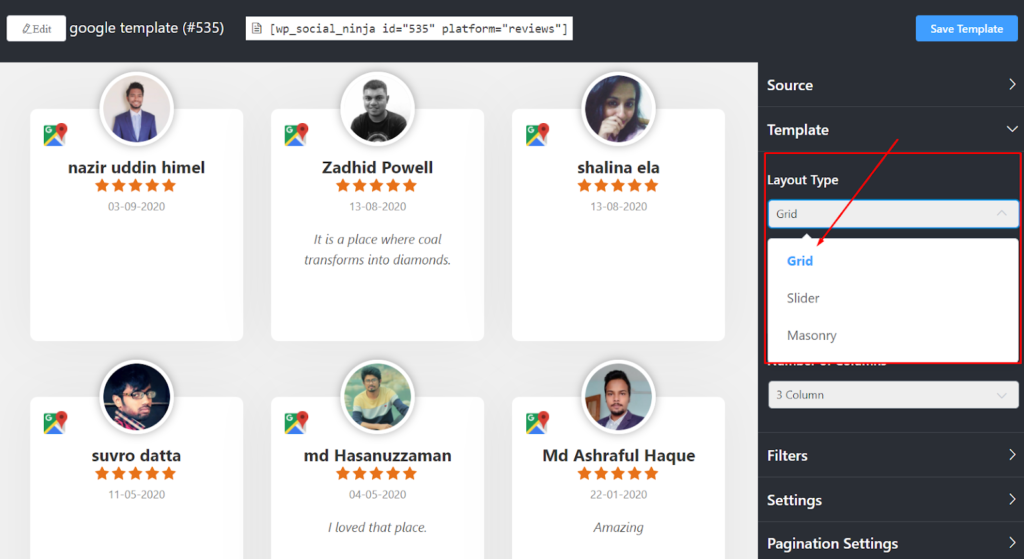
Three Types of Layouts are available right now. Grid, Slider, and Masonry – these Layouts have unique designs to structure your website contents.
Here, Layout Type Grid is selected, you may also choose Slider or Masonry.
Template Types
The next layout is to Select a Template. In this part, you can give a new look to your Layout. Nine Template Types are available right now.
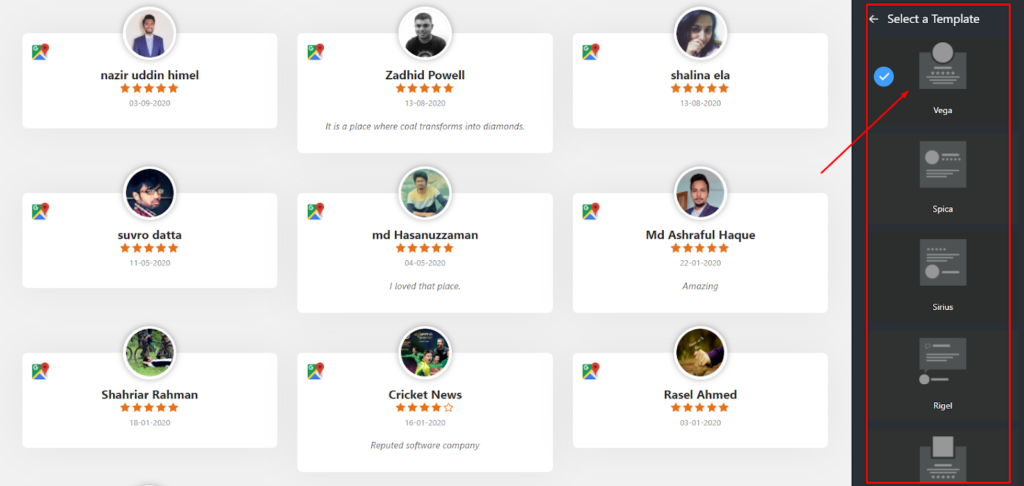
Vega, Spica, Sirius, Rigel, Procyon, Pollux, Mimosa, Hadar, and Deneb. Like Layout Types, different Templates can entirely change the outlook of your website.
Number of Columns
After Template Types, the next is the Number of Columns. Click on the Number of Column button, and a drop-down menu will come up.

Here, you can choose from column options. Right now, we have 1 Column to 4 Columns. In our demonstration, 3 Columns are selected to display Google reviews settings on your site.
Filters
A Filter will allow you to display your social reviews in several ways. Next is the Number of Reviews. Under this section, you may adjust the numbers according to your brand.
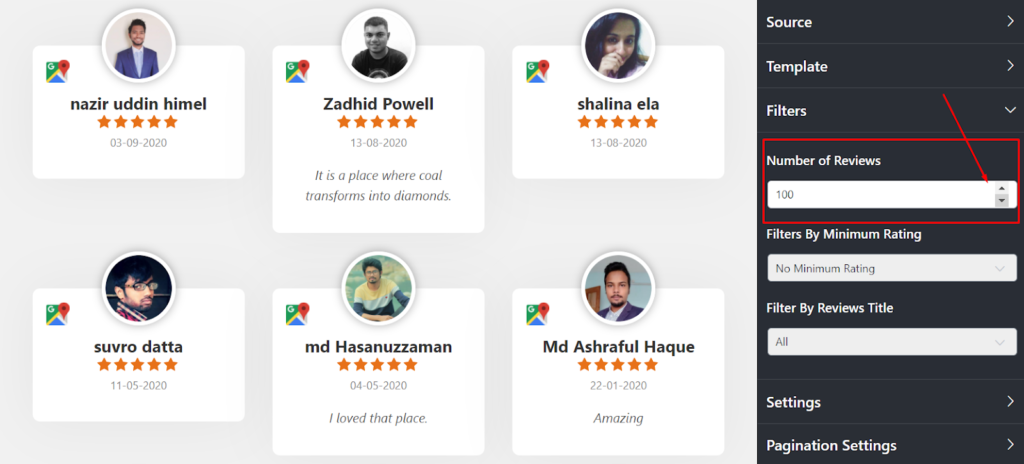
For Google, you can select more than 100 reviews from the settings panel.
Filters by Minimum Rating
Well, WP Social Ninja even allows you to filter your Review Ratings! If you want to add only a specific number of stars, you have that option as well.
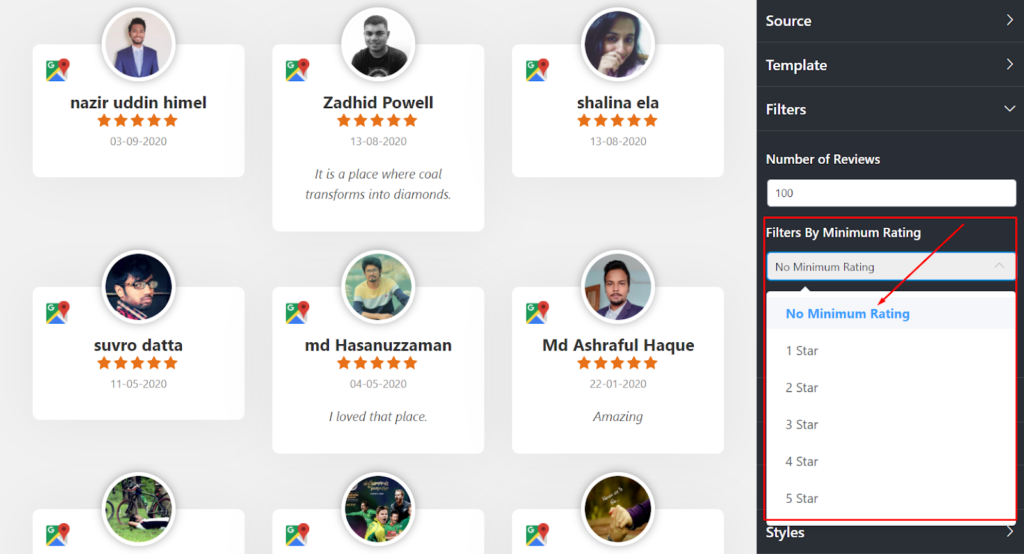
You will have six options to choose from No Minimum Rating to 5 Stars to display your reviews. In our case, we have selected No Minimum Rating.
Filter by Reviews Title
Not all reviews are necessary to be displayed. How about you have the authority to control your reviews on your Google reviews settings panel?
In the Filter by Reviews Title, you have three options! You can choose whether you want All the Reviews on your website or want to Include/Exclude some.
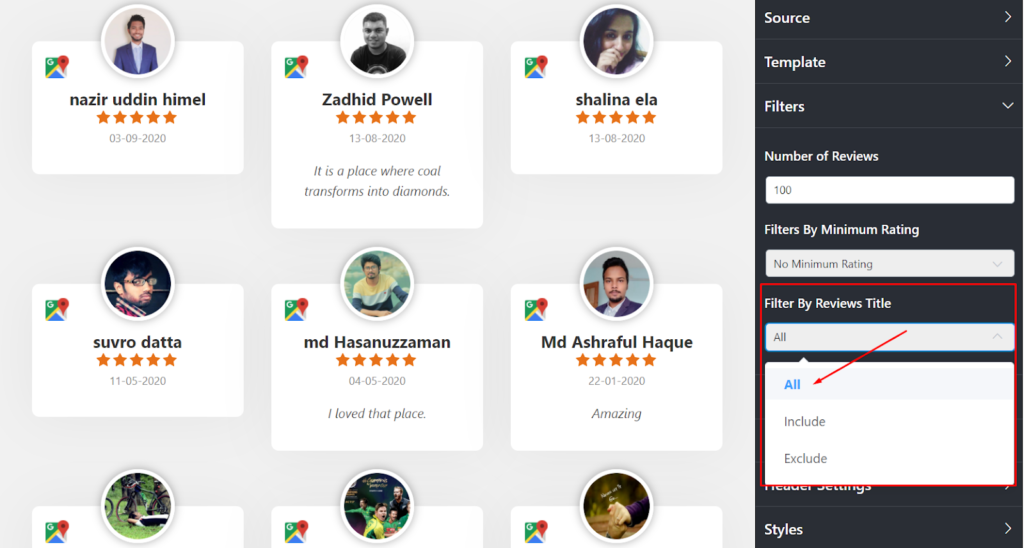
By clicking All, you are allowing all the Reviews/Recommendations to display on your site.
Include
Next, If you click Include, a drop-down menu will appear.
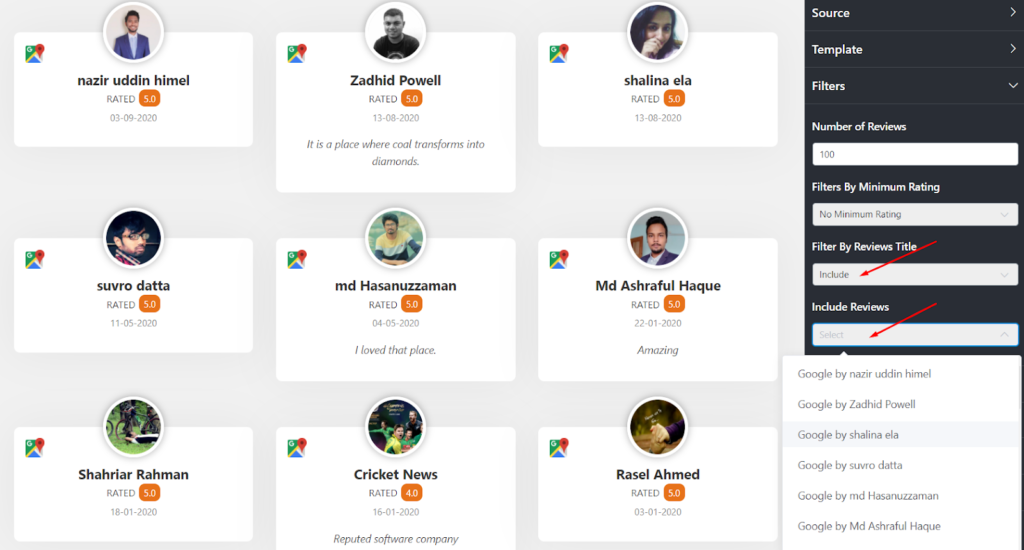
You can pick the specific reviews by the reviewer names to include their reviews on your website.
Exclude
You can also Exclude specific reviews by following the same way you have Included the Google reviews.
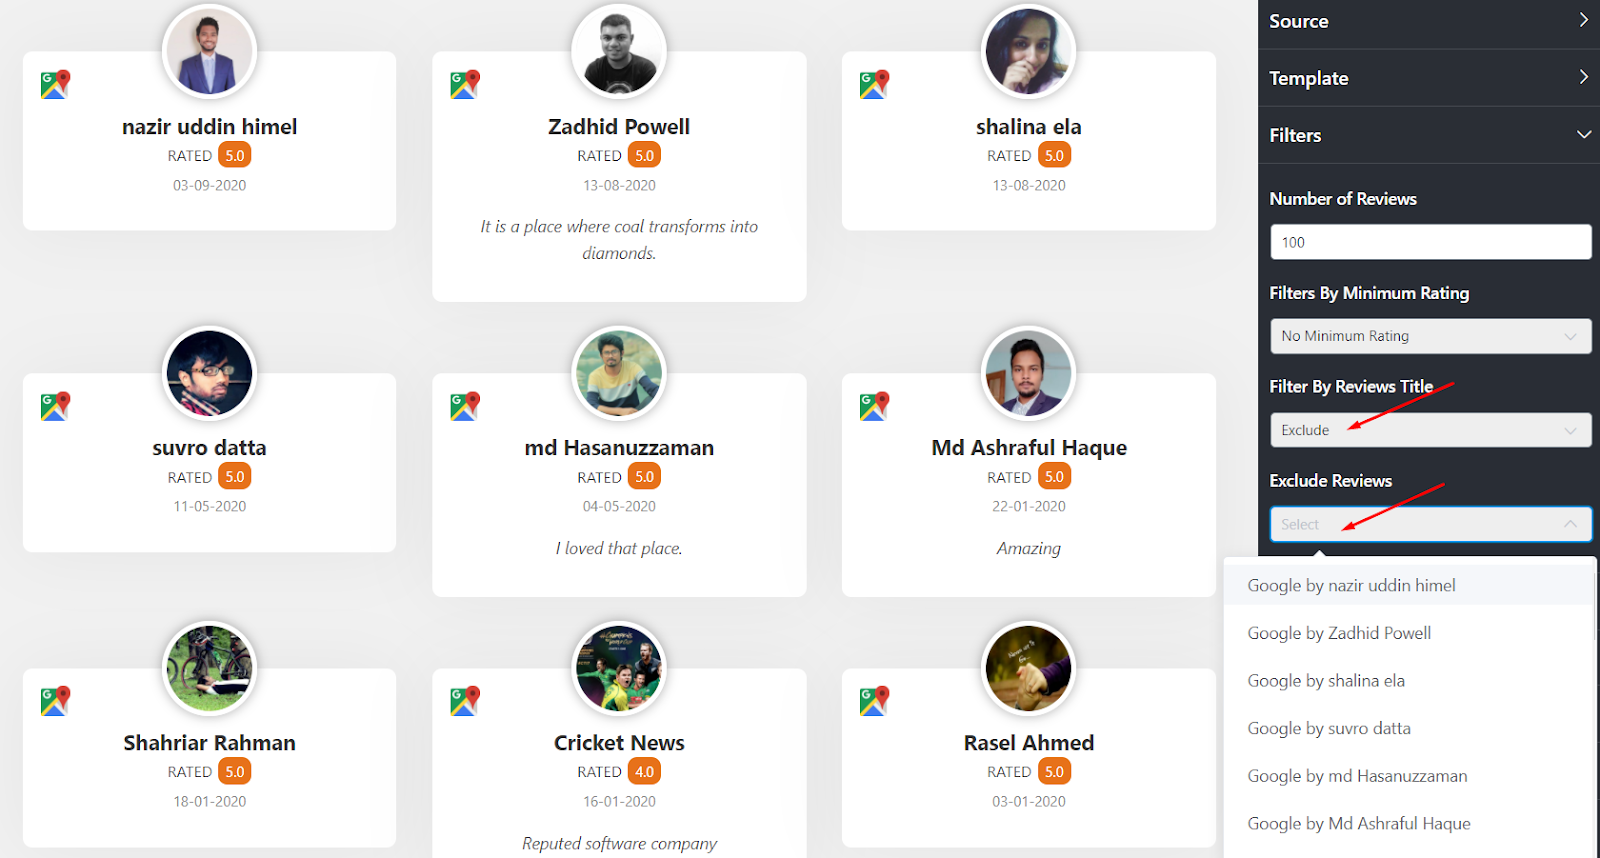
Finally, click on the Save Template button to preserve your settings.
Google reviews Settings
Now it’s time for you to change the Google reviews Settings. WP Social Ninja has offered various Settings for the users to display the reviews.
Let’s go through the steps of changing the Settings.
Display Rating
From the Display Rating button, you can control all the ratings on your website.
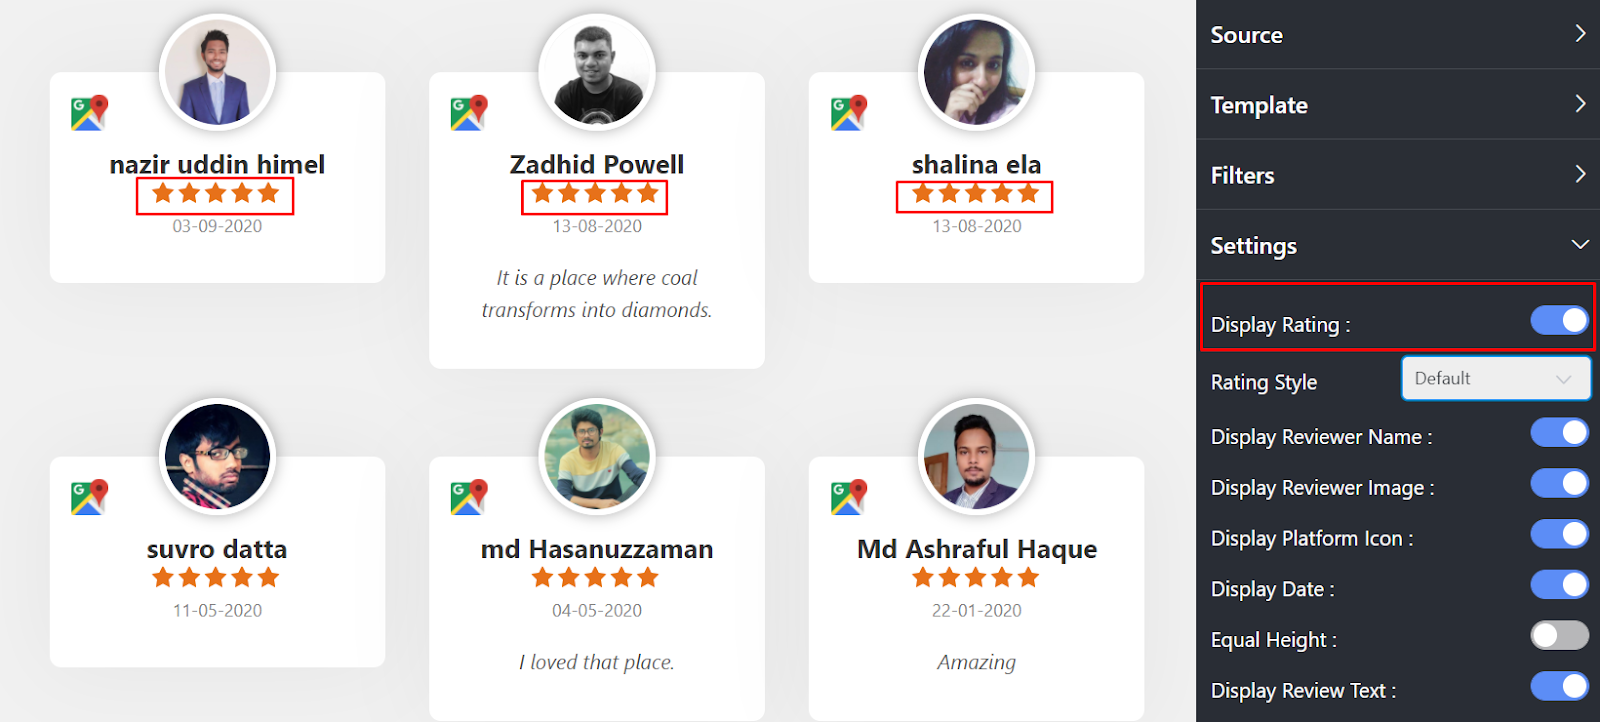
In order to display the ratings, turn on the Display Rating button. However, if you don’t want to display the rating, click to turn the button off.
Rating Style
Just like Display Rating, you can also change the Rating Style on your website.
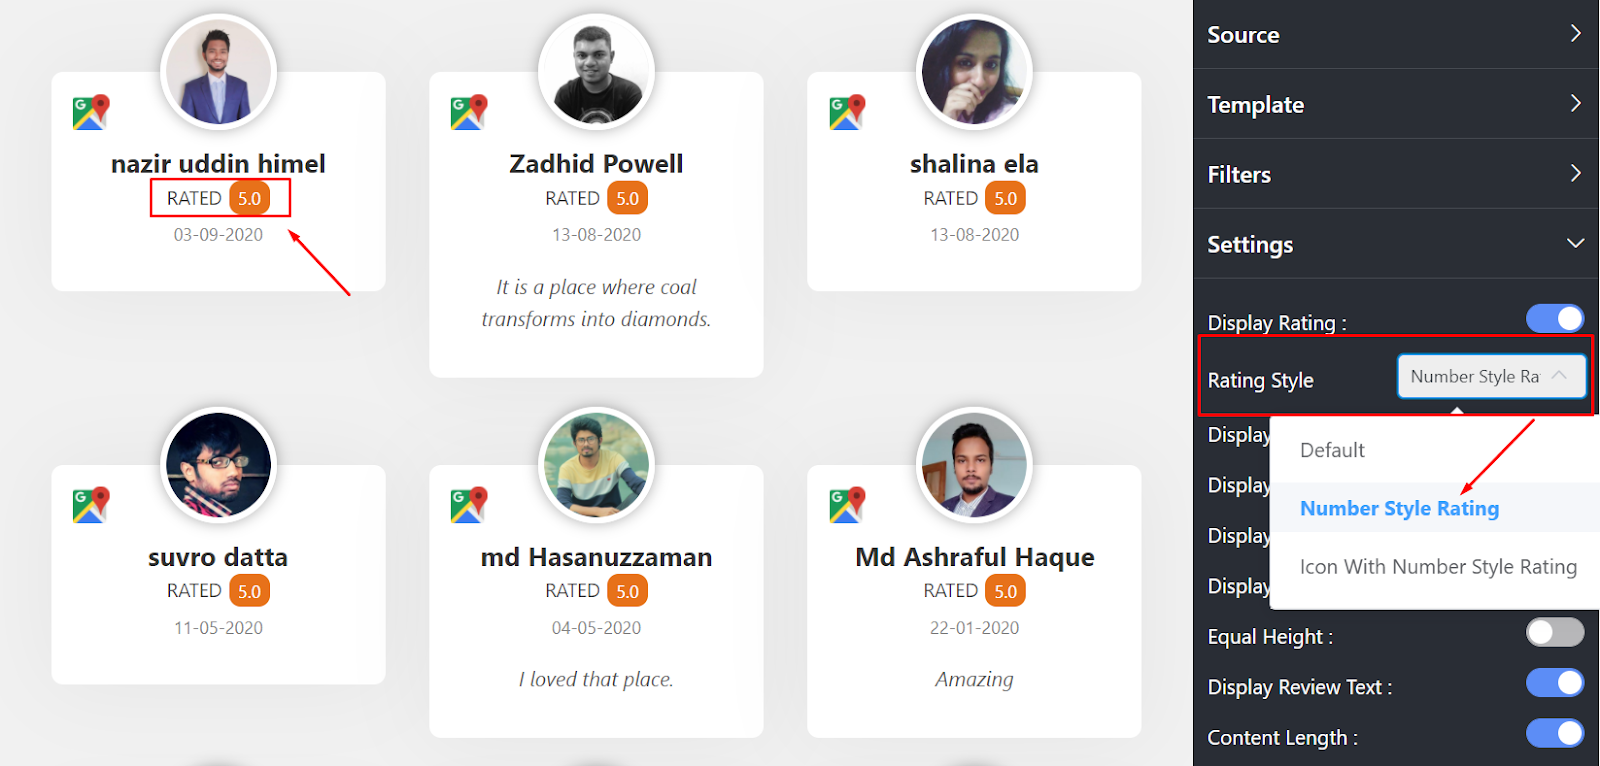
Three Layout options are available at the moment; Default, Number Style Rating, and Icon with Number Style Rating. You can pick any from the drop-down menu to give a unique style on your website.
Display Reviewer Name
For any business, privacy is an utmost important factor. WP Social Ninja has always provided the best features for its users, and in the next section, there is no exception. In Display Reviewer Name, you can control the user’s name.
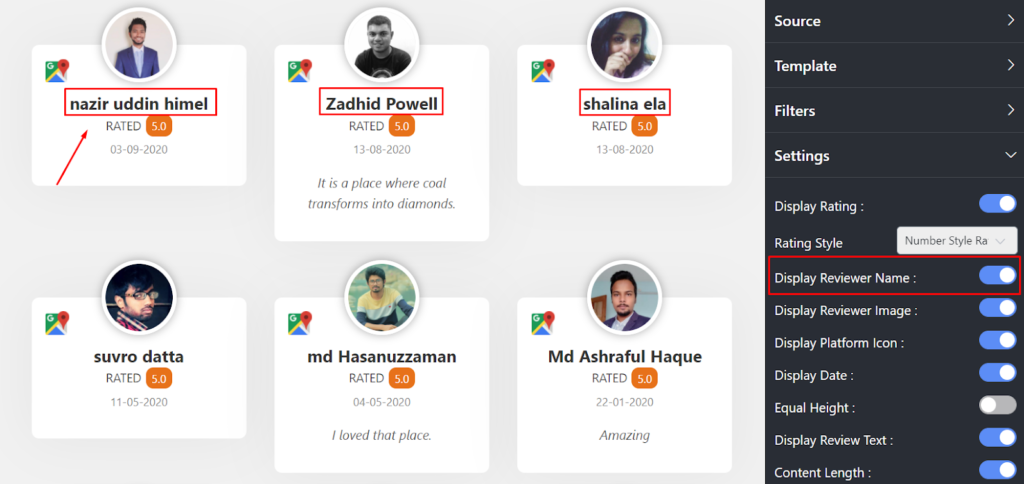
Here, you can turn off the button if you won’t be able to display the Reviewer Name.
Display Reviewer Image
Similar to Display Reviewer Name, you can also take control of your Display Reviewer Image.
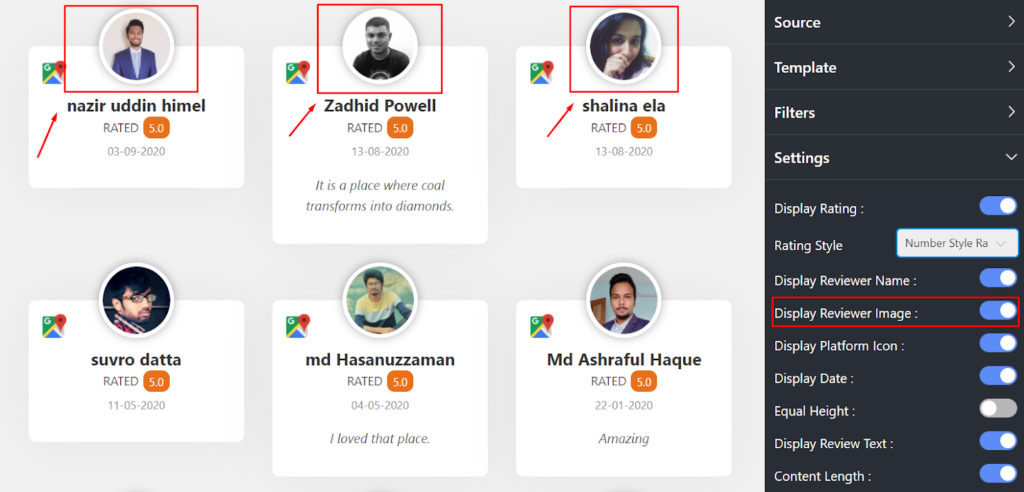
If you turn on the button, the reviewer image will be displayed on your website. However, turn off the button if you don’t want to display the image.
Display Platform Icon
Next, after the Display Reviewer Image, you can change the Display Platform Icon. So if you don’t want to display the Platform Icon on your website, you can choose that.
To do that, you can click on the disable button. In our demonstration, we have turned the button on.
Display Date
Using WP Social Ninja, you can take control of your Google reviews settings Display Date.
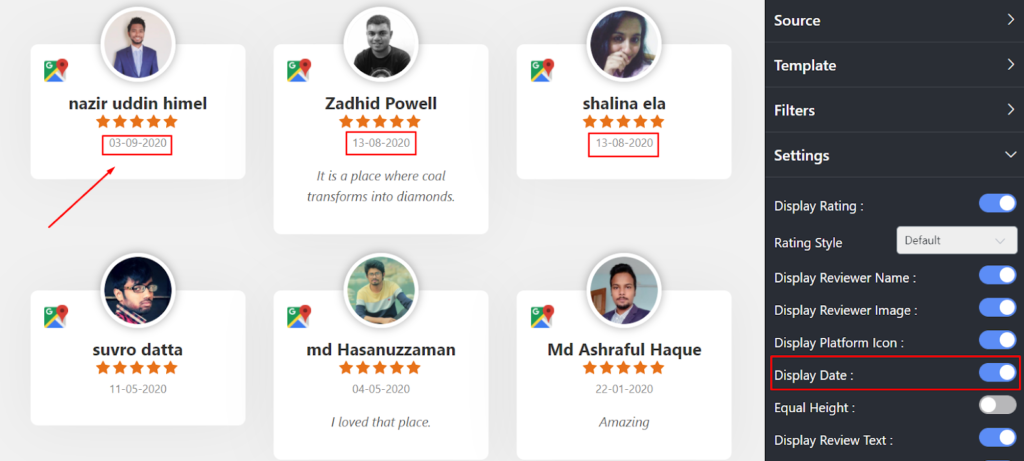
If you turn off the Display Date button, no Display Date will not be displayed on your website. On the other hand, to keep the date visible, turn on the button.
Equal Height
After the Display Date next is Equal Height. You can adjust it from the Settings panel.
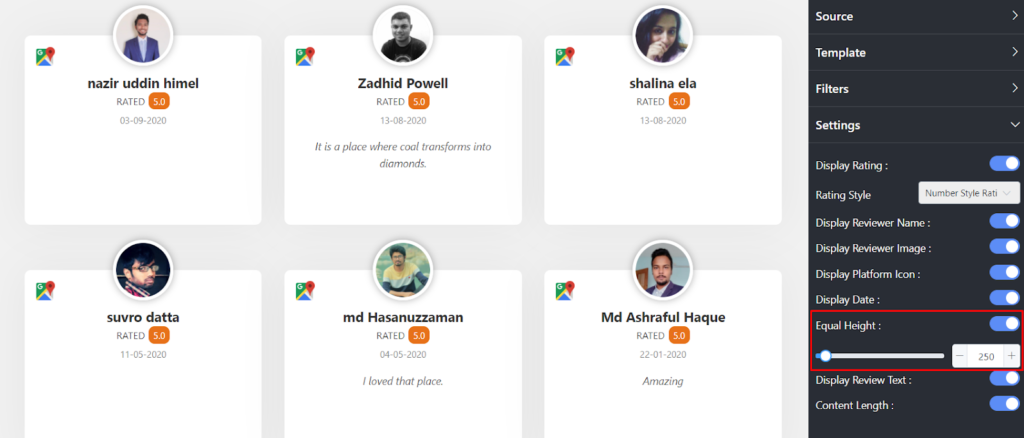
To display all the reviews in equal height, turn on the Equal Height button. Moreover, you can adjust the height according to the text. To do that, click on the Plus/Minus button. However, you can disable the button too.
Display Review Text
Once you are done with the Equal Height, you can adjust your Reviewer Text and Content-Length too.
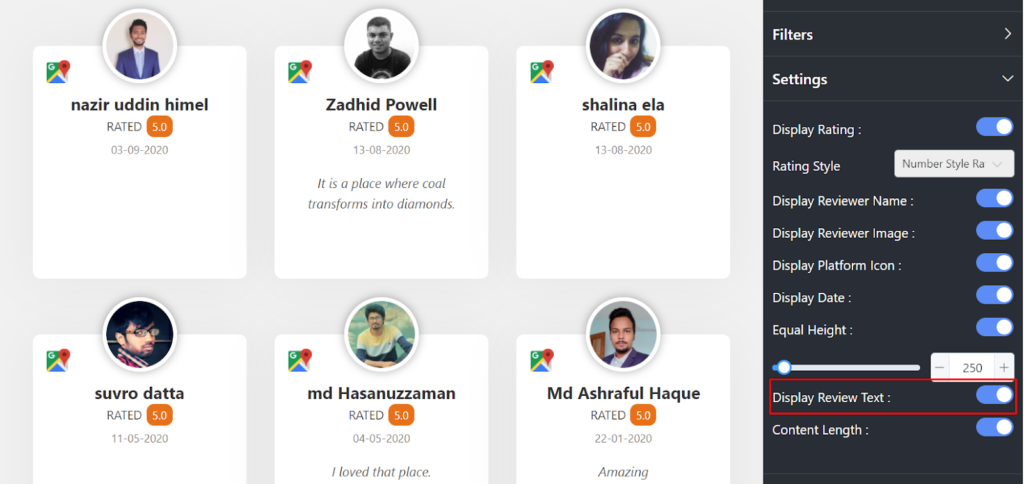
Here, if you disable the Display Reviewer Text button, then you won’t be able to display the Content-Length. However, enabling the Content-Length button will make all the text align in the same horizontal line.
Pagination Settings
Lengthy reviews kill a lot of space, and lists could get prolonged. To make the lists in smaller portions, Pagination Settings are useful.
From the drop-down menu on the right side, you can change the Pagination Settings.
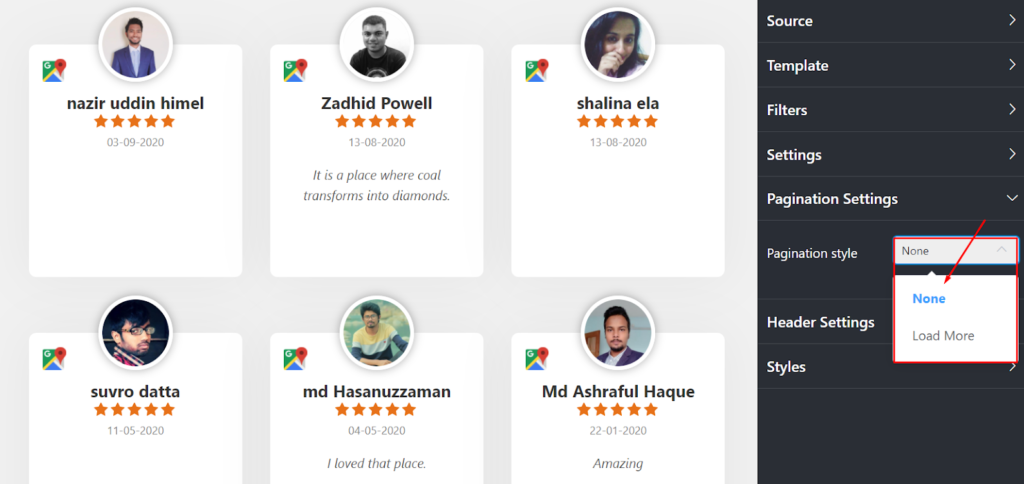
At this moment, Pagination Style has two options. You can pick any from None or Load More. If you select the Load More option, it’ll ask you to adjust your Reviews Per Page number.
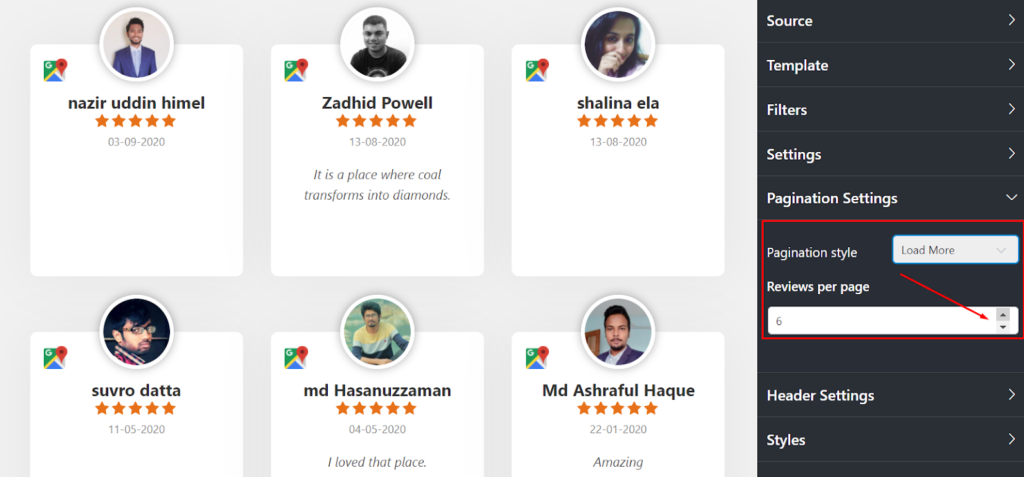
In Review Per Page, you can adjust the review number for every page from the scroll bar.
Header Settings
It is already clear that WP Social Ninja has a unique setting for every section. Following that next is the Header Settings. In this part, four Layout options are currently available; Display Business Name, Display Rating, Display Reviews, and Display Write a Review.
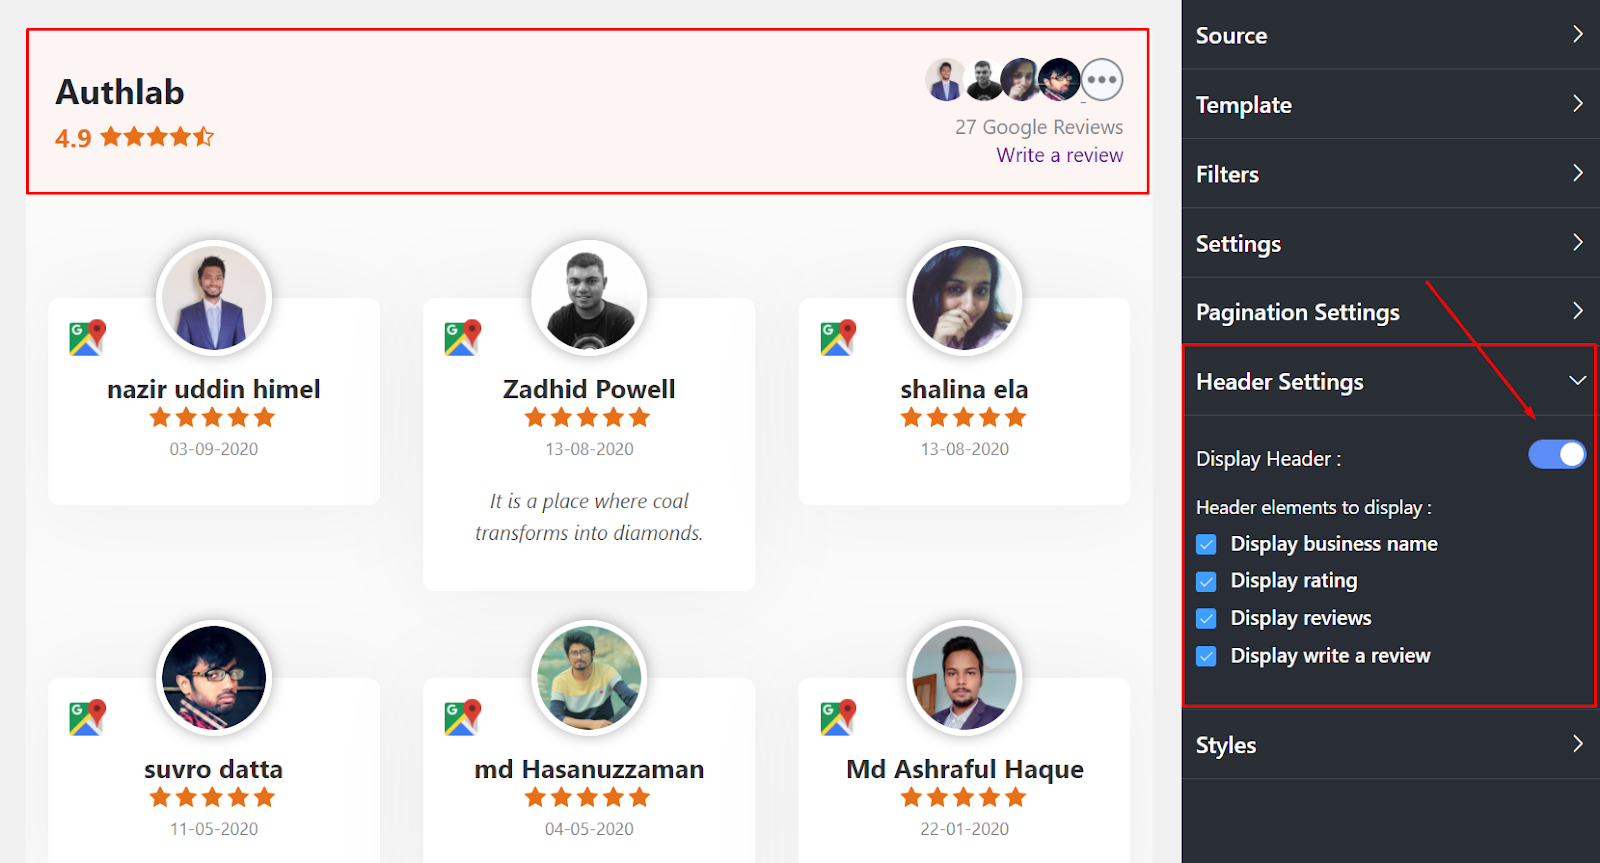
By clicking on the Display Business Name, you are allowing the Business name to show on the Front End.
Next is Display Rating. You can tick mark the box to display the rating. However, you may untick the box. If you select multiple platforms, such as Google, then the average display rating will appear on your site.
Moreover, add Display Reviews and Display Write a Review option by ticking on the boxes.
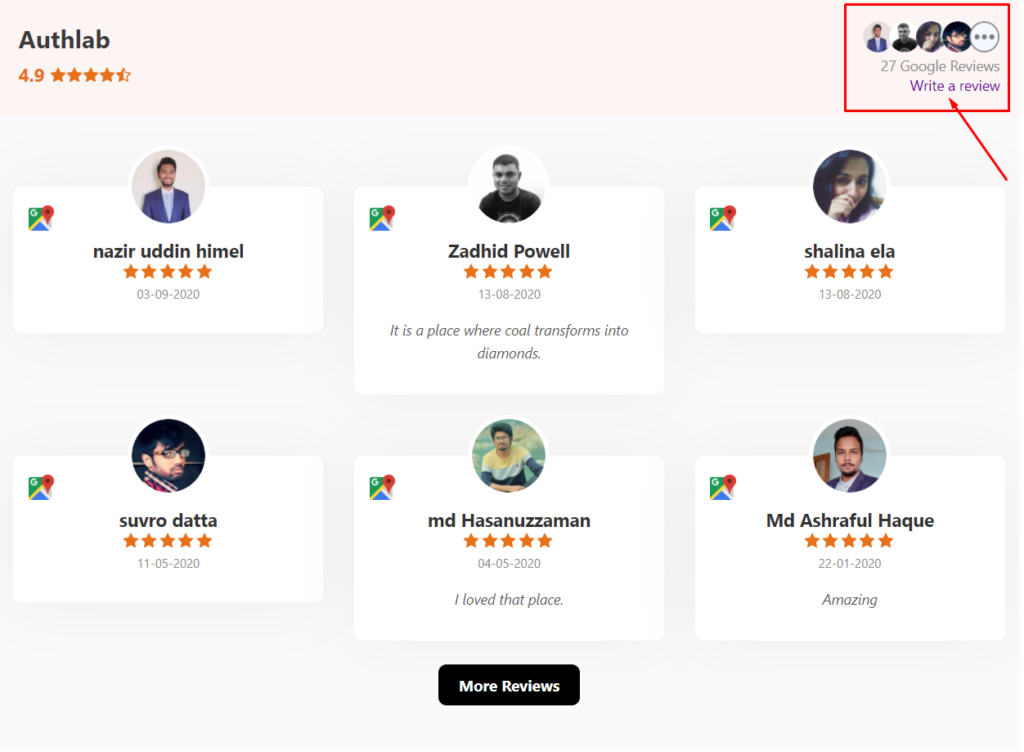
Here, from the Front End, you can Write a Review, and in case of multiple platforms, this Call to Action button will take you to the individual sites.
Styles
Like your products, your websites need Style too. WP Social Ninja has added a Style button to adjust the height and width of the Wrapper.

If you click on the Style button, the Height and Width option will come up. Select your size according to your brand.
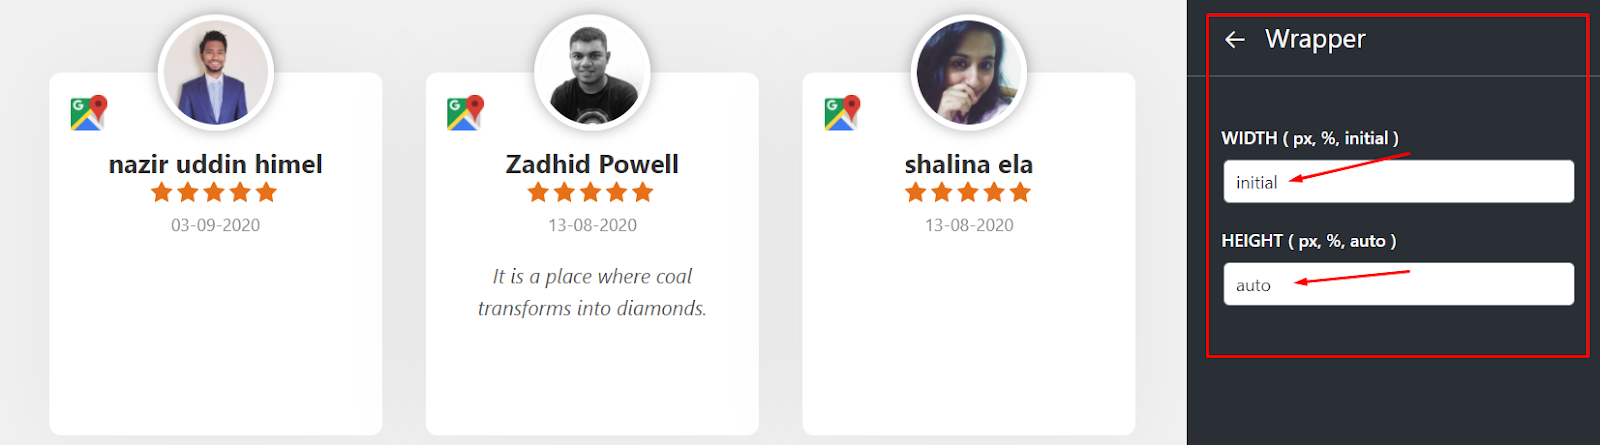
As you can see in the screenshot, you can pick any size. More options are coming soon, so keep an eye on WP Social Ninja.
Once you are done, don’t forget to click on the Save button. And you are good to go!
Last words
We hope you found this Google Reviews settings article helpful. We also have a few other resources that you should definitely take a look at:
Win your customers’ hearts with exceptional features
Discover how WP Social Ninja can assist you design outstanding customer experiences.
For further information, please contact our support team or check out our user guidelines.

Subscribe To Get
Weekly Email Newsletter
Connect, Customize, and Display Social Feeds, Reviews, and Chat widgets


Trending Posts
-
-
 Mashfik Upal Aumy
 -


Leave a Reply