
Collect Reviews with Fluent Forms & Get More Leads!
Collect reviews effortlessly with a custom form on your site and strengthen your credibility. Let people share their reviews without any hassle.
Get More Reviews with Less Effort and More Impact


Control how you collect and display customer voices
Set up a feedback form in minutes, welcome users, and gather invaluable testimonials.
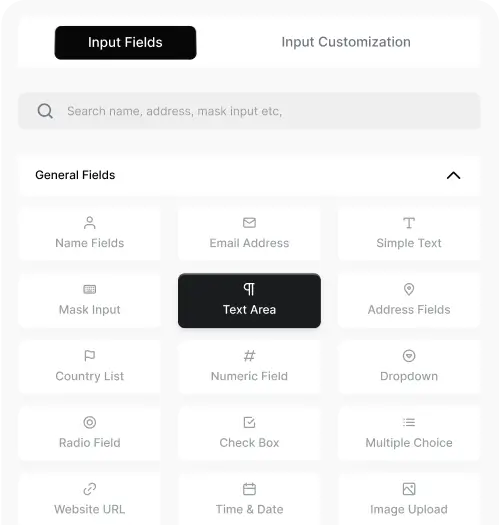
Integrate Fluent Forms
Create and organize forms easily with no tech skills. Just enable the WP Social Ninja module in Fluent Forms integration.

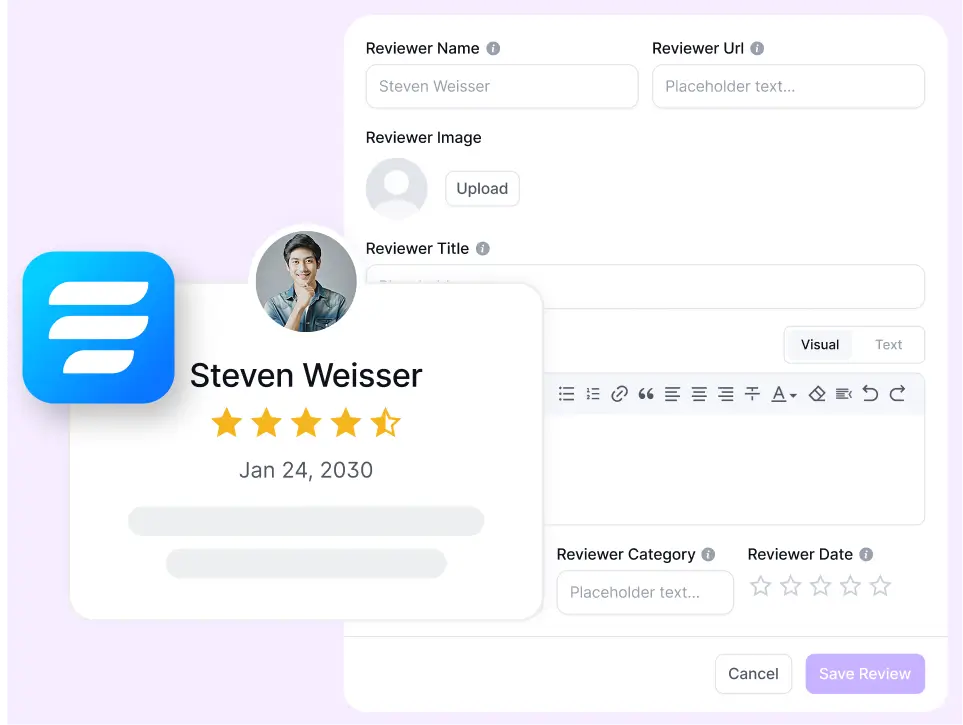
Add required fields for details
Create your forms with as many fields as you need to add, including author’s website URL, Address, Date, Time, and more.
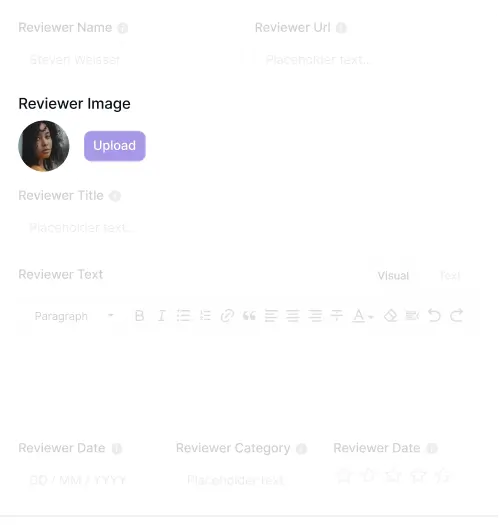
Add media for more authenticity
Let reviewers add photos to their feedback to build trust. Genuine customer images improve review credibility.
Create smarter forms with conditional logic
Make interactive forms with conditional logic to show/hide fields based on responses, asking only relevant questions.

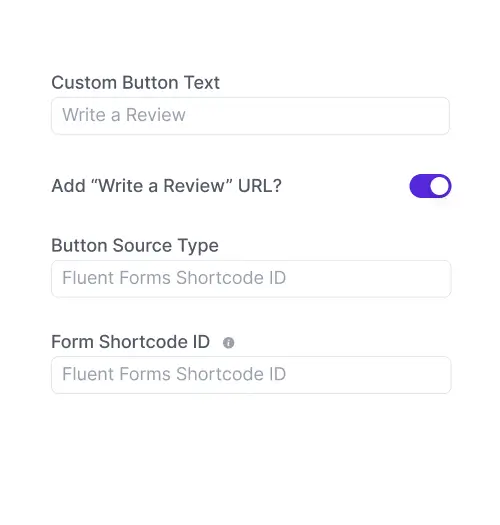
Custom URL in the template header
Let your happy customers share reviews in your chosen format by connecting your Fluent Forms ID to the CTA button.
Contact form widget
If you want to make your contact smoother with Fluent Forms, use the Fluent Form contact widget on your WordPress website.

Frame your brand’s story and grow your audience
Share your content with social feeds, build trust with reviews, and engage with chats.

Fine-tune every detail with advanced controls
Personalize the outlook of your form
The General Settings offer plenty to customize your Fluent Forms review template. Adjust as needed to showcase reviews best.
Template variations
Display your reviews in stylish layouts Grid, Slider, and Masonry, with WP Social Ninja’s customizable options.
Number of reviews
Whatever layout/template you choose, organize your reviews with an exact number of reviews you want to bring to your website.
Display high ratings reviews
Despite all low and high rated ratings, you have option to highlight your 5-star reviews. Set the rating scale to display the best ones!
Advanced filter settings
With deep filtering, you’ll have the control to choose/hide the specific reviews. You can filter your reviews with specific keywords.
Adjust content length
Keep all reviews uniform by adjusting text length to fit your site design. Simply enable Equal height.
Custom style settings
Give your form a complete look by styling typography, background, and more via advanced style setting options.
Responsive for all devices
WP Social Ninja is fully responsive, so your review feeds look great and work smoothly on every device, for every type of visitor.
24/7 customer support
Get 24/7 expert support whenever you need it. Our team is always ready to solve issues and keep everything running without any glitch.
Flexible pricing plans built for all kinds of businesses
Unlock endless possibilities with our pricing plans at every stage of your marketing growth
Single Site License
$89/YR
Save 50%
$44/YR
Agency License
$299/YR
Save 50%
$149/YR
Unlimited Site License
$499/YR
Save 50%
$249/YR
*Grab the summer discount and unlock flat 50% discount on the first-year license!

Features to display social feeds
Features to show customer reviews
Features to connect chat widgets
Trusted by thousands, loved by many
Discover what our users appreciate about us
I am very happy about the solution. I integrated reviews from multiple platforms, and that is exactly what I was looking for. Instagram Integration I’ve to try next, just great so far!

Tobias
@tdprojects
I could not be more impressed! this works just great and has saved me now on a situation that was easily avoidable through the chat function. Appreciate all the hard work.

Michael Schwitzer
@1stchoicewi
This is the pure gold. It is all in one plugin you must have on your web. Especially if you want to show your best testimonials from customers, or just looking for the best social feed plugin.Now I dont need live chat free plugin and smash baloon insagram plugin.

flu5ky
@flu5ky
I’ve been involved in website development since 1995, you do the math. I’m a fan of the WordPress Community and I’ve seen a lot of plugins come and go. I’m telling you now that this something special, and will solve a lot of headaches, and for a very reasonable cost.

seachat
@seachat
Extremely happy to be a client for this great product, it has solved my entire need of connecting social feeds and reviews to my and my client’s sites. And support is always great.

clariable
@clearcutmario
This plugin makes it quick and easy to add a review template to your website. It is easy to understand and operate. I had a problem with accessing my Facebook page reviews and submitted the problem to support. The support team was quick to respond.

bellyhorse
@bellyhorse
This is a premium plugin which has a free version. You can have a good taste of how this plugin works with the free version but I can tell you that you should consider investing on the Premium version as soon as possible.

dariomartinezb
@dariomartinezb
Recommended by market-leading brands like
-
How to Add Reviews with Fluent Forms on Your Website
Do you want to collect business reviews directly from your WordPress website? Review is the most important cornerstone for online…
Frequently Asked Questions
Top questions you need to ask before buying WP Social Ninja.


