WP Social Ninja is an all-in-one social media solution for your WordPress website. To install WP Social Ninja, go to your WordPress dashboard first. Or you can also download it from the WordPress site and install it on your dashboard.
Requirements #
To use WP Social Ninja, you’ll need the following:
- WordPress version 5.6 or higher
- PHP version 7.1 or higher
Installing and Activating WP Social Ninja #
You can install WP Social Ninja free version like any other WordPress plugin. Follow the steps given below –
- Go to the WordPress Admin Dashboard → Plugins → Add New
- Type WP Social Ninja on the search box, click on Install Now button, and then Activate
Alternative method #
Download the .zip file and upload this on the Add New page using the Upload Plugin button; then click Install & Activate.

Installing WP Social Ninja Pro #
After a successful purchase, you can download the Pro Version from your WPManageNinja Account.
- Go to the My Account page, Download the file → Upload it to your site → Install → Activate the plugin. Super easy!
How to Update WP Social Ninja #
- It’s very simple to update both the Free and Pro version. To do that, you can navigate to the plugin page of your dashboard to check if an update is available.
- If any update is available, just click on the update button. Make sure that the pro version is activated with a valid license key. If you don’t have a license key or the license key is expired, you can purchase a new one or renew the existing one from here.
How to Activate the License #
WP Social Ninja Pro comes with a licensing option to activate your license. Follow these simple steps to activate the license –
- From your dashboard, go to the WP Social Ninja menu and click on the Settings option from the sidebar.
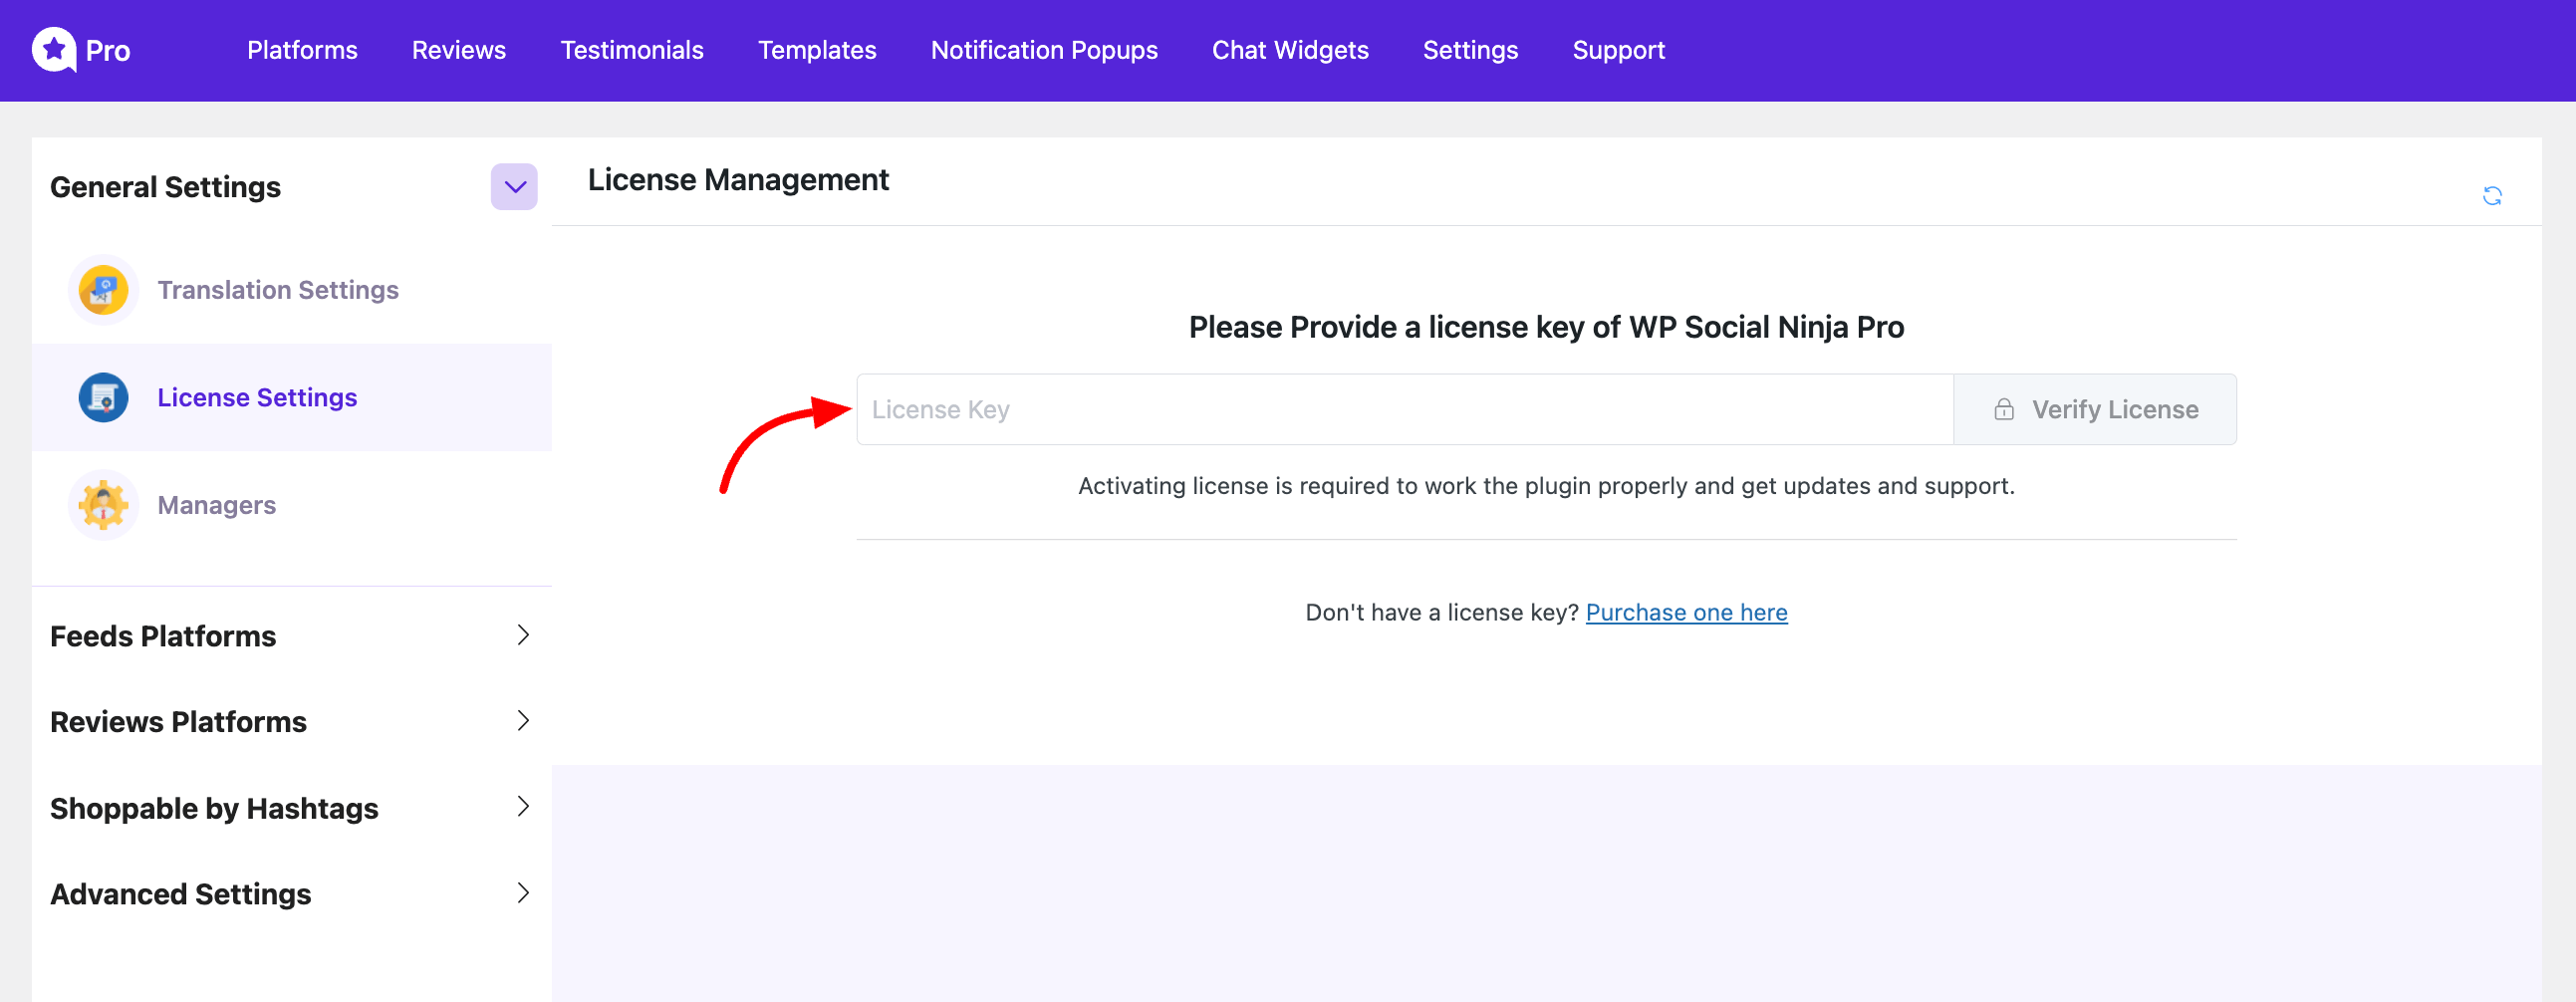
- Scroll down and click on the Others, then the License Settings tab; here, you’ll find the License Key providing the option.
- Once you add the key, just click the Verify License button. Now you have successfully activated your license!

How to Renew the License #
WP Social Ninja Pro comes with a licensing option to renew your license. Follow these simple steps to renew the license:
- You can start by going to the purchase history from WPManageNinja Account.
- Then you’ll see the ‘Renewing a license key?’ link on the checkout cart, and click on that.
- After entering the license key, click the Apply License Renewal button
- Lastly, your license will be activated automatically. Your license key activation process is complete.
Enjoy WP Social Ninja!
You can also check out – What WP Social Ninja Offers.


Hi, don’t you think that these types of permissions required by your app are too high compared to what the plugin has to do?
And how do you guarantee security on this type of permits obtained? Is there a page that talks about this? Thank you
“This app requires permission to:
– View, edit, and delete your business listings on Google, including your business name, phone number, and hours of service.
– Verify ownership of trading cards.
– Assign ownership of a business listing to another Google user.”
Thank you for reaching out with your concerns. We understand that the permissions requested by WP Social Ninja may seem extensive, but we want to assure you that there is no security risk involved in granting them.
You can fetch Google reviews using either the Google Places API or the Google My Business API. We use the Google My Business API, and it’s important to follow the procedures in line with their API policy. For more details, please refer to this link:
https://developers.google.com/my-business/content/policies
https://developers.google.com/identity/protocols/oauth2/policies
WP Social Ninja is designed with strict privacy and security standards. Your data is handled with the utmost care, and the plugin operates within the scope of these permissions solely to display your reviews on your website. Rest assured, WP Social Ninja will not alter your business details or make any unauthorized changes.
You can always review or revoke these permissions through your Google Account settings if you have any concerns.
We hope this clarifies why these permissions are required and assures you that there is no security risk. If you have any further questions or concerns, please feel free to reach out.
Thank you