
WP Social Ninja is a diverse plugin. Along with Social Reviews and Feeds, this plugin offers a Social Chat option on your website.
Communication is the most crucial thing for any business. The good news is, that WP Social Ninja will let you use your Social Chat accounts to excel in business.
Here, you can change every Template Layout similarly to every Platform in Social Chat. Whatever Platform you may select you can adjust your Template Layout by following some easy steps.
Template Layout #
Template Layout is a various option you will enjoy with WP Social Ninja. With a wide range of available templates, you will be able to select a social chat interface that suits your website the most.
Let’s check out how you can customize your Social Chat Template Layout by using your Telegram account.
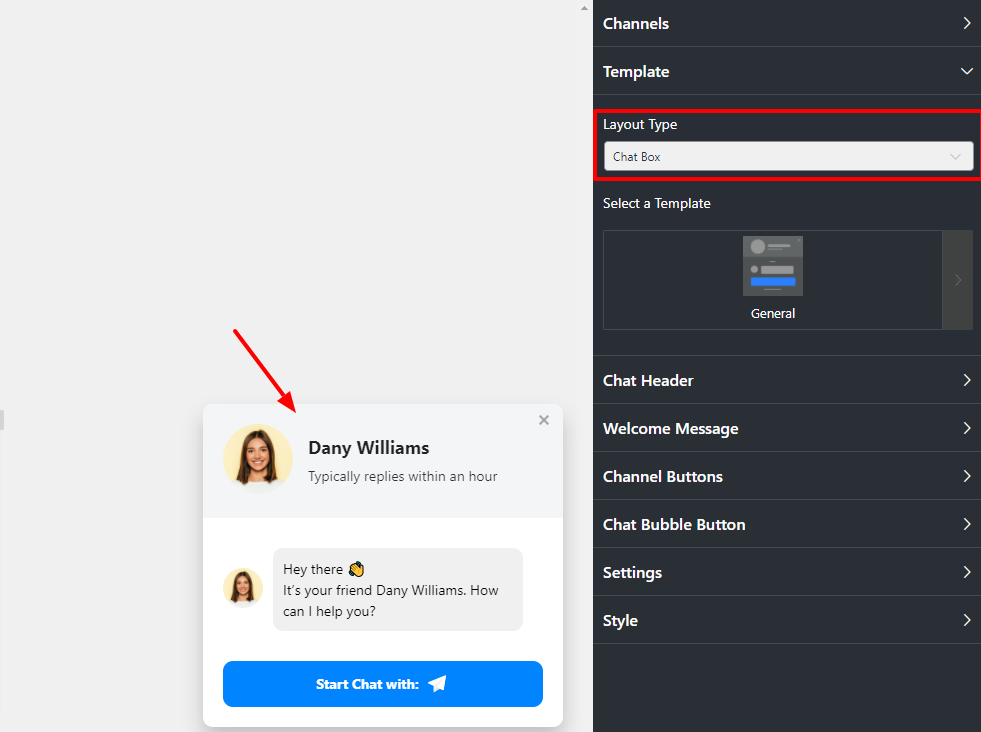
Layout Type #
If you click on the Template option, you will see the Layout Type dropdown option. There are two types of Layout: Chat Box & Only Icons.
If you choose Only Icons, then you will notice a Floating icon appearing.
Template Types #
Here, from the right sidebar, click on the Template option.
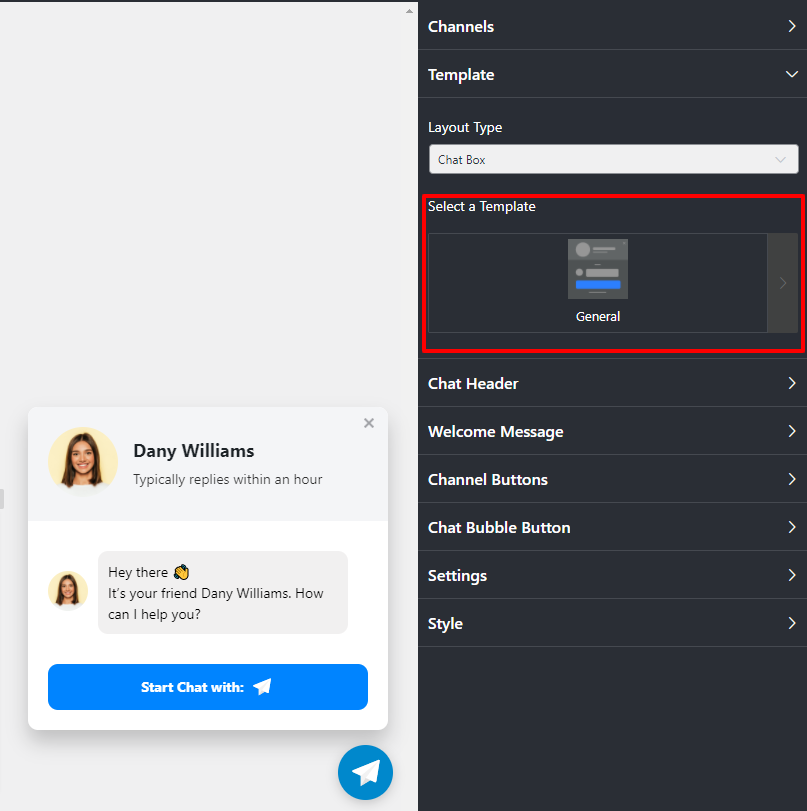
A drop-down option will appear.
As you can see, it comes with some pre-built templates; select any Template for your site!
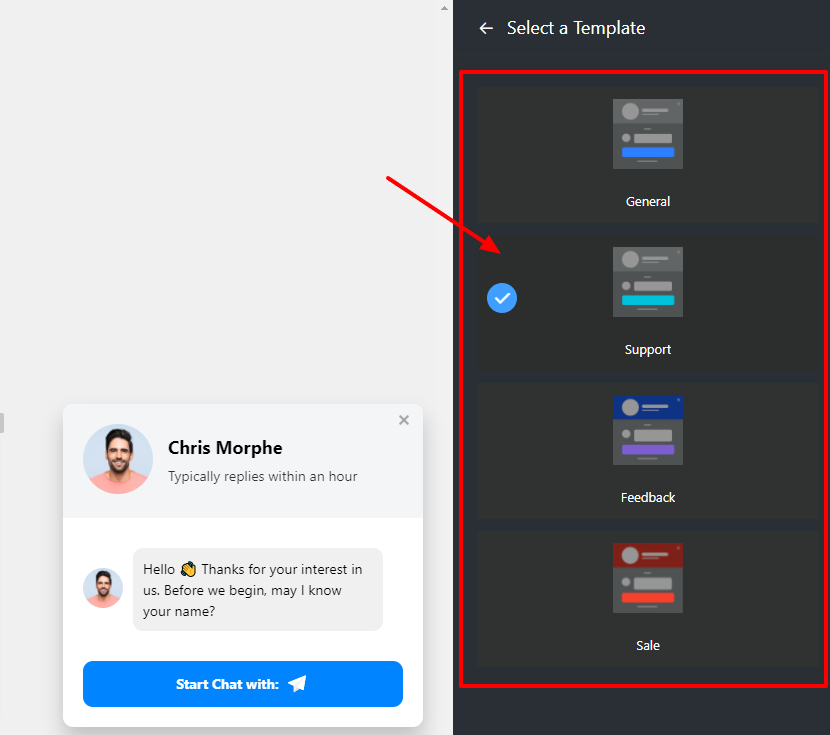
Four types of Templates are available at the moment. General, Support, Feedback, and Sale.
Chat Header #
After Template, next comes Chat Header. From the dropdown option, you can see three changeable items; two of them are input fields, and another is an image upload option.
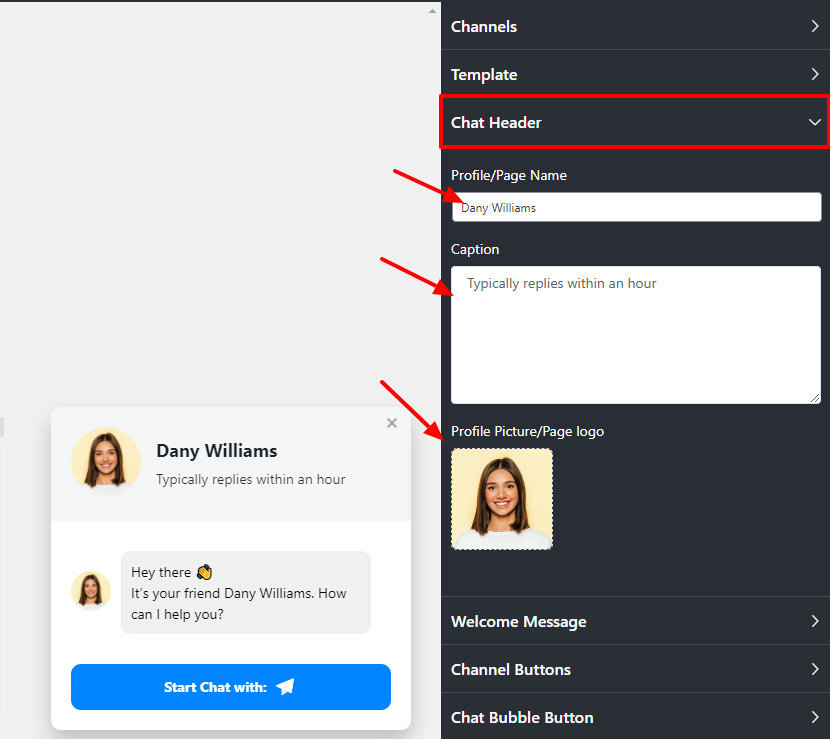
From the pointed Profile/Page Name, you can add the name, or you may change/edit it.
The next is the Caption. From here, you can change the Caption; for example – instead of “Typically replies within an hour”, you can add something else.
In addition, your business definitely has a unique identity that can be placed in the placeholder of a Profile Picture/Page Logo.
So you can change your profile picture or add a new one that suits your brand.
Welcome Message #
The next Layout is the Welcome Message.
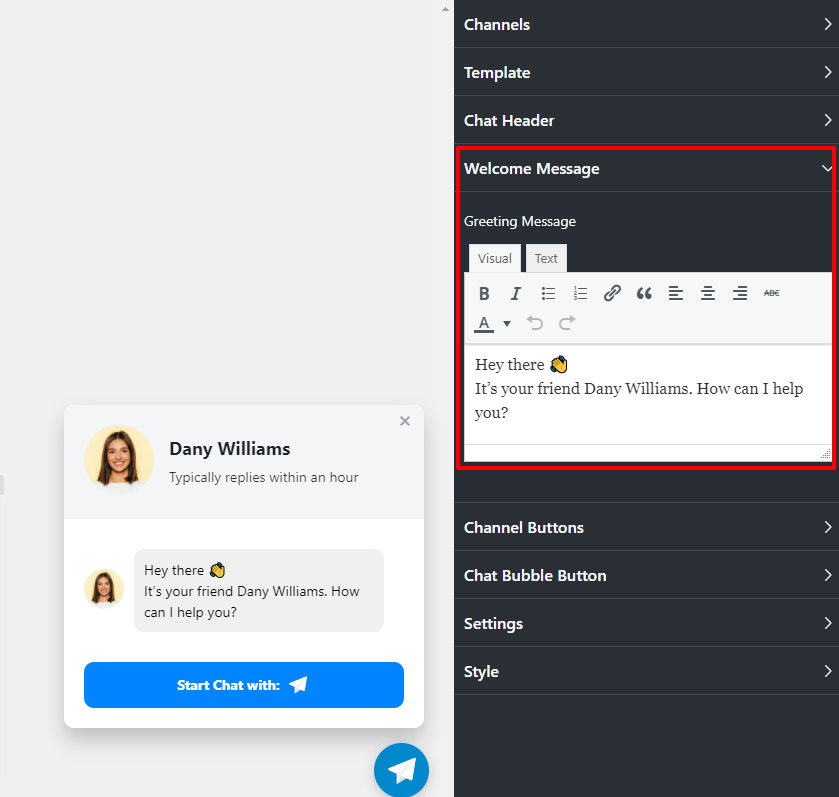
Here, In the Welcome Message, you have the option to change your Greeting Message. Instead of “Hi! How can we help you?” you can replace your Greeting Message with something else.
Channel Buttons #
From the Channel Buttons, you can change two settings. Display Chat Icon and Chat Button Text.
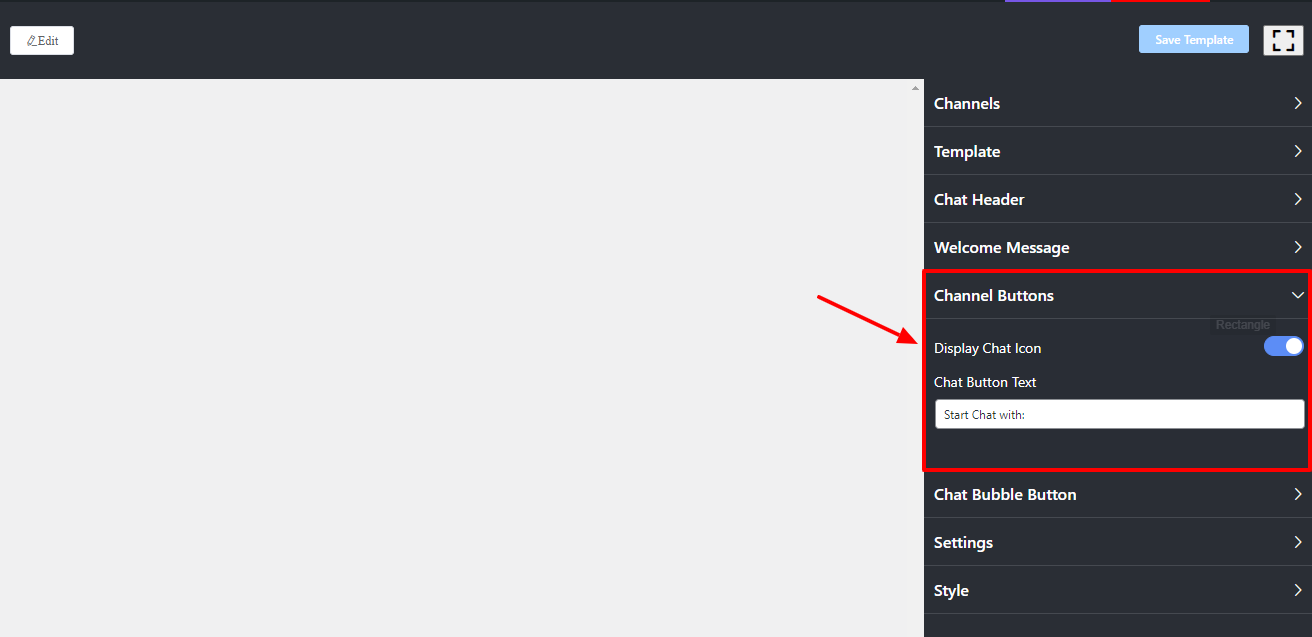
First of all, you can turn on/off the Display Chat Button. Secondly, in the Chat Button Text, you can replace the default text with a new customized text.
Chat Bubble Button #
Here, if you click the Chat Bubble Button, a dropdown list will appear.
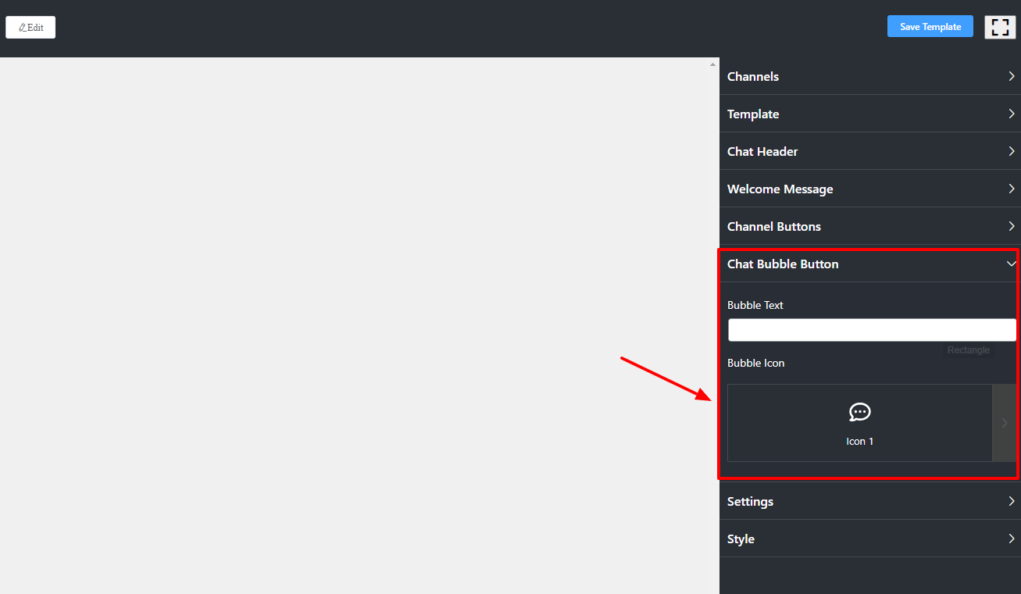
You can write a Bubble Text from this menu, for instance, Need Help?
Next is Bubble Icon. From the drop-down menu, you can change the Bubble Icon. We have six Bubble Icons available at the moment.
You can pick any icon and click on the Save Template button.
Also, check out – Change Settings of Social Chat


