Settings #
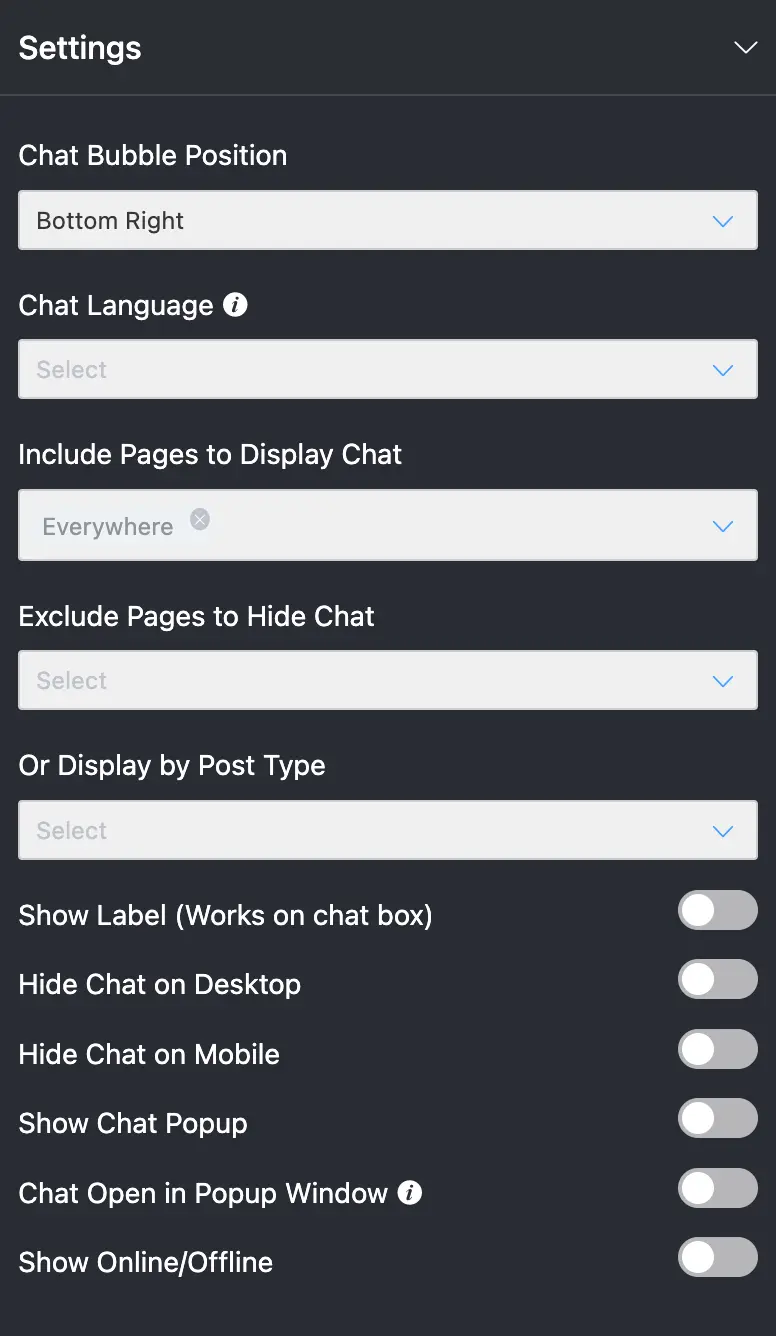
WP Social Ninja offers detailed settings for users that have different positions and scheduling options to adjust. Let’s see how this works
Here, a dropdown menu with multiple options will appear if you click on Settings. Let’s find out more about them.
Chat Bubble Position #
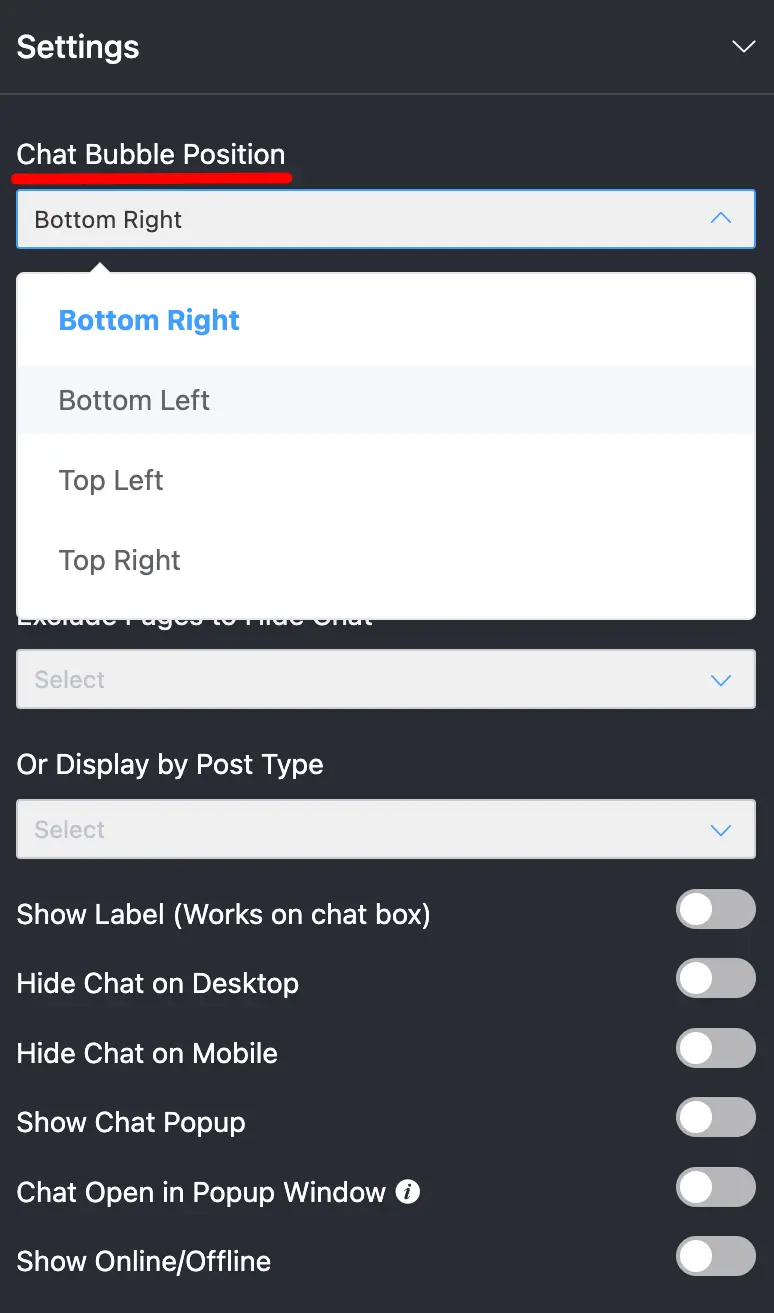
You can adjust your Chat Bubble Position in four different ways, from Bottom Right to Bottom Left and Top Left to Top Right.
Chat Language #
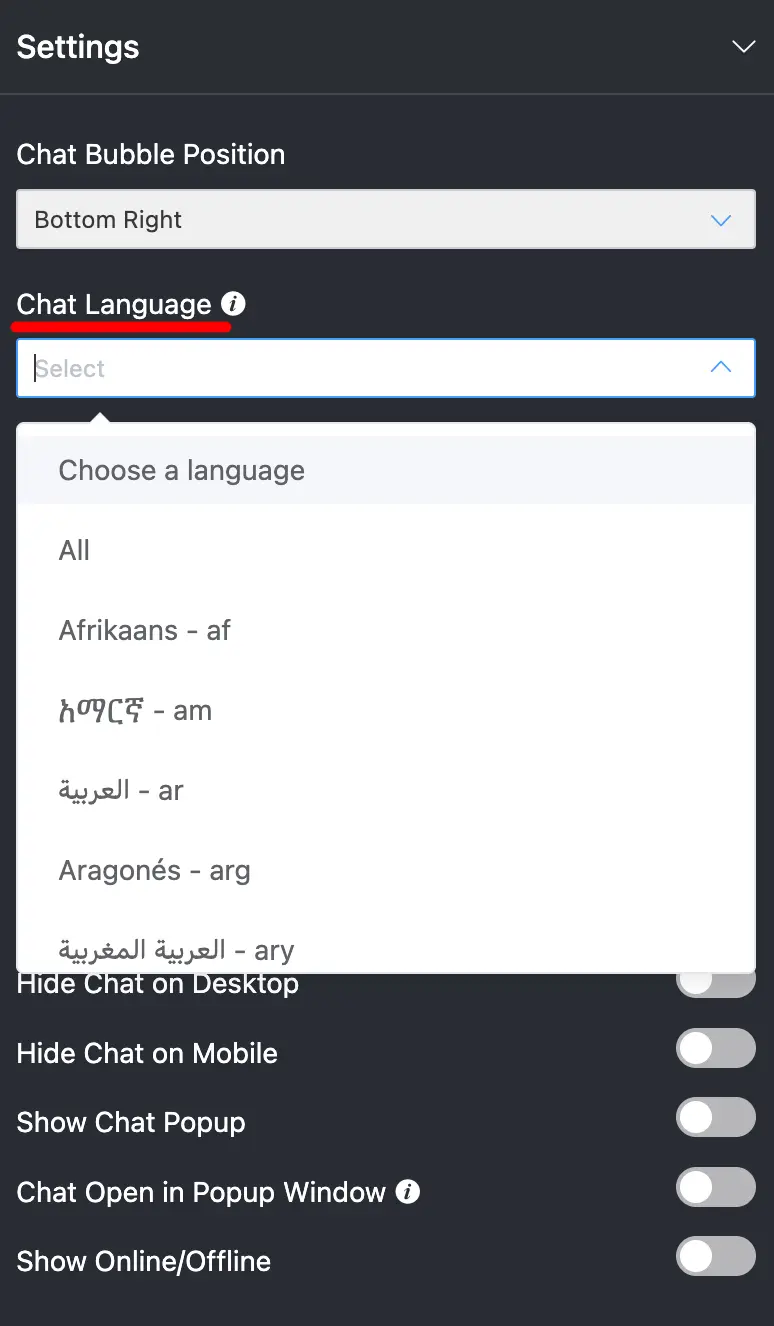
The chat widget automatically inherits the site’s language settings. This means it will function correctly only when the widget language matches the site language configured in WordPress. If the two languages are different, the chat widget may not display or operate as intended.
For websites that need to support more than one language, a multilingual plugin (such as WPML, Polylang, or TranslatePress) must be installed and configured. These plugins allow you to define multiple site languages and ensure the chat widget adapts accordingly, providing a seamless experience for users in their preferred language.
Include Pages To Display Chat #
With this option, you will be able to select the pages you would like to show your social chat option. Choose a single page or as many pages you want from the drop-down of Include Pages to Display Chat.
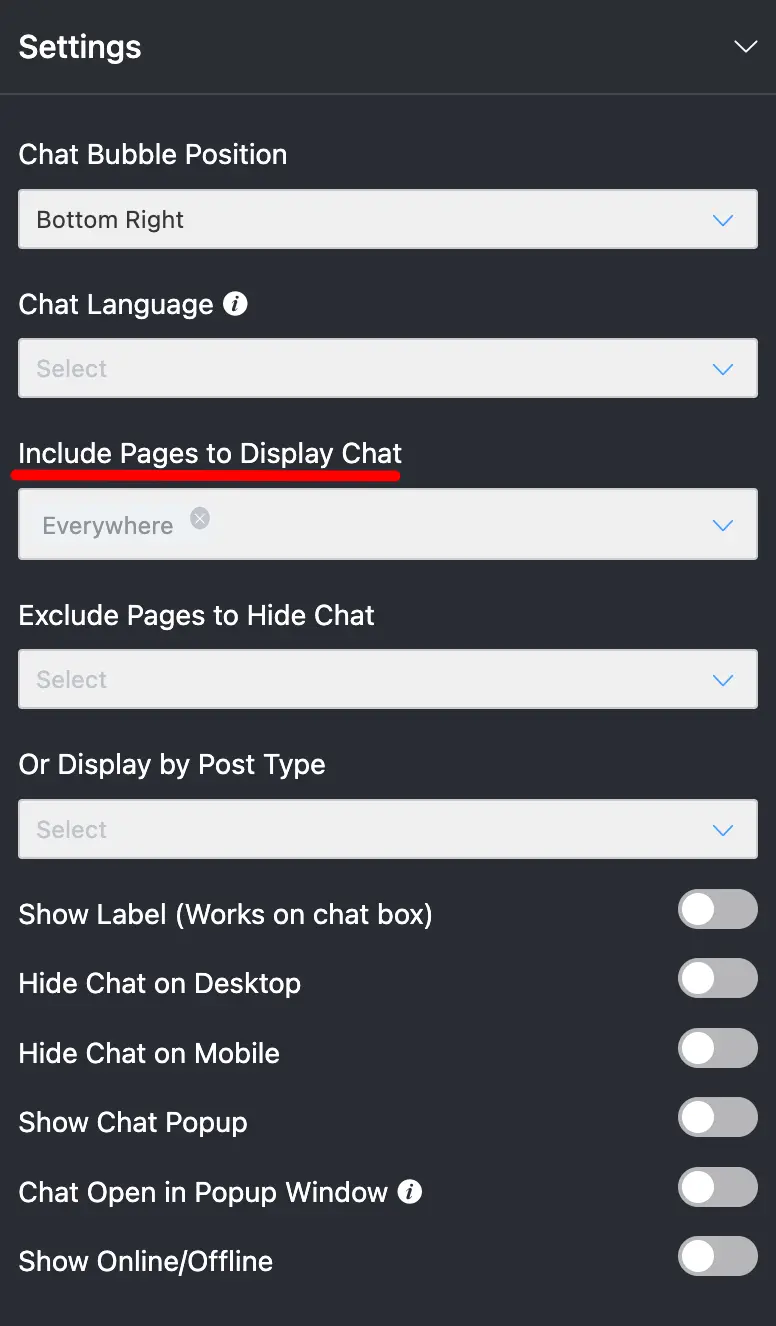
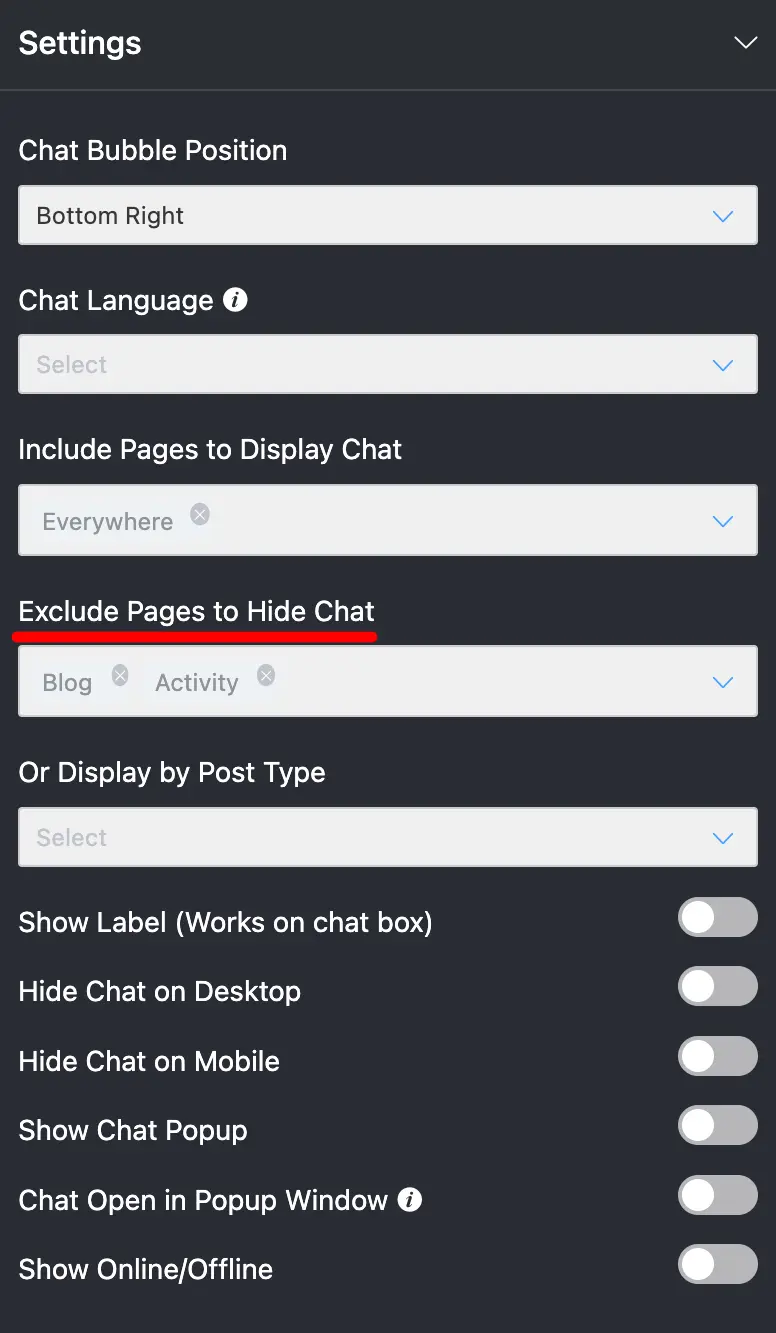
Exclude Pages To Display Chat #
Similarly, you can hide your social chat options from certain pages if you want. From the drop-down menu, select a relevant page or multiple pages to exclude the Social Chat Widget option.
Display By Post Types #
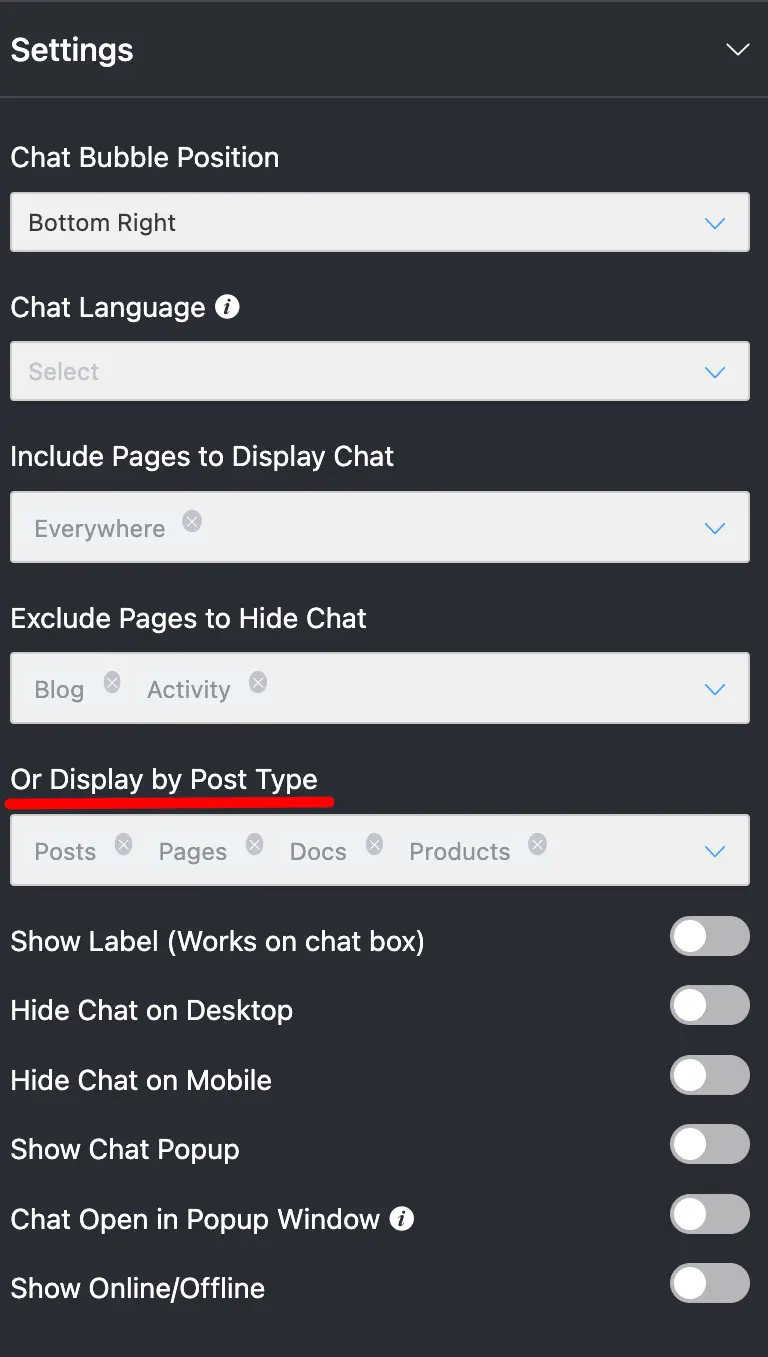
Again, if you want to display Social Chat in specific posts then choose the posts from the drop-down menu of Display By Post Types.
Hide Chat on Desktop/Mobile #
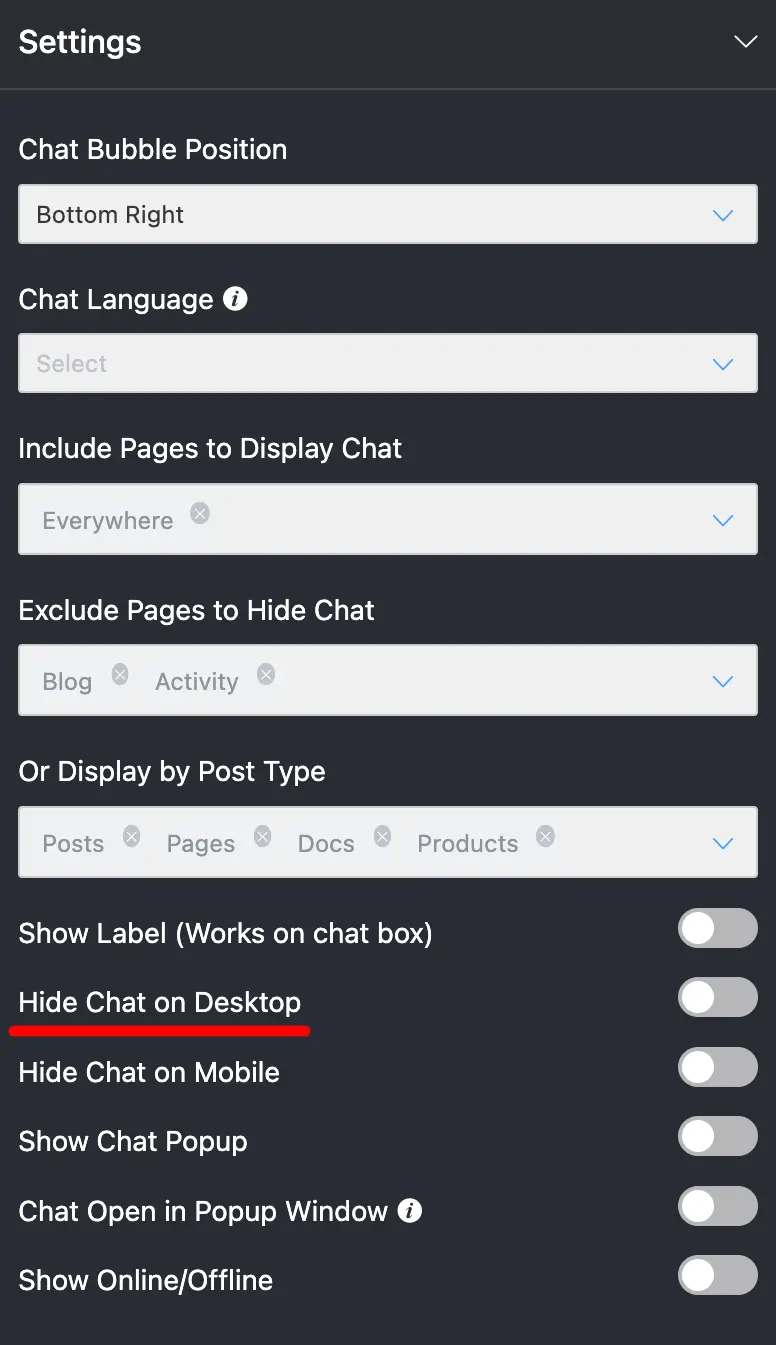
You can hide the Social Chat option either on Desktop or Mobile from here. Simply enable Hide Chat on Desktop option to hide the social chat icon from your desktop. The same rule goes for Hide Chat on Mobile option as well.
Show Chat Popup #
After the display option, there are more customizing features like Show Chat Popup.
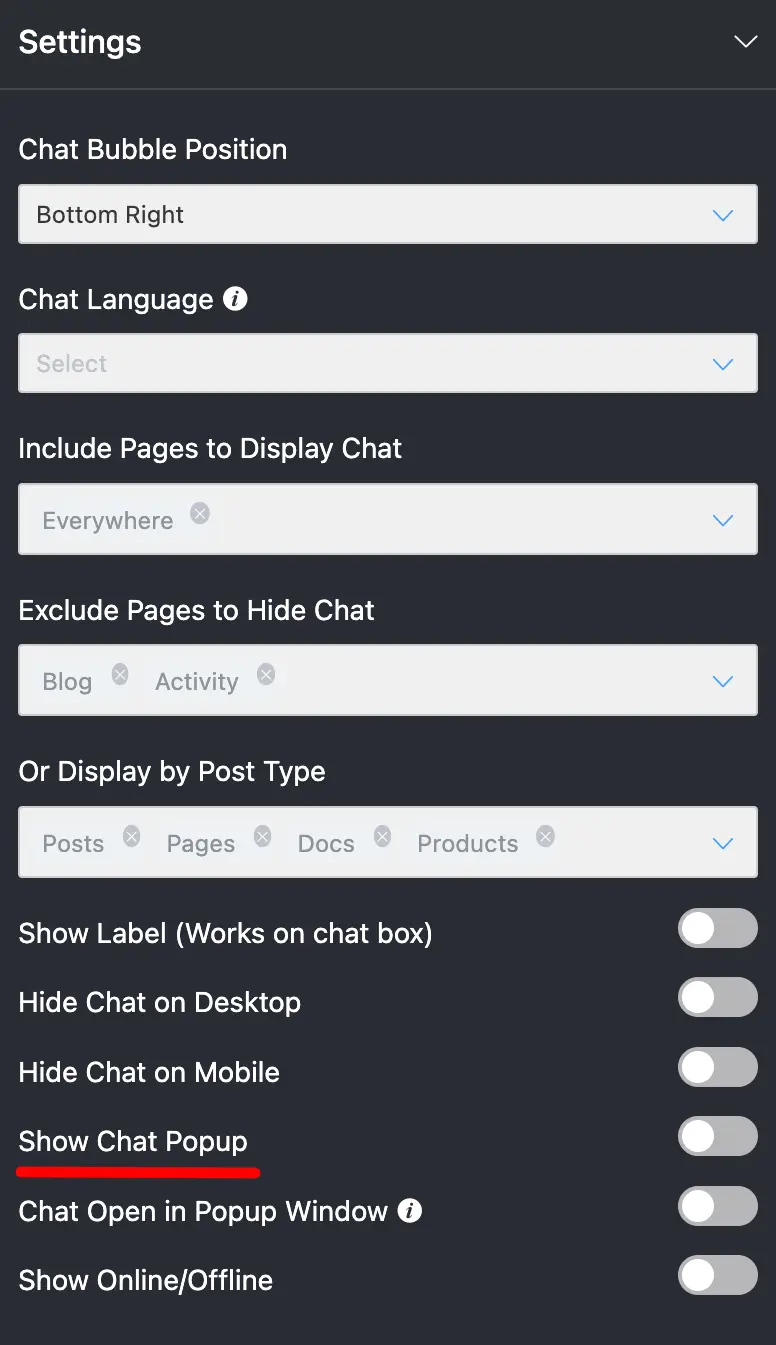
In this section, if you turn on the button, the chat window will automatically pop up. However, to stop the pop-up option turn off the Show Popup button.
Chat Popup Delay #
From here, you can delay the chat popup time. So, set the time from the Chat Popup Delay option, and your chat box will popup, once the preset time is over.
Chat Open in Pop Window #
Though you might not always need this, if you need your chat to open in a new window, then enable the option Chat Open in Pop Window option.
Show Online/Offline #
The last setting is Show online/offline. Here you can adjust two important settings When to Display Online and Set the Time Schedule.
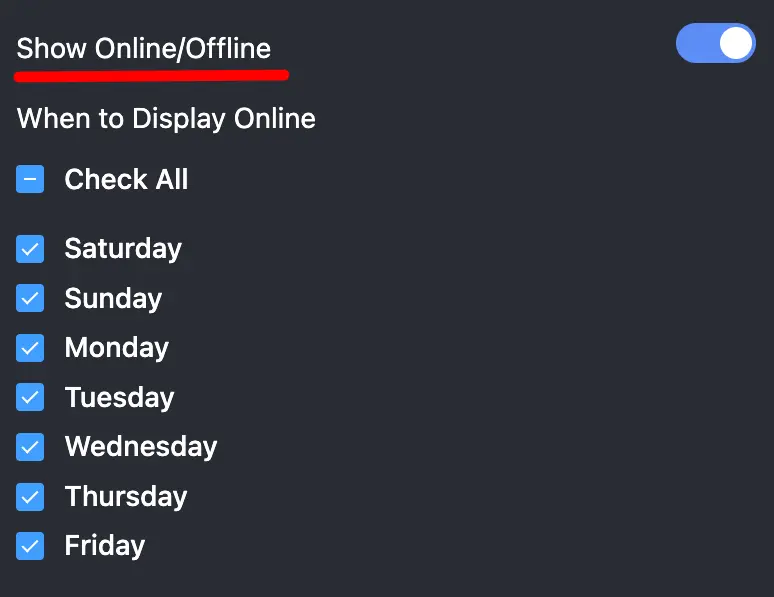
In When to Display Online, you can schedule the days you will be available. For this, you can tick the Check All option, or you can select specific days.
However, you can uncheck particular days if you are going to be unavailable.
Next is to Set the Time Schedule.
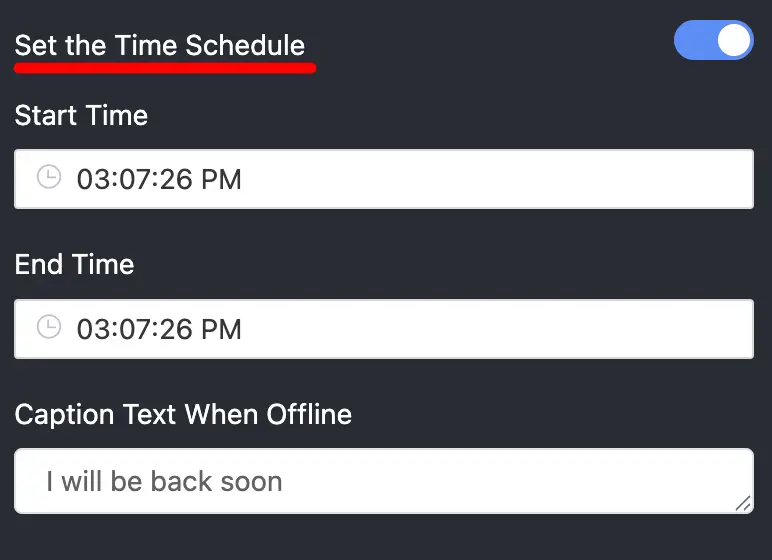
Turning on the button will allow you to set a time that includes Start Time to End Time. This setting is for your users to understand the hours when you will be available to communicate.
Here you can also set the time when your team will not be available
Moreover, you have an amazing caption-text option. So you can type your own text on the Caption Text When Offline box.
It’s always this easy with WP Social Ninja.


